![Main image for the article [The Ultimate Lunch Packing Guide]. Pictured is an open lunchbox with mixed fruit, corn, rice, hamburger and tomatoes, and celery with peanut butter on top.](https://mylittleeater.com/wp-content/uploads/2018/08/New-Blog-Post-Image-Size-8-300x300.png)
It’s almost back to school time and I’m going to give you my ultimate guide for packing lunches – from how to pack a nutritious lunch to get them out of that food rut, what lunch packing gear I recommend, and even my favourite lunch combinations and list of ideas!
Ready? Let’s go!
Packing a Nutritious Lunch
When it comes to packing a nutritious lunch for your toddler/preschooler or school aged child, I follow a few simple rules to make sure my kiddo gets exposure to all different types of food and that all their nutrient needs are met! It’s easy for us to end up serving the same food over and over with picky eaters because their list of accepted foods are so limited. I get it.
The problem is that, by doing this, we can actually be reinforcing their lack of willingness to try new foods. The key is to continually expose your child to different foods over and over so that you are eliminating the expectation that they will always get only what they want to eat. That’s why I try and include as much variety as possible day to day which keeps me (and them) from falling into a food rut and packing the same things over and over again. I have some tips on how to increase the chances that your child will accept the variety in food further down in the blog post, so hang tight.
Now, variety doesn’t have to be as difficult as you may think. It could be as simple as making your child’s favourite sandwich on a wrap or pita instead of bread, or changing up the cheese type they are served from one week to the next. Depending on how picky they may be, you may have to make super tiny changes (red apple to green apple or the flavour of yogurt) or you may be able to get away with completely new lunches each time. But at the end of the day, change and exposure to new food is key. I will usually use up one or two types of food one week, and then make sure the week after I’m switching it up even just a little so that they don’t always expect the same thing.
So let’s start with my go-to food categories I make sure to include each time I pack a lunch!
Protein
Although young kids don’t need a lot of protein, it’s often a food category that isn’t well accepted amongst little ones and so it’s really important to expose them to a protein source at every meal and at least one snack per day. It’s also one of the key macronutrients that helps keep them full and is important for steady growth.
Examples of lunch box appropriate high protein foods include:
- Meat like bits of leftover grilled or baked chicken, pulled meat, nitrate-free ham or sausage
- Seafood like canned tuna, salmon, or leftover cooked shrimp
- Eggs (boiled, scrambled, or in an omelet)
- Dairy (especially Greek yogurt and cottage cheese, but other varieties of cheese and yogurt are also good protein sources)
- Beans, lentils and chickpeas and edamame beans (canned is totally fine – mash and spread in sandwiches, serve as hummus, put cooked beans in a salad, serve bean based pasta noodles or as a side on it’s own)
- Tofu (strips or cubes, cooked fresh or leftover from the night before)
- Hemp and chia seeds, pumpkin or sunflower seeds (serve in a smoothie, on salads, make a chia seed jam and spread on sandwich, serve sunflower/pumpkin seeds on the side).
High Fibre Carb
Carbohydrates are likely your little one’s favourite category of food, which is great because it gives their little bodies lots of energy to meet their needs for the day. I recommend aiming for a high fiber carbohydrate as much as possible to keep your child full and keep bowel movements regular. Kids (especially fussy ones) rarely meet their fibre needs so again, expose it to them as much as possible!
I’ve got lots of examples of high fibre carbohydrates to pull from in my free build-your-own lunchbox guide, but some of my favourites include:
- Whole grain or sprouted bread (like Ezekiel bread)
- Whole grain tortilla wraps (quesadilla’s are one of my picky eater’s favourite lunch!)
- Whole grain English muffins (try an English muffin pizza!)
- Whole grain crackers (make mini sandwiches using crackers!)
- Whole grain pasta (wheat pasta or bean or chickpea based like “More than Pasta” by Pedon found at Costco)
- Quinoa/couscous/rice (leftovers work perfectly)
- Oatmeal (keep it hot in a Thermos or make oatmeal fingers)
- Pancakes/Waffles
- Baked Goods (muffins, granola bars, energy balls etc.)
- Potatoes (white or sweet potato) (again…leftovers!)
- Cooked or Frozen Corn and Peas (let thaw in lunchbox)
- All fruit (with skin for more fibre)
Healthy Fat
Healthy fat is also critical for keeping tummies full and for helping with proper brain development and functioning. There is an important distinction to be made between healthy fats and unhealthy fat (like trans fat from chips), so use the following list as a guide for healthy fats.
Examples of healthy lunchbox friendly fats include:
- Avocado (mashed in a sandwich, sliced or made into guacamole)
- Full fat dairy (cheese string, sliced, crumbled or shredded cheese, milk, yogurt)
- Nut butter or alternatives (soy butter, almond butter, etc. spread on sandwich, crackers, or made into a dip)
- Olives (pitted or blended into a spread) and olive oil (as a salad dressing, for a dip, etc.)
- Coconut and coconut oil (coconut chips are great ones for packed lunches)
- Fatty fish (canned tuna, salmon, etc. in a sandwich, on a salad, with crackers, etc.)
Fruit
Fruit contains vitamins and nutrients that just can’t be beat in other foods- plus, it’s a perfect sweet dessert for your little one.
Examples of fruit to easily pack include:
- Apple slices
- Orange wedges
- Grapes
- Diced melon/honeydew
- Sliced kiwi
- Berries (blueberries, strawberries, raspberries)
- Banana
- And many more…
Vegetable
Vegetables are also packed with fiber and nutrients, and although they may the category of foods mostly likely to come returned in your child’s lunchbox, you know I’m going to tell you to keep on exposing them to your child anyway! I can’t stress this enough – making it the norm for your child to expect to see a vegetable at every meal. You never know, that day may come sooner than later when they may surprise you and eat it all.
Vegetables to pack include:
- Carrots (shredded or cooked for those kids 4 and under)
- Sliced peppers
- Cucumbers
- Spinach (as a salad or packed into a sandwich)
- Broccoli, mushrooms, radish, cauliflower, any other veggie (Raw or cooked)
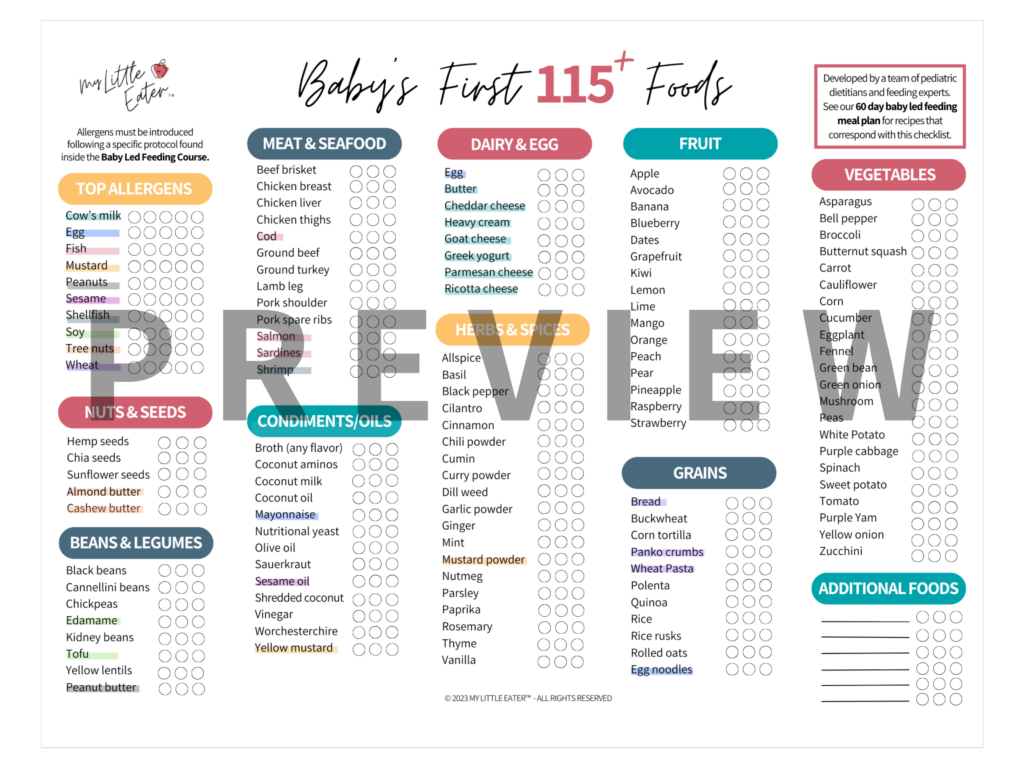
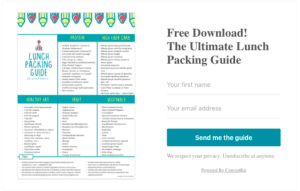
Want an expanded version of this list to hang on your fridge and some ideas to see what this looks like in action? Make sure to download my easy peasy mix-and-match Lunch Packing Guide with a compilation of 18 school lunch ideas (with pictures!) for inspiration this school year! Hang it on your fridge for daily inspiration so you don’t have to think about things twice!
My Favourite Lunch Box Convenience Items
Now, being who I am, I have this weird thing where I actually like taking the time to pack my kids pretty lunch boxes and have homemade items made for them many days. But there are other days where I need the help of convenience lunch box helper foods and that’s ok! I get asked all the time about what products I use and recommend for quick and healthy lunches for picky eaters, so I’ve done my homework and have come up with a few of my favourite healthy store bought lunch substitutes and at home meal helpers that make for great a kids lunchbox.
Made with Local Real Food Bar Mix (protein + carb)
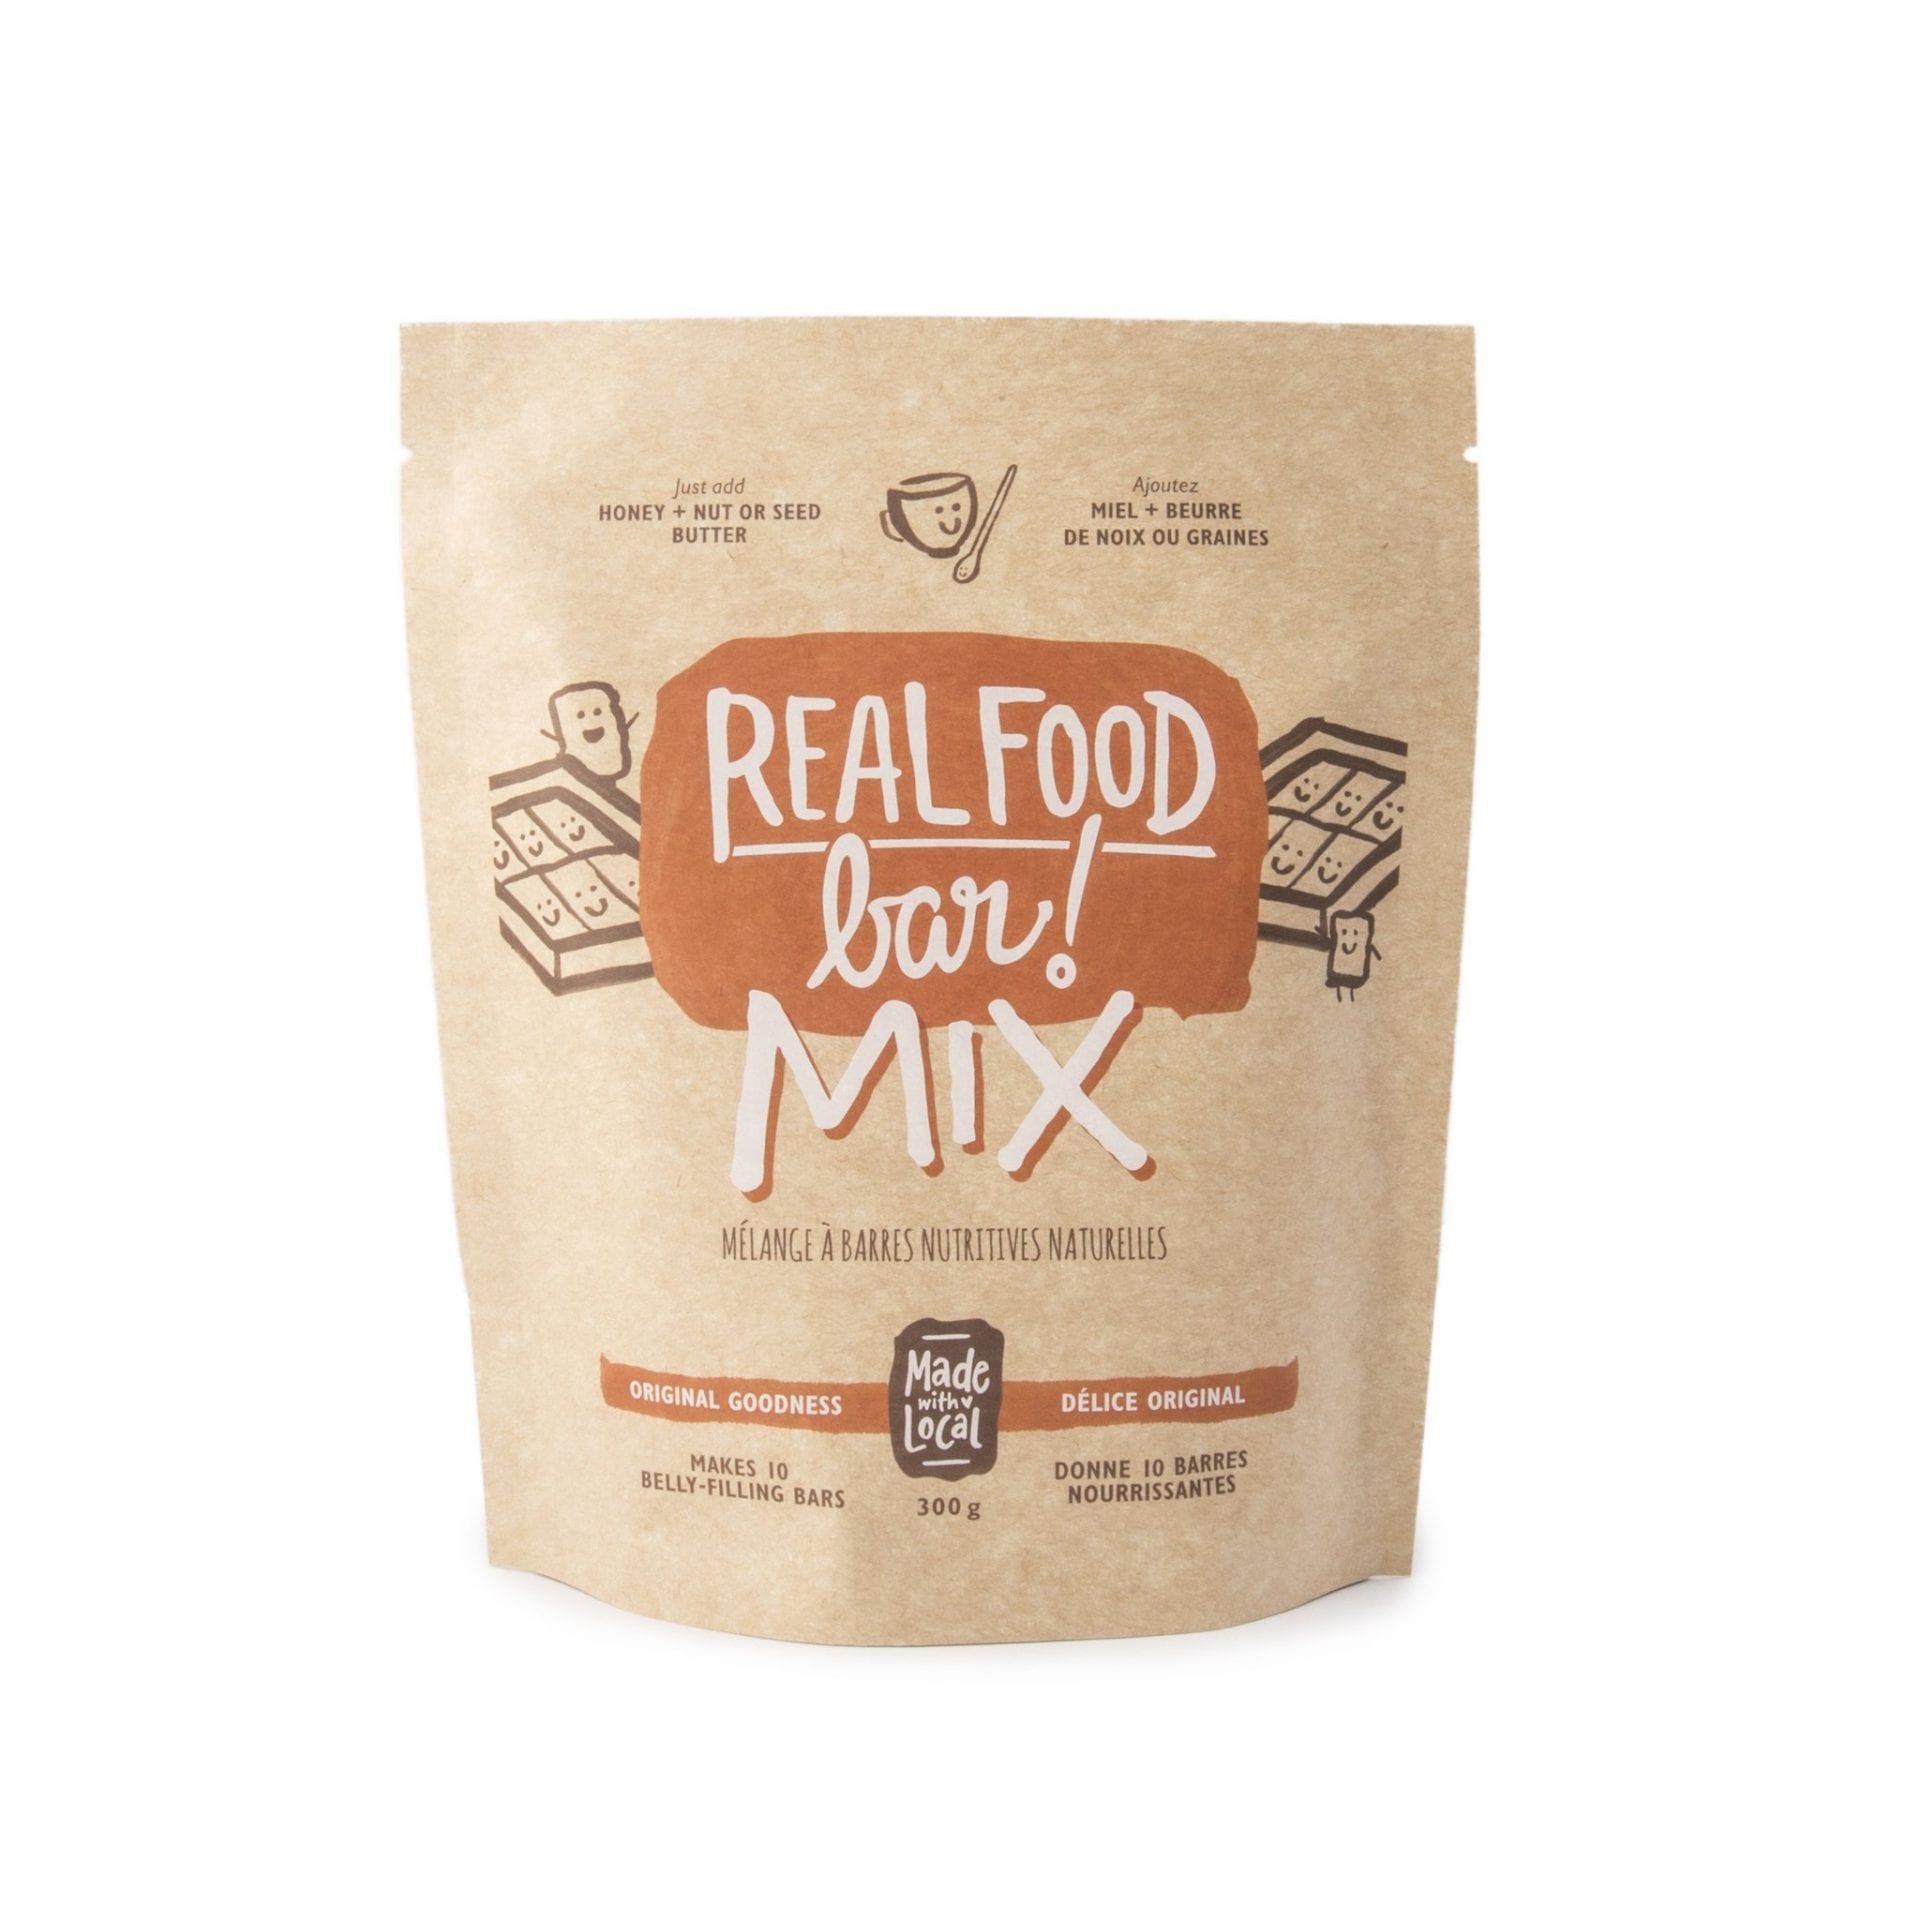
This Real Food Bar Mix from Made with Local is godsend for parents of school-aged kids who are sick of the chemical and sugar laden granola bars and/or for those who can’t find school safe (peanut butter free) ones. I know this is an area I’ve struggled with in the past since most of the school safe bars lack any nutrition at all and I’ve been stuck offering less than ideal bars to my kids OR only offering them that odd week every couple months when I could actually find the time to make a homemade version. The struggle was real guys – until this bar mix came into my life!
The bar mix is literally all the dry ingredients that their Real Food Bars are made of (if you’ve never had them, you are missing out!) but with the luxury of now being able to make them at home super quickly! All you typically do is mix the dry ingredients in the package with some nut butter and honey, mix and bake. But because we’re doing this at home, you can be flexible to substitute the peanut or almond butters they are usually prepared with for a nut free alternative like soy or sunflower butter. They take all of 3 minutes to prepare before you bake them, so I can make these literally the night before I want pack them (usually when I’m in panic mode and realize I don’t have much to pack for the next day)!
They’re incredibly nutritious so I never mind if my kids want one (or more) a day! One package usually is enough to last for school lunches all week long, but what I like to do is make a double batch, freeze one batch and pull from it as needed by just letting it thaw on its own in the lunchbox. I have even formed them into energy balls for a little change and my kids absolutely loved them!
Peter and Pat’s Pierogies (carb + fat)
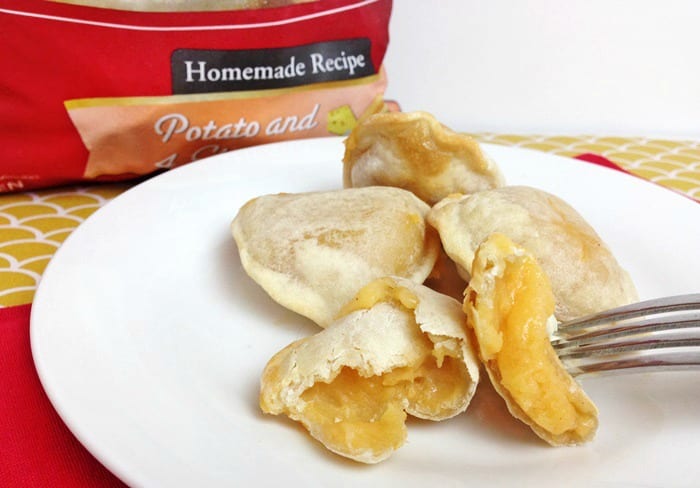
So when we first tasted samples of these perogies at our local Costco, I knew they would be a hit for school lunches. I cooked them up either the night before or the morning of, and all in all they take about 10 minutes to cook from frozen. You will have to allot about another 10 minutes for them to cool before sealing them in the lunch box, so just keep that in mind. But they are very picky eater approved! Soft texture on the outside (you can crisp up the out edges if your little one likes a bit of a crunch) with an even softer melt in your mouth mashed potato filling that is to die for! I serve it with some Greek yogurt instead of sour cream to get that protein boost that’s missing in these.
Sprague Organic Lentil Soup with Vegetables (protein + carb + vegetable)
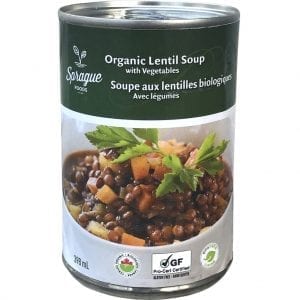
I find these beauties at our local Costco as well and love them as a warm and hearty soup option for my kids that I can heat up straight from the can and throw into their Thermos without putting any more thought into it. The ingredients are all the same ingredients I would put into a homemade soup with no added preservatives, so it’s a no-brainer for me when I need to pack a quick lunch in a jiffy. If your picky eater isn’t a fan of lentils, you may want to try some of Costco’s other pre-made no preservative added soups, like the Kirkland Signature Broccoli and Cheddar Soup or Chicken Tortilla Soup.
Pro-tip: Serve new or unliked items with familiar or liked items
I’m not a fan of serving a completely new main dish in my child’s lunch box (that’s something to do more at home where you can guide them through it in my opinion), but you can introduce foods that aren’t your child’s favourite or may be new to him/her in small amounts and when pairing it with something they already love. For example, if they love grilled cheese, you can offer them some tomato soup in a dip container on the side for them to try out. If they love yogurt, serve a small amount of yet-to-be-liked fruit alongside of it. Research shows that pairing familiar and unfamiliar foods together increases the chances that your child will try the unfamiliar food. Also, keeping that new food underwhelming takes out the stress factor that they have to eat the whole thing (so why bother?) versus maybe just a bite or two of it that may seem more manageable.
Consider lack of time and make the lunch child friendly
Believe it or not, the number one reason why younger children don’t usually eat their lunch is because they don’t have the time. They are often give 20 minutes (or less in some cases) for lunchtime, and in that time period, they need to find a seat in a busy lunchroom, open their lunchbox containers and thermos’ (which they often have to wait for a teacher to come around to them to offer them help before they can get it open), socialize with their friends, and find time in between to eat more than one thing.
So, before sending your child to daycare or school, make sure they can actually open all their containers, packages and baggies in front of you at home. You may find that that granola bar you packed is actually really hard for them to open. Cut an opening into packaged foods ⅓ of the way down so that your child can easily rip the rest apart at lunchtime. Start peeling things like oranges (if they aren’t already fully peeled) so they can easily dig their fingers into the rest of the peel. If your child has trouble opening their Thermos, place a rubber band around the lid so that it offers them something more to grip onto and makes it easier to open. Maybe the lids on your containers are hard to pry apart and you need to replace them with ones that are easy to remove. Is their cutlery long enough to reach down into the bottom of the Thermos container? Think about all the steps your child has to go through to eat their lunch and modify what is needed to help them out.
Which brings me to my next point…
Invest in a good lunchbox
This can be extremely important for both picky eaters and for you! First off, lunch boxes take a beating throughout the school year and will likely have every ingredient you can think of spilled all over it. Rather than buying a new one every 6 months, I prefer to pay for a durable lunch box that lasts for years. It ALSO makes things way easier for picky eaters! It’s so common for picky kids not to want their food to touch, so I recommend choosing a bento-style lunchbox, meaning it has different compartments for different types of food. Using my suggested categories of food to pack in each lunch from above, I would choose one with at least 4 compartments to separate the really different foods. I also recommend looking for a bento-style box that has at least one leak proof compartment to ensure that dry foods stay dry and wet foods stay wet (nobody enjoys a soggy sandwich!). Finally, bento-style boxes show your child all the ingredients at once upon opening it, providing them an appealing buffet to choose from and exposing them to all foods (rather than them only opening those containers with the foods they like and not interacting with the foods they don’t).
I’m including my recommendations for three great lunch boxes (all of which I’ve personally used). They certainly each have their pros and cons, but overall I find these are the best in each category of price range depending on what you are looking to spend and what features you need to have versus can do without. Stay tuned for another blog post on a thorough review of lunchbox containers in the future for a full breakdown of each.
- Cool Gear Ez-Free Collapsible Bento Box (Walmart) ($12.47)
- Bentgo Lunchbox (Amazon) ($29)
- Planet Box Rover Lunch Box ($85 for the complete set – 2 dipping containers, lunchbox, carrying bag, and decorative magnets) – yes it’s pricey but is truly my favourite lunchbox ever for so many reasons! We use it for the adults in the home too as it holds so much!
Ensure the cold items are kept cold and hot items are kept hot
Somedays you may feel as though your child is one of the three little bears and you can’t seem to get the temperature of their food just right. To ensure food stays cold make sure to have an insulated lunch bag with ice packs that you’ve kept in the freezer overnight. If packing the night before you can even put the whole bag in the fridge to make sure everything stays cold! On the other hand, when trying to keep things hot it may be helpful to heat up your child’s thermos with hot water before filling with their lunch (soup, pasta, etc.). These tips may not only make the food more appealing, it will decrease the risk of your child contracting a foodborne illness.
Get your child involved
Allowing your children choice over what goes into their lunch can make the world of difference in whether or not they actually eat it. Start by bringing them to the grocery store and letting them help pick out snacks or ingredients for lunch or print out my lunch packing guide and give them options to choose from such as ‘would you like an apple or an orange tomorrow to complete the fruit category’?. You can let them highlight or cross off an item once they’ve made their choice.
Another thing we always like to do is scroll through some inspiration online and allow them to pick out a few ideas we could try together – my kids love doing this! It’s actually one of their most favourite parts of starting school again. We create a little Pinterest board of ideas that they are excited to try and we refer to it whenever we feel like things are getting boring again.
Finally, get them involved in the packing process! Even just packing one item every morning! Children who pack their lunch feel a greater sense of pride and control over what they’re eating, which means greater chances of coming home with an empty lunch box!
Have fun with shapes, picks, etc.!
Ok, so I promise I’m not going to ask you to turn all “Pinterest-y” on me and spend hours putting together a lunch. BUT, making lunches creative and visually appealing is easier than you think and goes a long way with picky eaters. Try the following ideas to spruce up your child’s lunchbox (none of them take more than a couple minutes to do):
– Leave a post it note with a little drawing or message from you
– Use sandwich cutters or these food cutters to make pretty shapes out of your fruit, veggies or sandwiches
– Use Pickease or other fun kid-safe food picks as alternatives to utensils to pick up food in a fun way!
– Colour coordinate your lunchbox (for example – red strawberries, red peppers, tomato soup, red beet crackers)) or propose “themed lunches” like Mexican or picnic themed. (get your child to help with this!)
Have patience
Last but not least try to stay patient. Although it may be frustrating when your child doesn’t eat a lot of their packed lunch try to move on. The more pressure you put on your kids to eat their lunch the more likely they will do the opposite. Your job as a parent is to ensure your child has lots of healthy options at lunch time. It is their job to decide what and how much they are going to eat. Everyday may not be consistent and that is okay. Trust your child to follow his or her own hunger cues. Avoid asking your child immediately when they get home if they ate their lunch and inspecting lunch contents in front of them. Talk about their day, enjoy some laughs, and then quietly and gently enquire after some time unwinding at home if there was something about their lunch they liked and something they’d like to modify tomorrow without making them feel that they were a disappointment for not eating it. Without added pressure, you may find the lunchbox is coming home empty more often!
Happy lunch packing!
*Some of the links on this page are affiliate links. That means, I get a small commission if you purchase through this link. However, I make it a point to only share tools and resources I truly love and use.