- Edwena Kennedy, RD, BSc. Neuroscience
- Published: November 16th, 2026
What if the most important ingredient for your baby’s first meal isn’t the food itself, but your own confidence in how to serve it? It’s completely normal to feel a rush of anxiety when starting your baby on complementary solid foods, especially when you are wondering if a piece of food is soft enough or if your baby can handle it without any teeth. You want to encourage their independence, yet the fear of choking often makes it tempting to stick to purees longer than necessary.
We understand that the transition to self-feeding can feel like a high-stakes milestone, but you do not have to navigate this alone. This blog provides a dietitian-led roadmap for choosing safe finger foods for 6 month old babies, ensuring every bite is developmentally appropriate and prepared with safety as the priority. The goal is to turn mealtimes into a joyful experience rather than a source of stress.
Key Takeaways
Check for readiness, not just the calendar. Look for sitting with little to no support, good head and neck control, reaching for food and bringing it to their mouth, a faded tongue-thrust reflex, and real interest in food. No teeth required, since baby gums are SO strong!
Start with iron-rich foods. Baby’s iron stores begin to deplete around 6 months, so options like slow-cooked beef or lamb strips, omelet strips, tofu fingers, and salmon help fill the gap.
Prep with the “2 adult fingers” rule and the Squish Test. Long, thick strips are easier for a palmar grasp, and food that squishes between your thumb and forefinger is generally soft enough for gums.
Know “Loud and Red” vs. “Silent and Blue.” Gagging is a normal, protective reflex, while true choking is often silent. Knowing the difference (and staying calm) is one of your best safety tools.
Set up a safe eating space. Use the 90-90-90 high chair position, supervise every meal, keep eating seated, and take an infant CPR course before baby’s first bite.
Table of Contents
Signs of Readiness: Is Your 6-Month-Old Ready for Finger Foods?
Around the six-month mark, a developmental window opens where most babies are physically and neurologically ready to explore something other than milk. This “sweet spot” is not just about a date on the calendar, it’s about a specific set of motor skills that ensure swallowing is safe and shows they are ready to start solid foods. While it is exciting to see your little one reach for your plate, interest is only part of it, but it’s not enough on its own.
Here are the readiness signs to look for (1):
1) Baby has good head and neck control which allows their airway to be clear and upright.
2) Your baby should be able to sit with little to no support. This stability allows them to focus their energy on the complex task of chewing, and ensures their airway is open to safely swallow solid foods, whether purees, mashed foods or finger foods.

3) Baby has the ability to reach for objects and bring them to their mouth with precision.
4) The tongue-thrust reflex, which causes babies to push everything out of their mouths with their tongues, should have diminished. If they are still pushing food out automatically, their body is telling you they aren’t quite ready for the coordination required for solids yet.
5) The ability to close their lips around a spoon, hold food in their mouth (at least partially), and swallow.
6) Showing interest in food!
What about teeth? Many parents worry about starting baby-led weaning because their child doesn’t have teeth yet. However, baby gums are incredibly strong and perfectly capable of mashing soft textures. You don’t need a mouth full of pearly whites to begin this journey.
10 Best Safe Finger Foods for Beginners (Dietitian-Approved)
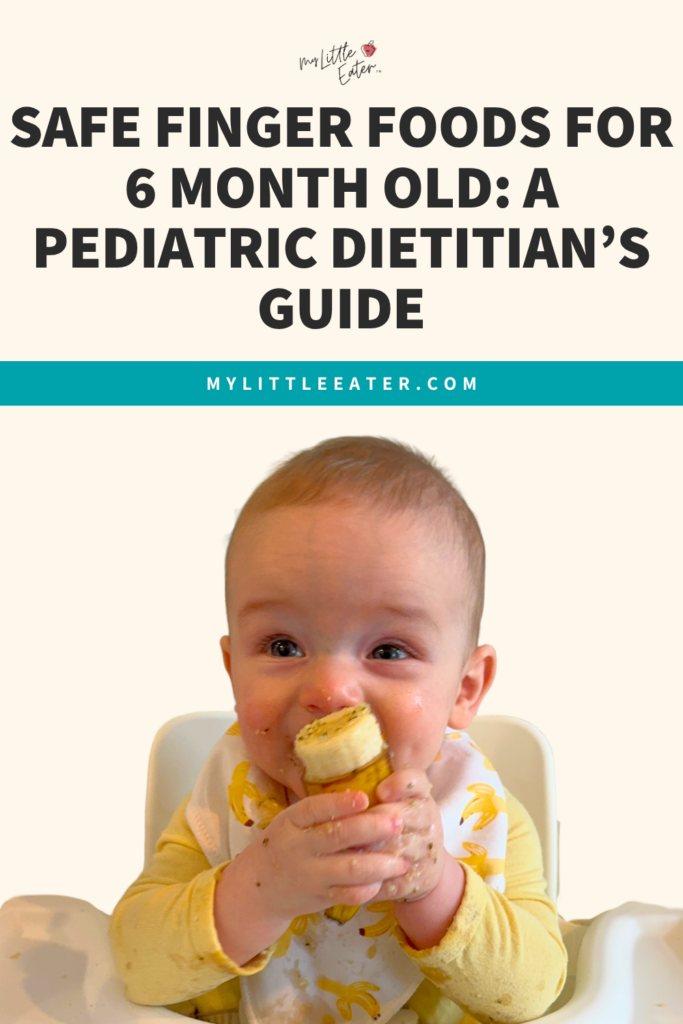
When choosing safe finger foods for 6 month old beginners, we recommend finger-shaped pieces and soft foods that pass our “Squish Test” for safety. We’ll walk you through exactly how to prep each food in our size, shape, and texture guide below.
Iron-Rich Powerhouses
Starting solids is a journey of exploration, but as a dietitian, I want to ensure every bite serves a nutritional purpose. While safety is our first priority, nutrient density, specifically iron, is a close second. Around six months of age, a baby’s natural iron stores begin to deplete, so when you introduce solid foods, iron-rich foods are required to help fill that gap (2). Here are my top iron-rich picks:
Slow-Cooked Beef or Lamb Strips: While your baby might not swallow much meat initially, gnawing on a slow-cooked tender strip of beef or lamb allows them to extract vital juices and nutrients. Offer a large strip with any gristle or fat removed.
Omelet Strips: Eggs offer iron, protein, and choline, plus they’re a great way to introduce one of the top allergens early. Cook the omelet fully and slice it into finger-length strips.
Tofu Fingers: Firm tofu, raw, baked or lightly pan-seared and cut into strips, is a fantastic plant-based iron source that’s soft and easy to grip, and soy is a priority allergen to introduce.
Lentil or Bean Patties: Lentils and beans (cooked to soft) are a great base to use in small patties that can be cooked in a pan or the oven. White/navy beans are a top choice of bean for the patties as they have more iron than other beans. Offer the patties whole, halved, or cut them into strips for easy holding.
Liver: Liver might just be the most underrated food out there for babies! It’s not usually the first thing parents think to offer… but when it comes to nutrition, it packs more into one small bite than almost anything else. Just a little bit gives your baby a big dose of heme iron, the type their body absorbs most easily. It’s also loaded with zinc, choline, vitamin A and B vitamins. Try spreading a thin layer of homemade liver pâté on toast for a finger food option, or serve some pâté or mashed liver on a pre-loaded spoon. A safety note for Liver: Since liver is SO rich in vitamin A, smaller portions are recommended to avoid Vitamin A toxicity. Offer 1-2 tsp of liver per week.
Sardines: Serve large strips of sardines from the can (choose low sodium, packed in water or olive oil) to your baby. Sardines are a very nutritious food for babies providing iron, protein, and brain-boosting omega-3 fats. It’s also low in mercury, and a gentle way to introduce fish, another common allergen.
For a deeper dive into why iron is so important, you can read our blog on Iron Rich Foods for Babies.
Soft Fruits and Vegetables
Fruits and vegetables provide essential vitamins, fiber, and in avocado’s case, healthy fats. Some of my favorite starter options include:
Ripe Avocado Spears: These are packed with healthy fats for brain growth.
Roasted or Steamed Sweet Potato Wedges: Sweet potatoes are a classic starter vegetable, and these become incredibly soft when roasted, making them a crowd favorite.
Banana Spears or Halves: Naturally soft and sweet, bananas are an easy win. Leave a little peel on the bottom as a built-in handle for little hands.
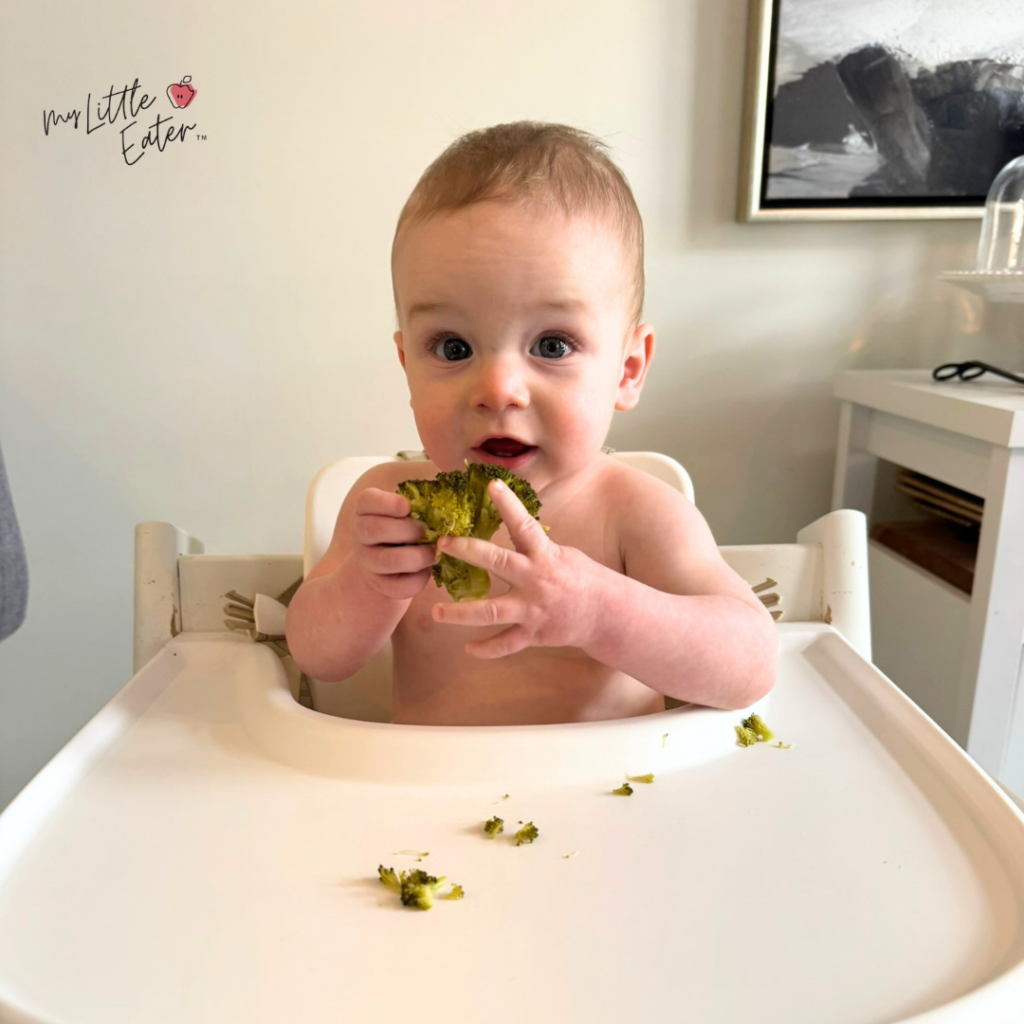
Steamed Broccoli Florets: The stalk serves as a perfect handle, while the soft florets provide a unique sensory experience.
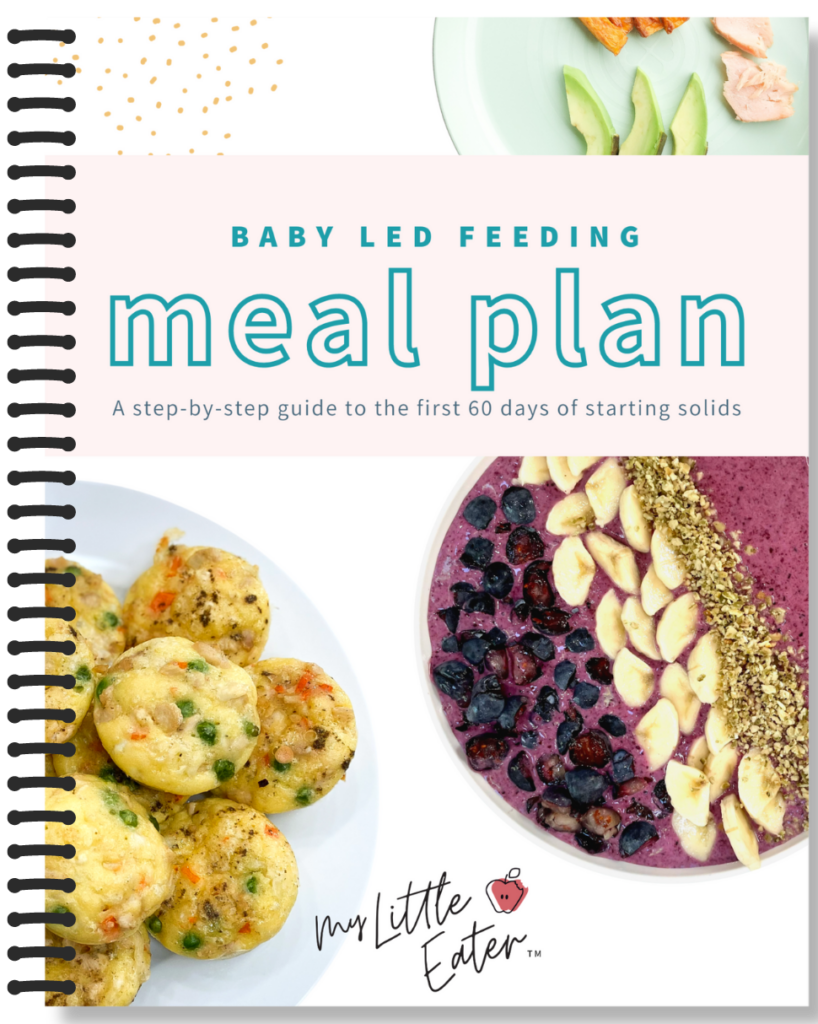
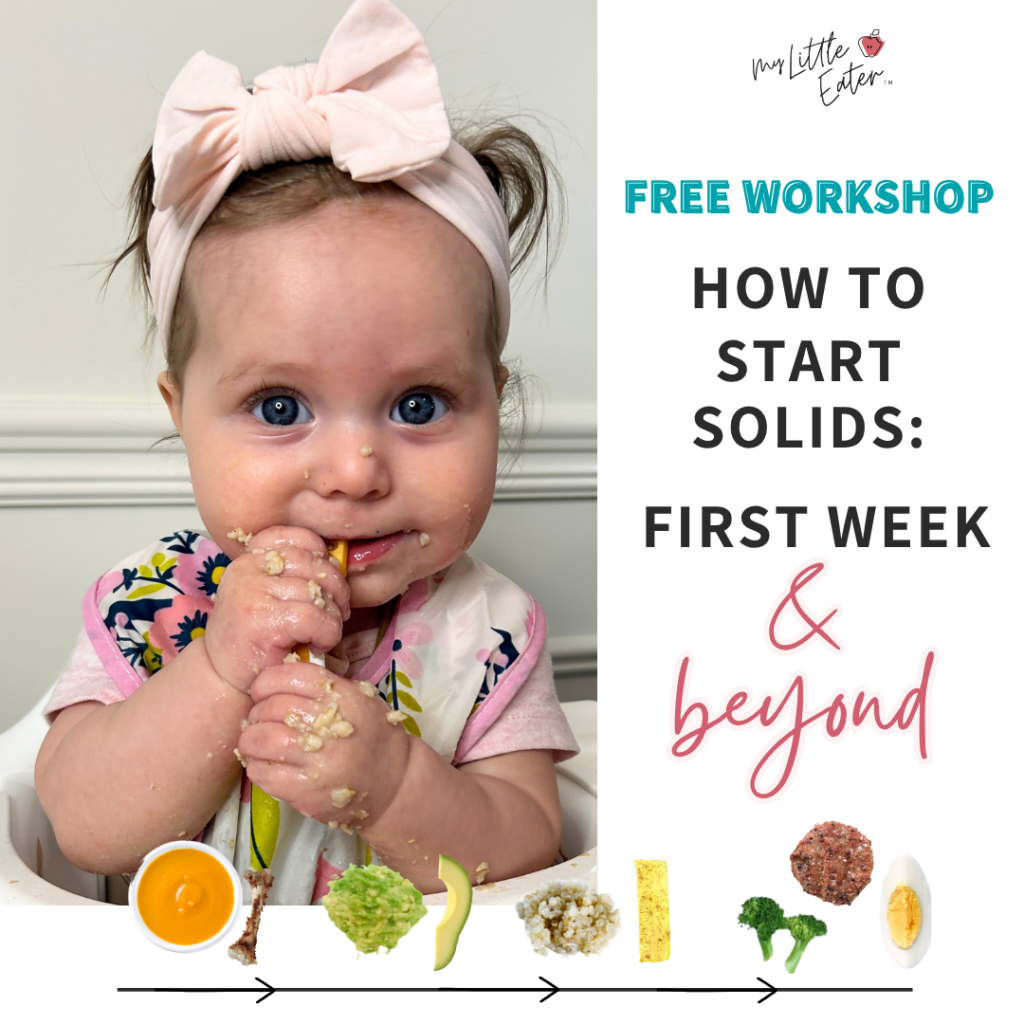
If you find yourself overwhelmed by what to serve next and how to serve it, sign up for our FREE workshop on how to start solids, going over the first week of meals for introducing solids and finger foods. Learn exactly what to feed, when to feed it, and how to do it—step-by-step—with expert guidance from pediatric dietitian, Edwena Kennedy.
If you find yourself overwhelmed by what to serve next and how to serve it, sign up for our FREE workshop on how to start solids, going over the first week of meals for introducing solids and finger foods. Learn exactly what to feed, when to feed it, and how to do it—step-by-step—with expert guidance from pediatric dietitian, Edwena Kennedy.
The 'Resistant' Food Strategy
Sometimes, the best safe finger foods for 6 month old babies aren’t meant to be eaten at all. We often use “highly resistant” foods, such as a large mango pit with most of the fruit removed, to help with oral mapping. These large, firm items are too big to be swallowed and unlikely to break off into pieces.
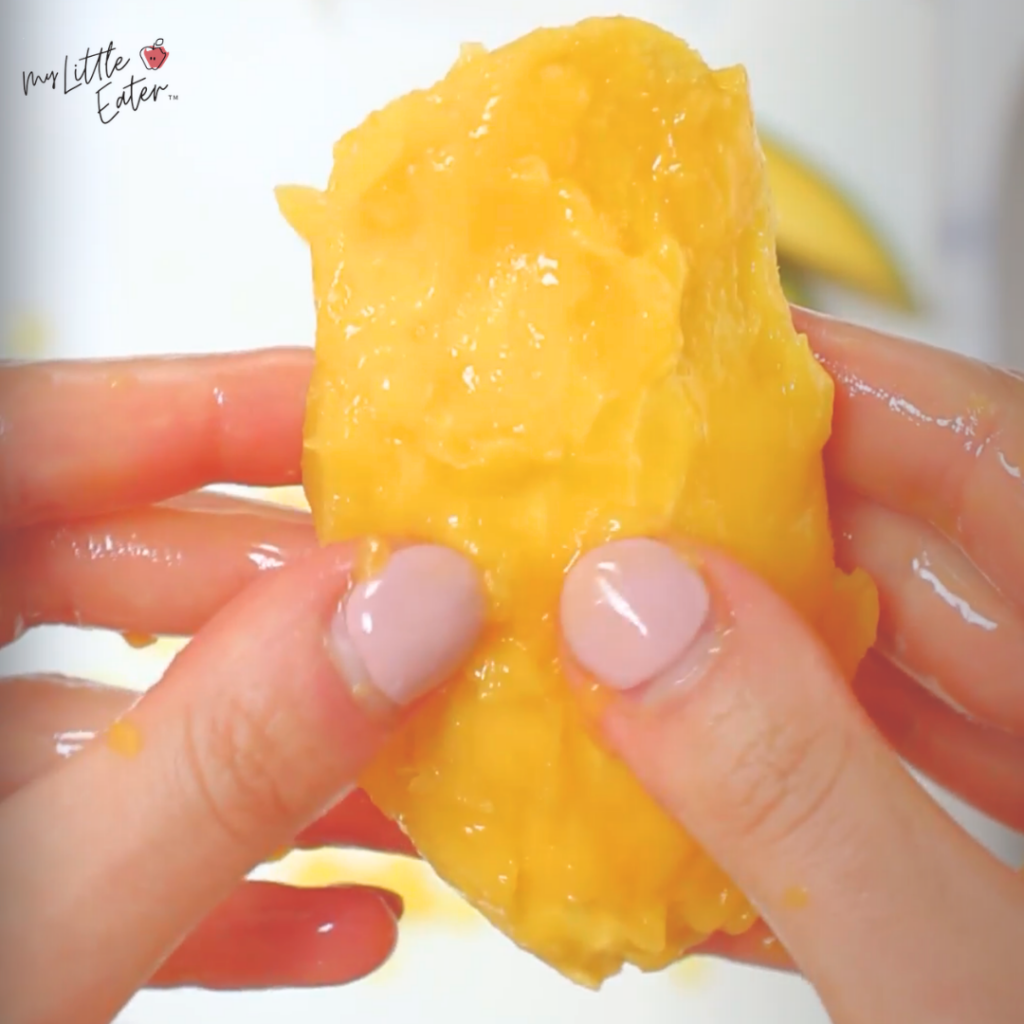
As your baby moves these items around their mouth (gnawing on them like a teether), they learn where their tongue, gums and cheeks are, and explore the boundaries of their mouth. This sensory experience helps “wake up” the mouth, practice chewing skills, and can actually help move the gag reflex further back, building the coordination they will need for more complex textures later on.
A few tips to keep these sessions safe:
Check for wear. Inspect the food often, and swap it out if you notice any fraying, cracking, or loose bits.
Watch for new teeth. Once those first teeth come in, babies may be able to break off pieces, so reassess whether the food is still “resistant” for your little one.
Always supervise closely, just like with any other food.
How to Prepare Finger Foods Safely: The Size, Shape, and Texture Guide
Size and shape: The Role of the Palmar Grasp
At six months, babies typically use their whole hand to scoop up and grasp objects. This movement is known as the palmar grasp. They haven’t yet developed the “pincer grasp” required to pick up smaller pieces of food with their thumb and forefinger.
Because of this, bigger pieces of food are generally better an safer, and we recommend the “2 adult fingers” rule: cut foods (like toast and sweet potato) into long, thick strips about the size of two adult fingers. This ensures that when your baby closes their fist around the food, a generous portion still sticks out the top for them to gnaw on. If a piece is too small, it disappears into their palm, leading to frustration and a higher risk of them trying to swallow the whole piece at once.
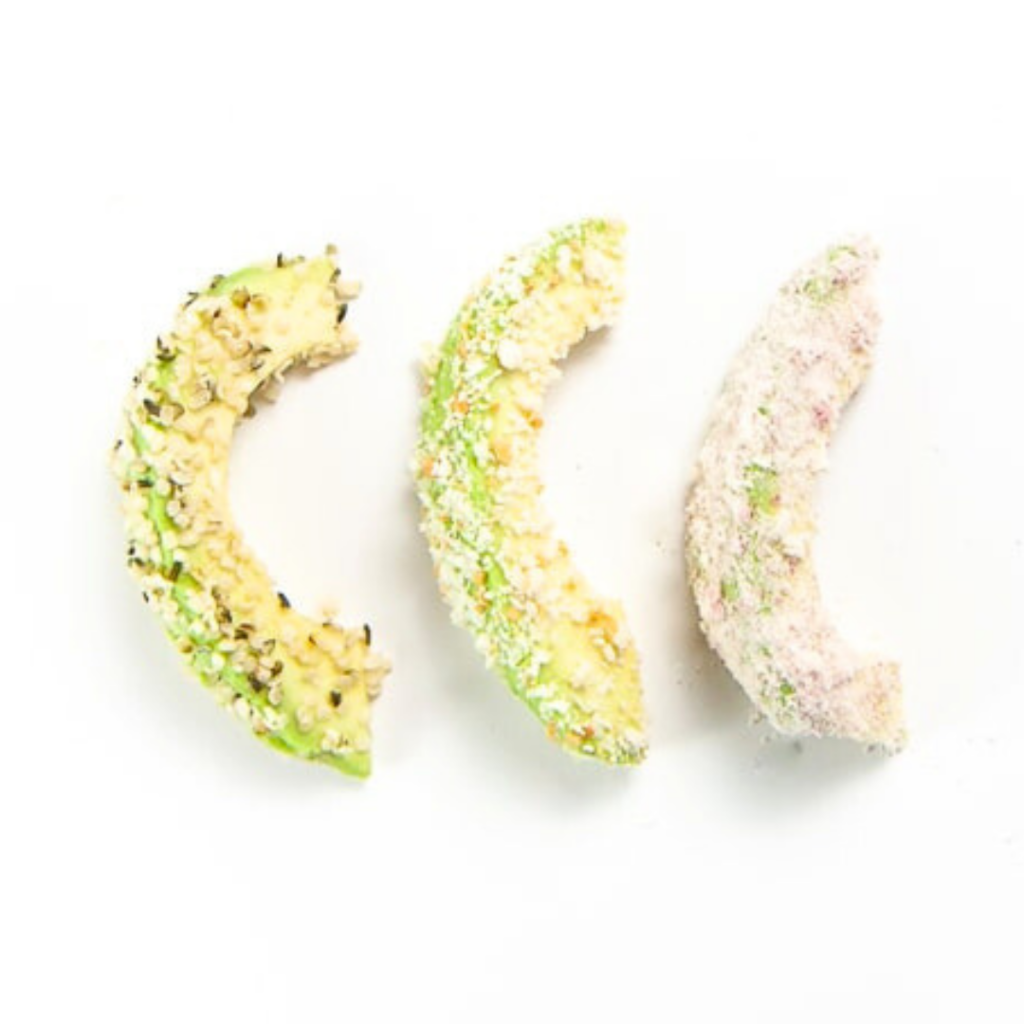
If you find that slippery foods like mango or avocado are constantly sliding out of your baby’s hands, try using a crinkle cutter or coating the piece in something that will give it a little more grip, like hemp hearts, ground flax seed, or crushed baby cereal. This helps to provide extra traction for those developing motor skills (and extra nutrition!), making the learning process much less taxing for your little one.
As their fine motor skills improve and the pincer grasp starts to develop, you will eventually transition to smaller pieces, but for now, bigger is often safer and easier for them to manage.
Textures: The Squish Test
Consistency and texture is just as vital as shape. To check it, use the Squish Test: before placing anything on your baby’s tray, press the food between your thumb and forefinger using gentle pressure, mimicking the pressure of your baby’s gums. If it squishes easily, the food texture is generally soft enough for them to handle and ready for the high chair.
Hard foods like raw apple are a common choking risk, so cook them until soft and passing the squish test before serving. Steaming is often the preferred cooking method because it preserves nutrients while ensuring a uniform, soft texture. Roasting works well too (hello, sweet potato wedges!), just keep an eye out for crispy or chewy edges that may need trimming.
Avoiding Common Choking Hazards
Here’s a helpful rule of thumb: a baby’s airway is roughly the width of a drinking straw, so any food that could match that size and shape needs to be modified (or skipped). The highest-risk foods are small, firm, round, slippery, or hard to chew.
This is also why those big, finger-shaped pieces are often safer than tiny bite-sized pieces to start. Larger pieces are harder to lose track of in the mouth and easier for baby to spit out.
Most choking hazards fall into these groups:
Hard foods that don’t squish or dissolve: raw apple, carrot, or broccoli, under-ripe pear, raw leafy greens, whole nuts and seeds, dried fruit, and foods with pits. How to modify: cook hard fruits and veggies until soft (or grate them), thinly shred or cook leafy greens, grind nuts and seeds into a powder or butter, soak dried fruit in warm water for 5 to 10 minutes, and always remove pits.
Small, round foods: whole grapes, cherry tomatoes, and blueberries are especially risky because they can perfectly plug a little airway. How to modify: cut them into quarters lengthwise (or smaller), or flatten softer ones like blueberries and chickpeas into a disc.
Stick-shaped foods: hot dogs, sausages, and string cheese. How to modify: never serve them in round “coin” slices. Quarter and thinly slice them lengthwise until they’re thinner than the width of a pinky finger and no longer round.
Gummy or sticky foods: thick globs of nut butter, soft fresh bread, and marshmallows can glob up in the mouth. How to modify: spread nut butters thinly on toast or stir them into oatmeal, and lightly toast bread so it isn’t gummy. Gummies, gum and marshmallows can’t be modified and should be avoided.
Foods that break into hard, jagged pieces: chips, popcorn, pretzels, and very dry crackers. How to modify: these can’t be made safe, so skip them for now.
For meat, stick with the large strips of tender meat that pass the squish test, or shred them finely, rather than serving small chunks. Avoid tough meats.
For the full breakdown of every food to watch for (and a printable cheat sheet for grandparents and caregivers!), check out our guide to choking hazards for babies and toddlers.
Safety Check: Setting Up a Safe Eating Space
Setting up a safe eating environment is another very important aspect of reducing choking risk for babies starting solids.
Start with the high chair. Safe swallowing starts with proper positioning. We recommend the 90-90-90 rule: a 90-degree angle at the hips, knees, and ankles. This upright posture provides the core stability necessary for safe oral motor function, and it makes it easier for baby to cough food back up if needed (something that’s much harder in a reclined or slumped position).
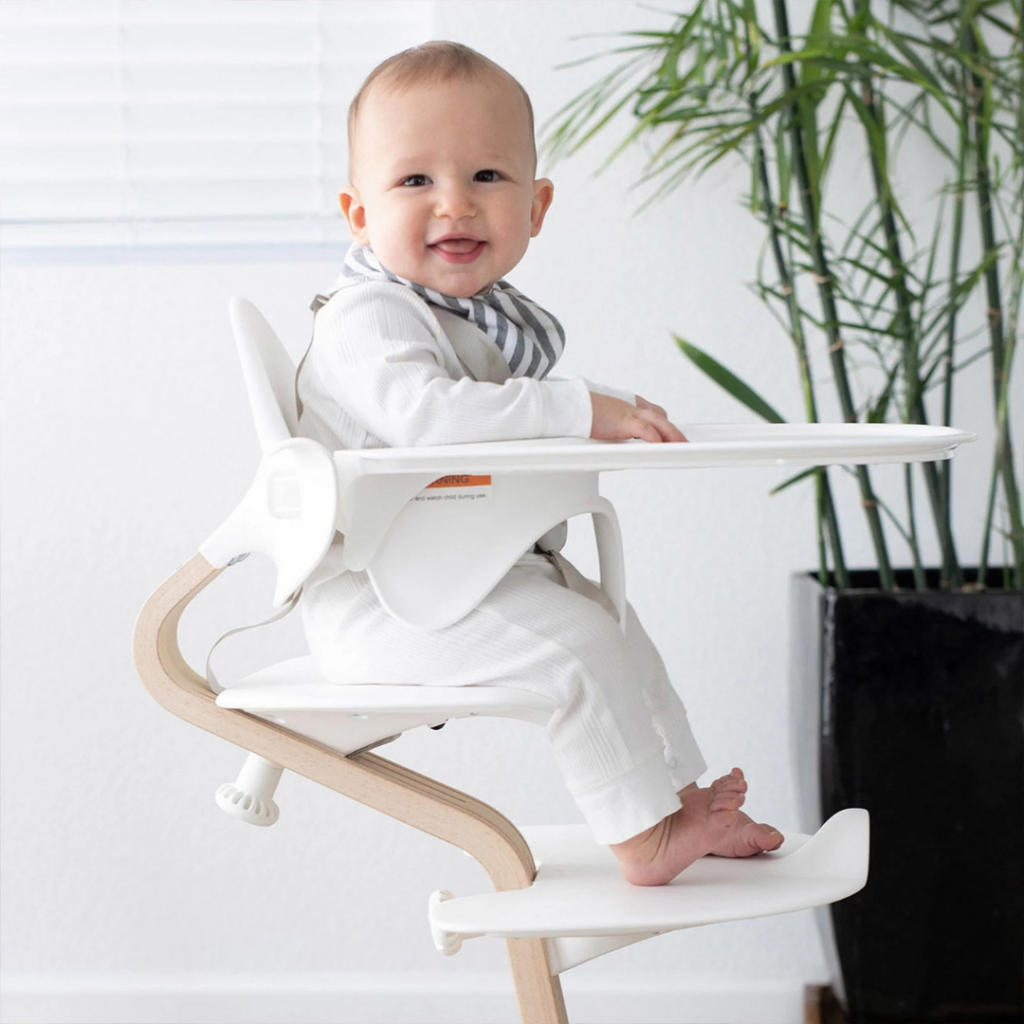
A high chair with a sturdy, adjustable footrest is a key safety feature because it prevents “dangling legs,” which can leave baby feeling unstable while they eat. When a baby feels secure from the feet up, they can better manage the textures in their mouth and sit upright with better core support. Proper alignment is a foundational step in building feeding confidence for both you and your little eater. Looking for a high chair? Check out our favorite high chairs with adjustable footrests.
Gagging vs. Choking: Building Your Mealtime Confidence
The fear of choking is often one of the biggest hurdles for parents exploring safe finger foods for 6 month old babies starting solids. It is a visceral, protective instinct that can make your heart race the first time your baby coughs or sputters. However, understanding that gagging is a normal, healthy part of the learning process is the first step toward a calm table. Gagging is actually a safety mechanism. It’s your baby’s way of moving food that hasn’t been chewed enough back to the front of the mouth. In the first few weeks of eating solids, babies gag more because the reflex sits farther forward on the tongue and they are still learning to manage pieces of food. Because of this, they will likely gag often as they map out their mouth and learn how to manage textures. Over time with practice and exposure to a variety of foods, your baby’s gag reflex will move further back in their mouth, and gagging should decrease.
To keep your cool when a gag happens, remember the “Loud and Red” vs. “Silent and Blue” rule. If your baby is making noise, coughing, or turning red, these are signs that they are gagging. Their airway is at least partly open and they’re working it out, actively managing the situation. In these moments, the best thing you can do is sit still, offer a calm smile or word of encouragement, and let them work through it. If you gasp, scream, or reach into their mouth, you might startle them. This sudden startle can cause them to inhale sharply, and that sudden gasp is what can turn a safe gagging episode into a true choking incident. One critical rule is avoid performing a “blind finger sweep.” Reaching into your baby’s mouth to hook out a piece of food when they are gagging often does more harm than good. You risk pushing the food deeper into the throat. Your calm presence during a gag is one of the most effective safety tools you have at the table.

Keep these habits in place at every meal:
Always supervise. Choking is often silent, so you need eyes on baby’s face, not just ears in the room.
No eating on the move. Keep meals and snacks seated, never in the car seat, stroller, or while crawling around.
Take an infant CPR course before baby’s first bite. It’s the single best way to feel prepared. Our Safe Start to Solids Bundle pairs an infant CPR course with our Baby Led Feeding Program (with a 30% discount on both courses!).
When to Intervene
A true choking emergency is “Silent and Blue.” This happens when the airway is completely blocked, meaning the baby cannot make any sound, cough, or cry. Alternatively, you may hear a wheezing sound if a small amount of air is passing through the blockage. If you see your baby struggling silently or notice their skin or lips turning a bluish tint, you must act immediately and use approved first aid techniques if they are choking.
Preparing for the Unexpected
While choosing safe finger foods for 6 month old beginners and following the preparation rules significantly reduces risks, nothing replaces the confidence that comes from professional safety training. Knowing exactly how to respond in those rare, high-pressure moments allows you to enjoy the feeding journey rather than just enduring it. We highly recommend the Safe Beginnings Infant CPR Course to give you total peace of mind. This evidence-based training ensures you have the skills to protect your little one, making every mealtime a safer and more relaxed experience for your whole family. Register for the Safe Beginnings Infant CPR Course to gain the tools you need to handle any feeding situation with confidence.
Taking the Next Step: Stress-Free Meal Planning
Transitioning from those exciting first tastes to a consistent routine of full balanced meals is a significant milestone in your baby’s first year. While you have mastered the art of identifying safe finger foods for 6 month old beginners, you might now find yourself wondering how to fit these new textures into your daily schedule. It is important to remember that early in the solid food journey, breast milk or formula still provides the vast majority of your baby’s nutrition. In baby-led weaning, the baby self-feeds softened and appropriate family foods while breast milk or formula continues to do most of the nutritional heavy lifting. This period is about exploration and skill-building rather than hitting specific calorie targets for solid foods.
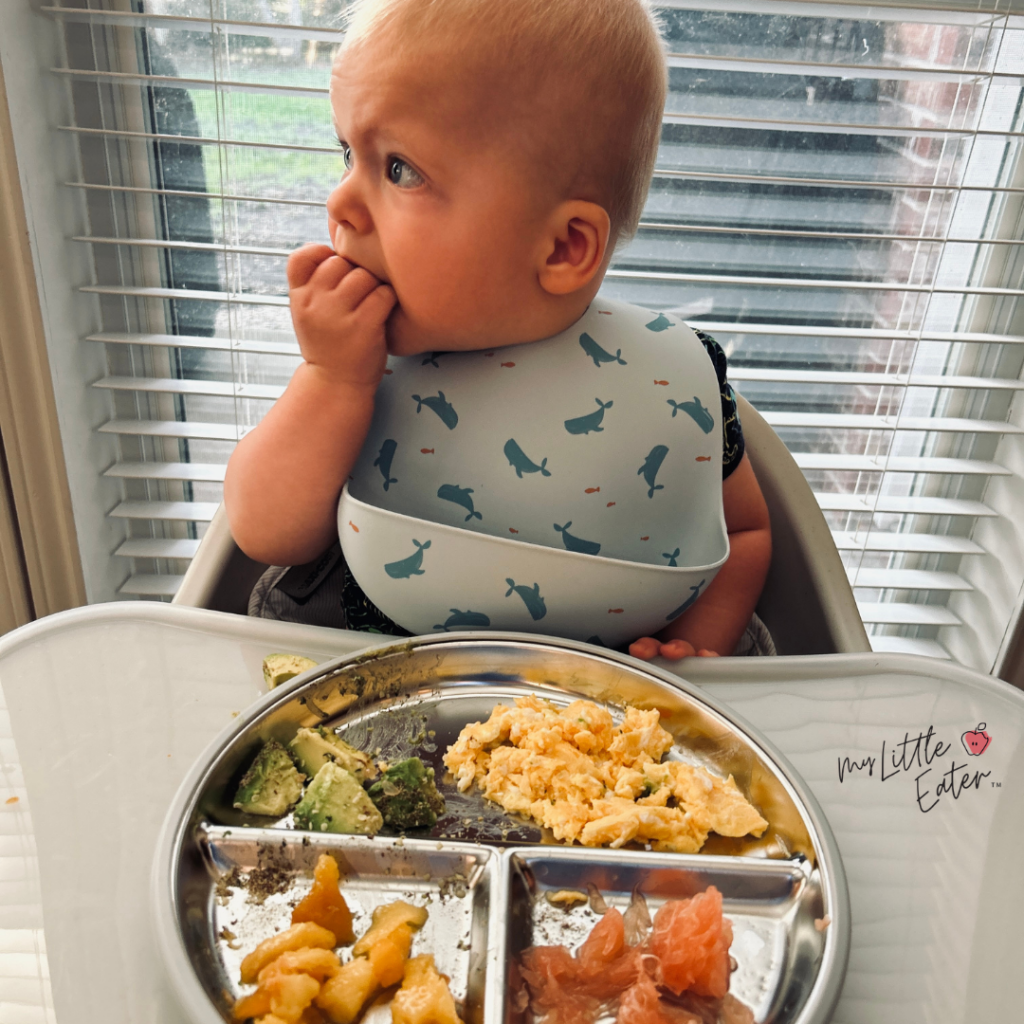
As your baby becomes more adept at picking up and mashing their food, you can continue to increase the variety on their tray across different food groups and texture categories. Offering a wide range of flavors and textures early on gives your little one LOTS of chances to get familiar with new foods… and that familiarity really matters. In fact, in a randomized trial of baby-led feeding, parents reported that their little ones were less fussy about food and enjoyed eating more than babies who were spoon-fed purees (3, 4). That’s what we love to see: a little eater who’s curious, confident, and actually excited to come to the table!
If one day they only play with their food and the next they seem hungry for more, don’t worry. Variability in intake is a normal part of the developmental journey; some days they’ll eat a lot, some days barely anything… and that’s normal while skills catch up. By staying patient and maintaining a positive mealtime environment, you are helping your little one build a healthy relationship with food that will last a lifetime.
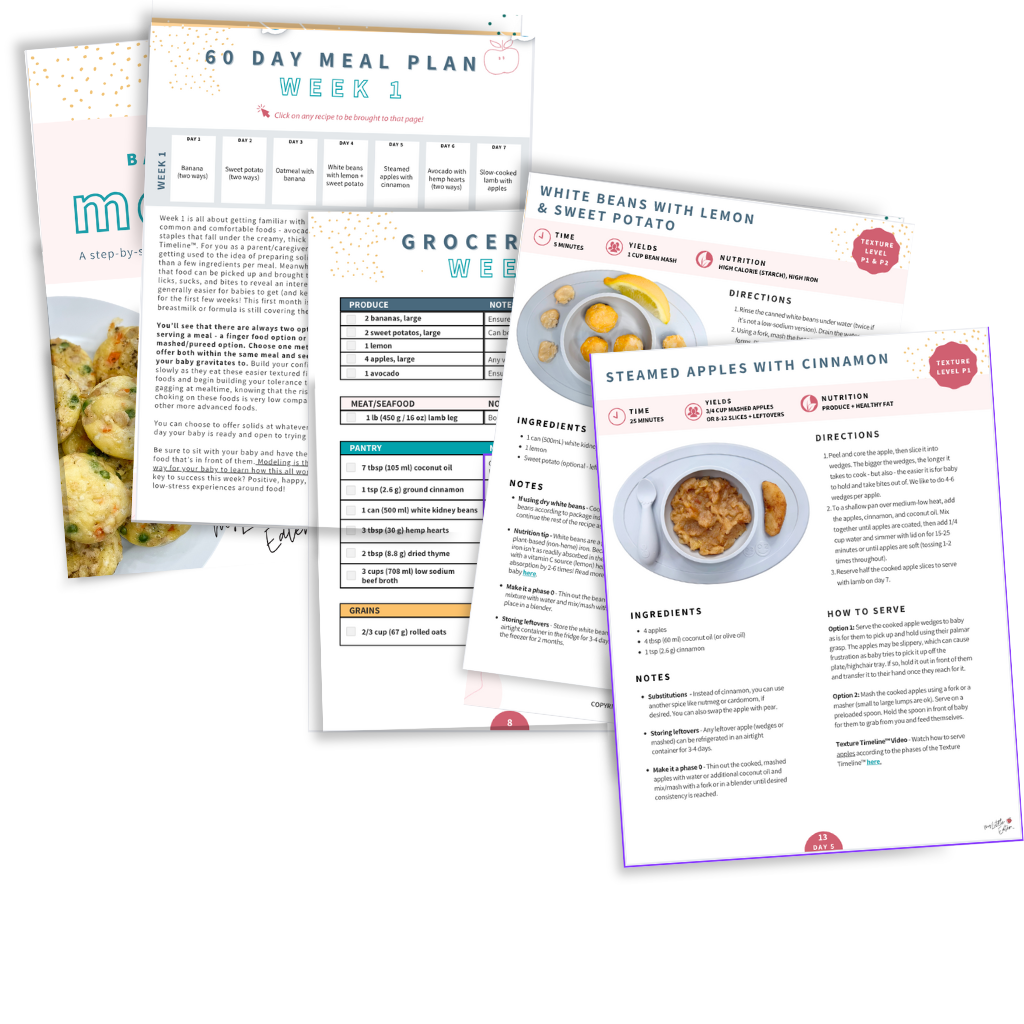
If you want someone to walk you through the solid food journey, join our FREE workshop: How to Start Solids: A Realistic First Week of Feeding Your Baby. You’ll leave with a clear, step-by-step plan and a free 5 day meal plan, straight from pediatric dietitian Edwena Kennedy. No more guessing, just a confident first week of solids and (yes, really!) a little more joy at the table.
Frequently Asked Questions
What if my 6-month-old doesn't have any teeth yet?
Your baby doesn’t need teeth to enjoy soft solids; their gums are incredibly strong and designed for mashing. If a food passes the “squish test” between your fingers, it is generally soft enough for a gummy baby to manage. Focus on providing safe finger foods for 6 month old explorers like steamed vegetables, soft fruits, or slow cooked strips of tender meat, which allow them to practice chewing motions and develop oral motor skills regardless of their dental status. With practice, your baby’s ability to move food around the mouth and swallow improves, even before teeth appear.
How many times a day should I offer finger foods at 6 months?
At the very beginning, offering finger foods once a day is a wonderful way to start. Since breast milk or formula still provides the majority of their calories, these early solid food meals are primarily for exposure, sensory exploration and skill development. As your baby becomes more comfortable and shows more interest, you can gradually increase to two meals at 7-8 months, and 3 meals by 9 months, following their lead and maintaining a relaxed, pressure-free environment at the table. Quantity may be smaller at first because baby eats at their own pace as they learn.
Is baby-led weaning safer than starting with purees?
Research shows that baby-led weaning is not inherently riskier than traditional purees, provided that safety guidelines are strictly followed (5). The key to safety is ensuring that all items are prepared as safe finger foods for 6 month old beginners. Whether you start with mashed or a finger-shaped piece of avocado, your constant supervision and proper food preparation are what truly minimize the risk of choking during this exciting developmental transition.
What are the top choking hazard foods to avoid before age one?
The top choking hazards to avoid before age one include whole grapes, cherry tomatoes, popcorn, whole nuts, hot dogs, un-toasted bread, large globs of nut butter, and more. Hard, raw vegetables like carrots or apples are also high-risk unless they are steamed until soft. Always cut round foods into quarters or flat discs and avoid sticky textures that could get stuck in the throat. Staying vigilant about these specific shapes and textures is the most effective way to prevent accidents.
Should I offer water alongside finger foods?
Yes, at 6+ months you can offer small sips of water from an open cup or straw cup during mealtime to help your baby learn this new skill. At six months, the goal is practice rather than hydration, so limit intake to about one to three ounces per day.
What do I do if my baby just throws the food on the floor?
Throwing food is a completely normal developmental stage where babies explore cause and effect and their physical surroundings. If your baby drops their meal, try to remain neutral and avoid making it a game by picking it up immediately. You might find that placing only one or two pieces of food on the tray at a time helps them focus on eating rather than the excitement of watching things fall to the floor. During this messy learning stage, feeding them in just a diaper can make cleanup easier.
Can I mix purees and finger foods in the same meal?
You can absolutely mix purees and finger foods in the same meal, a method often called “combo feeding.” Some families pair finger foods with mashed potatoes, full fat yogurt, or other spoon-fed options. This approach offers the best of both worlds, allowing your baby to practice self-feeding while ensuring they get some nutrition from a spoon and practicing with a utensil. For example, you might offer a soft broccoli floret alongside a few spoonfuls of mashed potatoes mixed with ground beef. If you do use a spoon, let it stop at your baby’s mouth and avoid putting food into their mouth or pressuring bites. You can also pre-load the spoon, and let your baby grab it from there and take over feeding. This flexibility respects your baby’s unique learning pace and your own comfort level as a parent.
How do I know if my baby is actually eating anything?
You will know your baby is consuming food by checking their diapers; you’ll often see changes in color, consistency, or even recognizable bits of food. At six months, what counts as “eating” may look small while your baby practices solid foods and oral-motor skills, and “eating” often looks like sucking, gnawing, licking, and practice feeding, which still provides valuable sensory input and small amounts of nutrients. Don’t worry about the volume at first. If they are curious and engaged with the food, they are successfully moving toward becoming a confident, independent eater. If you’re unsure whether your baby is getting enough, check in with your child’s pediatrician.
REFERENCES
1) CDC. When, what, and how to introduce solid foods (April 14, 2026). Retrieved from: https://www.cdc.gov/infant-toddler-nutrition/foods-and-drinks/when-what-and-how-to-introduce-solid-foods.html
2) Canadian Paediatric Society. Iron requirements in the first 2 years of life (March 26, 2025). Retrieved from: https://cps.ca/en/documents/position/iron-requirements
3) Taylor, R. W., Williams, S. M., & Fangupo, L. J. (2017). Effect of a baby-led approach to complementary feeding on infant grwoth and overweight. JAMA Pediatrics, 171(9). 838-846. https://jamanetwork.com/journals/jamapediatrics/fullarticle/2634362
4) Mennella, J. A. & Trabulsi, J. C. (2012). Complementary foods and flavor experiences: Setting the foundation. Ann Nutr Metab, 60(2). 40-50. https://pmc.ncbi.nlm.nih.gov/articles/PMC3363345/pdf/anm-0060-0040.pdf
5) Correia, L., Sousa, A. R., Capitao, C., & Pedro, A. R. (2024). Complementary feeding approaches and risk of choking: A systematic review. J Pediatr Gastroenterol Nutr, 79(5). 934-942. doi: 10.1002/jpn3.12298
PIN THIS INFO TO SAVE FOR LATER!

Edwena Kennedy, RD, BSc. Neuroscience
Founder & Lead Pediatric Registered Dietitian at My Little Eater
Edwena is a Registered Dietitian with over 15 years of experience in pediatric nutrition, two post-secondary degrees (Neuroscience and Applied Human Nutrition), and a mama of two boys. She's the creator of the Texture Timeline™ and is backed by a team of pediatric dietitians and a speech-language pathologist. Meet the full team here.
Edwena Kennedy, RD, BSc. Neuroscience
Founder & Lead Pediatric Registered Dietitian at My Little Eater
Edwena is a Registered Dietitian with over 15 years of experience in pediatric nutrition, two post-secondary degrees (Neuroscience and Applied Human Nutrition), and a mama of two boys. She's the creator of the Texture Timeline™ and is backed by a team of pediatric dietitians and a speech-language pathologist. Meet the full team here.
More Blogs Like This...