- Originally Published: February 28, 2019
- No Comments
- Chelsey Landry, RD
- Updated: January 20, 2025
This post may contain affiliate links, please view our disclosure policy for more details.
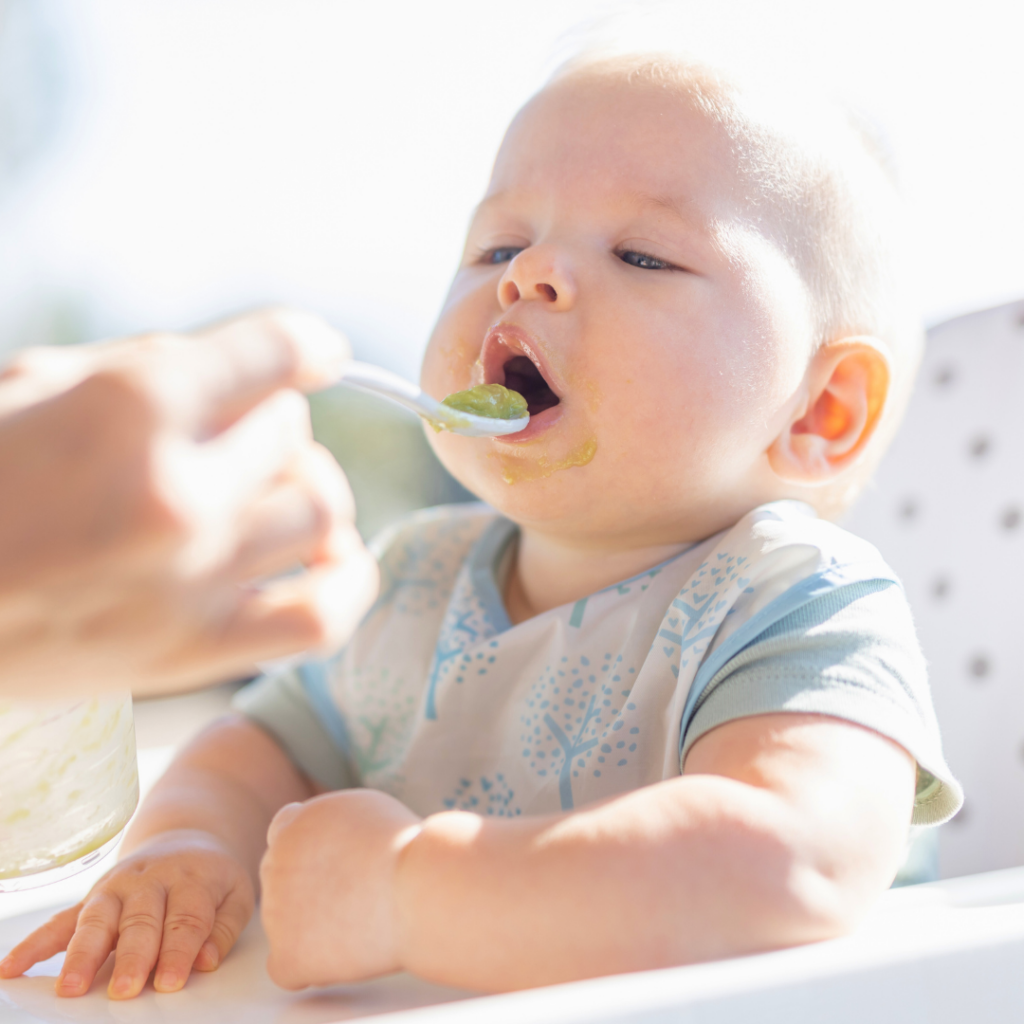
Introducing an open cup to your baby promotes independence, oral development, and essential motor skills. While it may seem daunting initially, with the right cup and approach, open-cup drinking can become an enjoyable part of your baby’s daily routine!
In this blog, we’ll give you all the details about how to introduce an open cup, when to start, why an open cup for babies is recommended over sippy cups, and what features to look for when choosing an open cup.
We’ll also share our favorite open cups, practical teaching tips, and strategies for managing spills and messes!
Let’s dive in!

Table of Contents
Key Takeaways
Key Takeaways
- Introduce an open cup at around 6 months, when your baby is showing all the signs of readiness to start solids.
- Skip the sippy cup!
- Choose a cup that is small enough for tiny hands, made from soft materials (like silicone), is BPA-free, and made with non-toxic materials.
- Practice open-cup drinking at each meal.
- Prepare yourself for some spills and be patient as your baby learns this new skill!
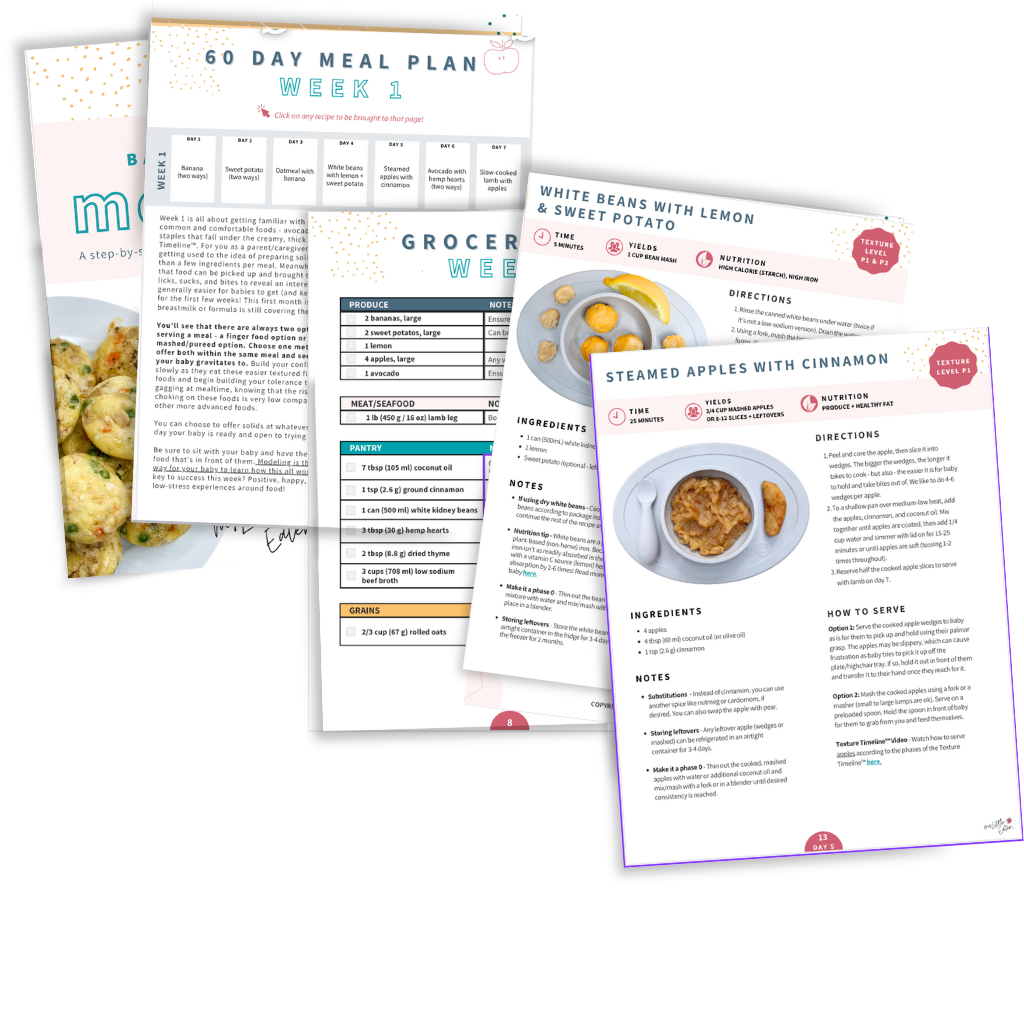
For ultimate confidence in how to feed your baby from 6-12 months of age, join our Baby Led Feeding Program! This expert-led, video-based course teaches you all about starting solids with the feeding method that’s best for you and your baby.
You’ll learn how to progress through a variety of textures in a timely way, prevent picky eating, serve all food safely, and raise a food-loving baby!
Plus it includes our Texture Timeline™ video library! Easily search for any food and find a video for exactly how to serve it according to age and phase.
We’re continuously adding to this video library, and you’ll get lifetime access to it through the program along with ongoing support from our team of feeding experts!

When to introduce an open cup
The ideal time to introduce an open cup is around 6 months of age when your baby is showing all of the readiness signs for solid foods.
While it might seem early, babies at 6 months of age do have the basic oral motor skills to learn how to drink from an open cup (1)!
A note on water for babies
A note on water for babies
Most tap water in developed countries is safe for babies, children, and adults. If you want to provide an extra layer of safety, you can offer your baby filtered water. You can also boil tap water as a precaution.
If you get your tap water from a well, ensure it is regularly tested, and even so, the general recommendation is to boil it before offering it to your baby or use bottled water instead.

When will my baby be able to use an open cup on their own?
Every baby masters skills at their own pace. With regular practice and help from you, most babies can start using an open cup more independently by 12 to 18 months of age.
It’s important to remember that using an open cup “independently” doesn’t necessarily mean spill-free!
Additionally, practice with an open cup early on makes transitioning off of bottles and onto a cup later so much easier! It’s recommended to start transitioning off a bottle at around 12 months, and it’s not always an easy transition when your baby isn’t familiar with open-cup drinking at all.
How to teach open-cup drinking
Teaching your baby to drink from an open cup is a gradual process that involves some patience and lots of practice!

Your baby may not open their mouth in the beginning or they may make “chewing” motions at first – that’s ok! They will quickly figure out how to open their mouth when water comes in, and over time, they’ll purse their lips enough to control the flow of water entering their mouth.
Here’s a step-by-step guide on how to teach your baby to drink from an open cup.
Step one
Fill a small open cup with a bit of water (1-2 oz. only).
Step two
Place your hands over your baby’s hands and help guide the cup up to your baby’s mouth, slowly.
Step three
Tilt the cup up slightly so that the water touches your baby’s lips. Hold the cup for 1-2 seconds and then take it away.
Step four
Repeat! Remember to model cup-drinking yourself. Pick up a cup, take a sip, and say “AHHH” at the end of the sip to indicate you got a drink.
Check out this adorable video of a sweet baby girl who graduated from our Baby Led Feeding course testing out her open-cup drinking skills:
Why you don’t need a sippy cup
We recommend skipping the sippy cup because the skills required to use a sippy cup are the same ones they would use when drinking from a bottle.
The tongue is placed down and towards the front of the mouth and your baby has to suckle to extract the liquid from the spout (2).
Since your baby already knows how to do this from drinking out of a bottle or breastfeeding, keeping them in a place where they can only use this skill prevents the progression of oral motor skills (3).

This can also increase the risk of developing dental caries, delays in speech, difficulty managing textures, and even breathing issues (2, 4).
If you think about a more mature swallow pattern for drinking, the tongue is actually elevated so that it touches the front and top (roof) of the mouth (5). This helps to create a wave-like motion to bring the liquid down for a swallow (5). That’s the skill we want to promote!
That’s why feeding experts of all kinds including dietitians, dentists, speech-language pathologists, and occupational therapists now recommend introducing water via an open cup beginning around 6 months of age.
What about the Munchkin 360° cup?
The Munchkin Miracle 360° Cup has been a popular choice among parents transitioning their babies or toddlers to self-drinking. However, in recent years, the cup has started to come under fire from some professionals as being just as bad as offering a sippy cup, and they are no longer recommending it.
Let’s break down what is being said, and what we recommend here at My Little Eater.

When your little one drinks out of the munchkin cup, they have to put their top lip on the rim and squeeze down on the silicone in order to extract the liquid.
This causes the tongue to protrude forward and often times they’ll tilt their head back excessively, combined with a strong sucking motion (which is needed to actually get any liquid out). This is called jaw protrusion (ie. the jaw moving forward) and is an abnormal placement of oral structures.
This design may delay the development of cup skills like tipping the cup properly or controlling liquid flow.
Try it yourself if you have one and you’ll see what we mean! The liquid doesn’t just flow into your mouth when using this cup like it would with an open cup. You have to put quite a bit of force on the silicone and suck on the rim in order to get anything to drink. So in reality, it doesn’t function like an open cup would at all.
While it’s ok to use sometimes, since it doesn’t fully replicate the experience of drinking from an open cup, we don’t recommend consistent, daily use.
Characteristics of the best open cups
With so many options in the baby section, it’s important to know what characteristics you want to look for in an open cup to help narrow down your search.

Let’s go through each category that we evaluate when deciding if a cup is appropriate for babies beginning at 6 months of age.
Size
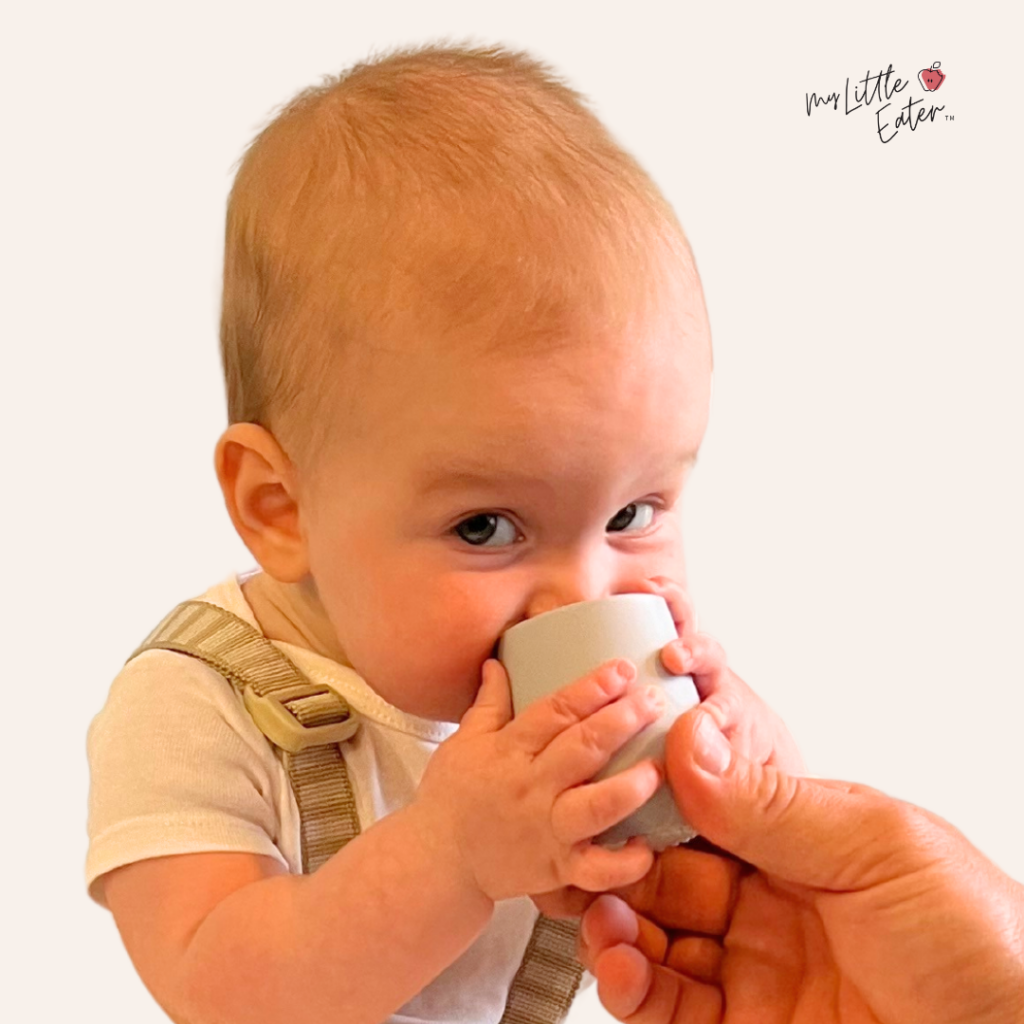
The cup size should be small enough that it’s easy for your baby to wrap their hands around it. They’ll also need to be able to lift and maneuver it to their mouth without it being too heavy.
We’ve seen baby cups that are pretty much the size of an adult cup or even larger cups that are made for toddlers, be too hard for babies to manage.
Think about if you had to drink out of a bucket of water – it’s hard to do and pretty near impossible not to spill water all over your face and body! It’s the same thing for babies when they’re given larger cups!
It’s also much easier to be able to access just a small amount of water in the cup at a time when it’s a tiny cup because they don’t have to tilt it as much.
Material
Choose a soft or semi-soft rim (silicone is a good option). The reason for this is that harder rims like those found on stainless steel or glass cups can be hard on your baby’s teeth. Sometimes babies can go in for a drink too quickly and bop their teeth on the hard rim, causing damage (and pain!).
A rim made of soft silicone not only avoids offering plastic options but it provides a flexible, soft, and durable material to work with. Choose cups that are BPA-free and made with non-toxic materials.
Weight & design
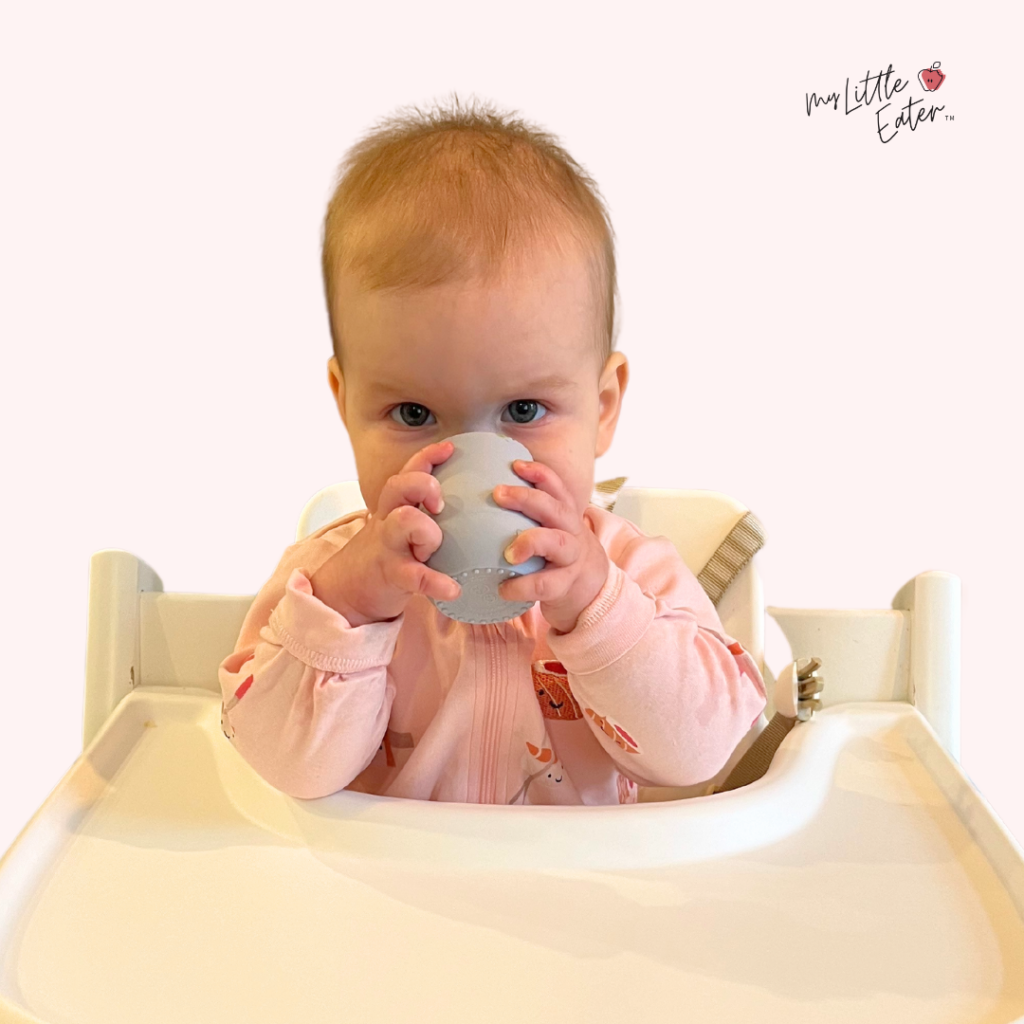
Handles can be helpful by allowing your baby to grab onto something to get a better grip, especially when they’re trying to drink from the cup independently. However, they aren’t necessary if the cup size is small enough for your baby.
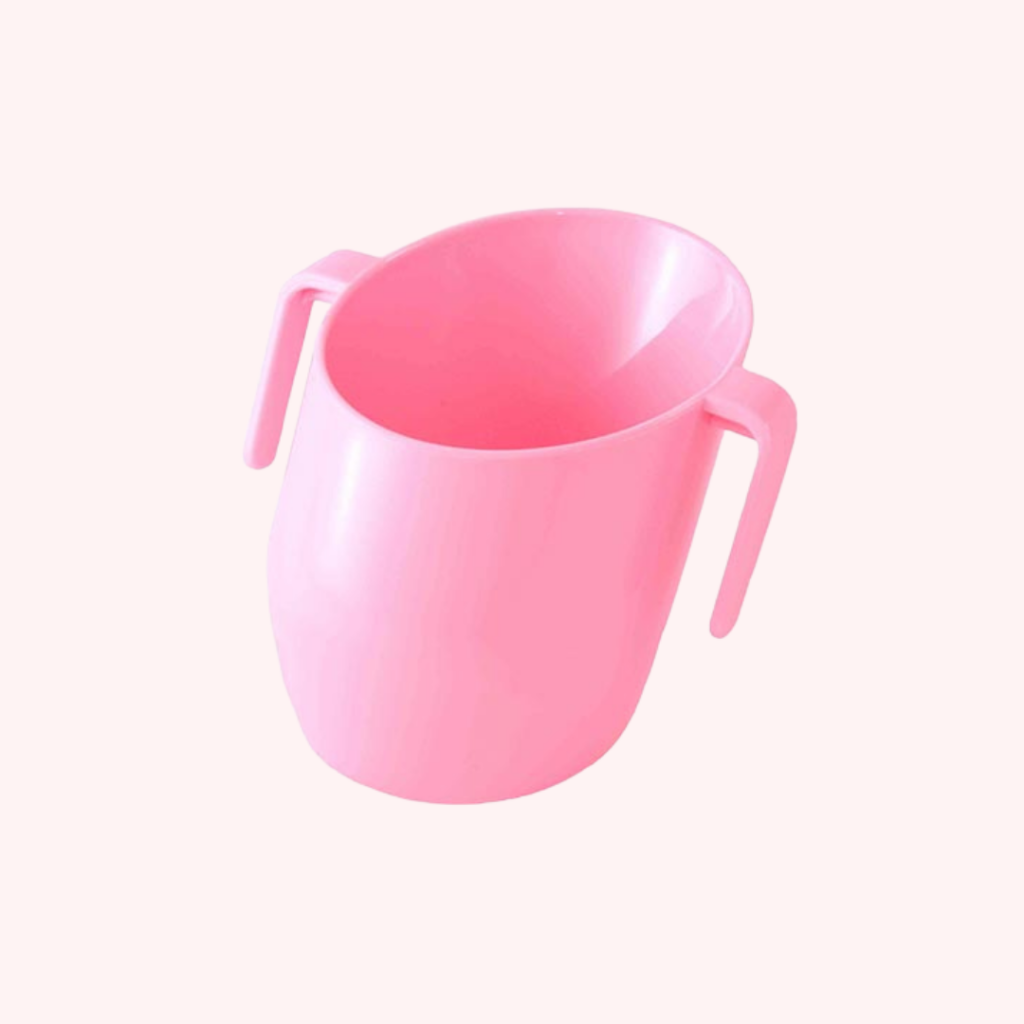
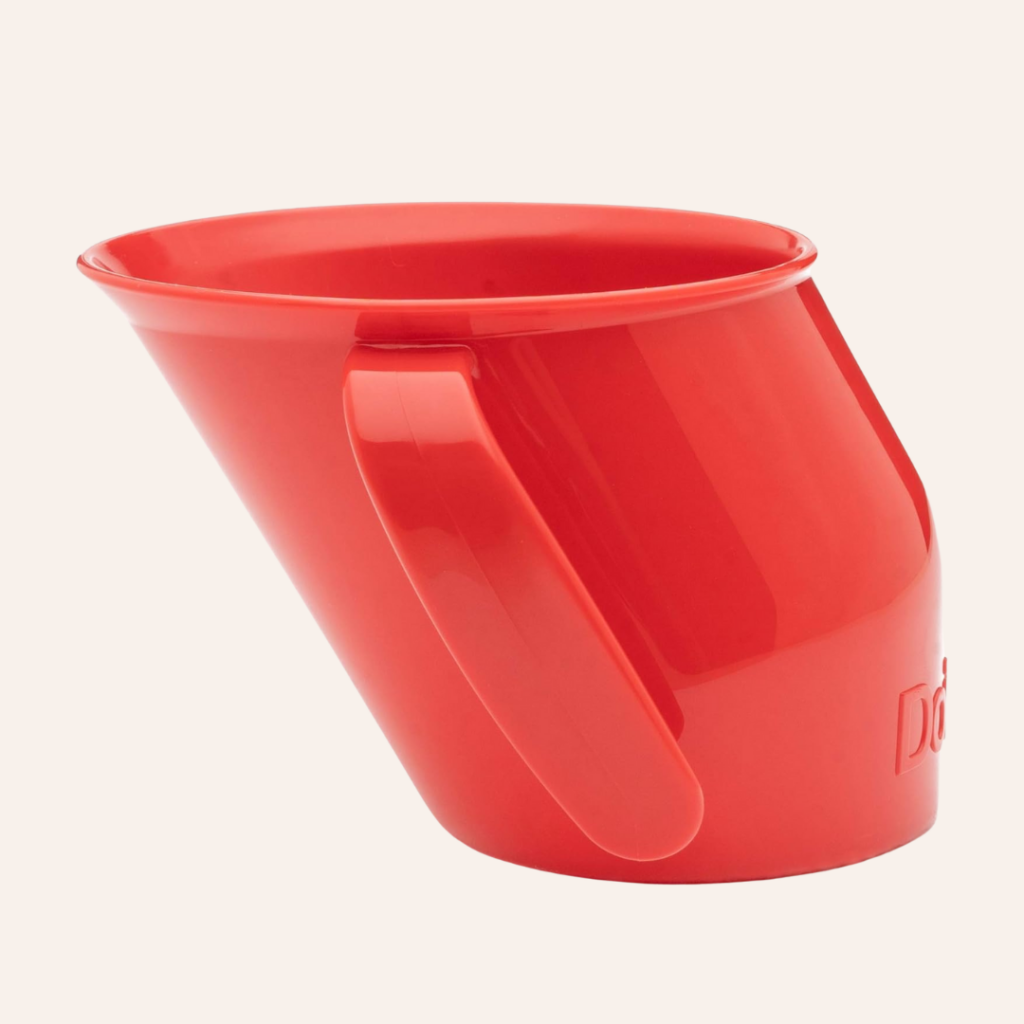
Some cups have angled rims which are nice (like the Doidy cup below). These help with not having to tilt their head back so much to get water out. Other cups have weighted bottoms to prevent them from toppling over which can be great but can also make it difficult for your baby to pick them up.
All these features are great to test out – you may find one type works better for your baby than another. But don’t stress if you can’t find one with those extra features because they aren’t needed for your baby to start practicing!
Our favorite open cups for babies
With so many choices, it can be nice to have a list of exactly what you want to buy, find it, and checkout without having to evaluate the pros and cons of each option to make a decision.
We’ve done all that for you and narrowed it down to these 5 cups that we love – if you pick one or two of these, your baby will have exactly what they need to get started!
And as a side note, we generally recommend having at least two because likely the cup will get thrown at some point and it’s handy to have another one ready to go.
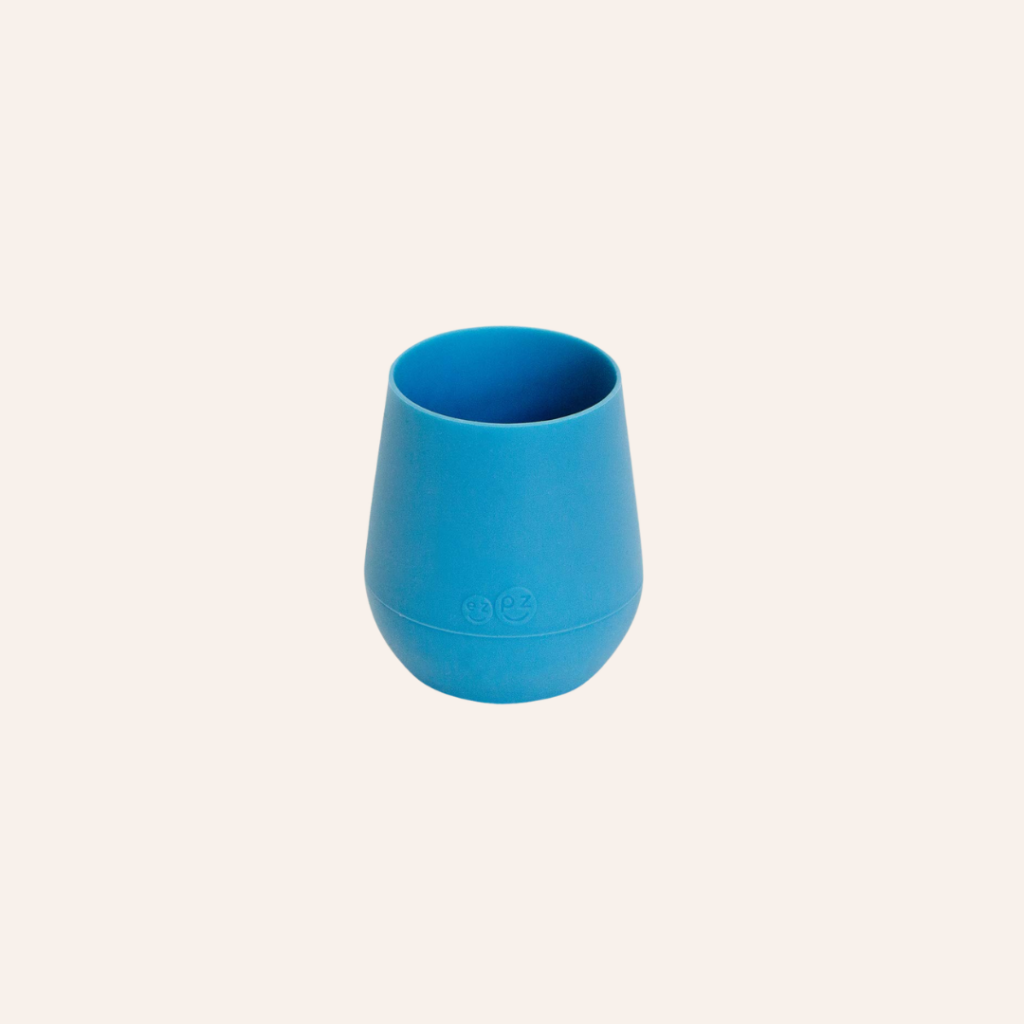
EZPZ TINY CUP
When you first start teaching your baby how to drink from an open cup, you can really choose any cup that’s small in size, soft, and easy for your baby to hold. We have a preference for the EZPZ tiny cup because it hits all of these marks without being overpriced!
It’s made of food-grade silicone, is SO tiny so baby can wrap their hands around it easily, and it’s available in super cute colors!

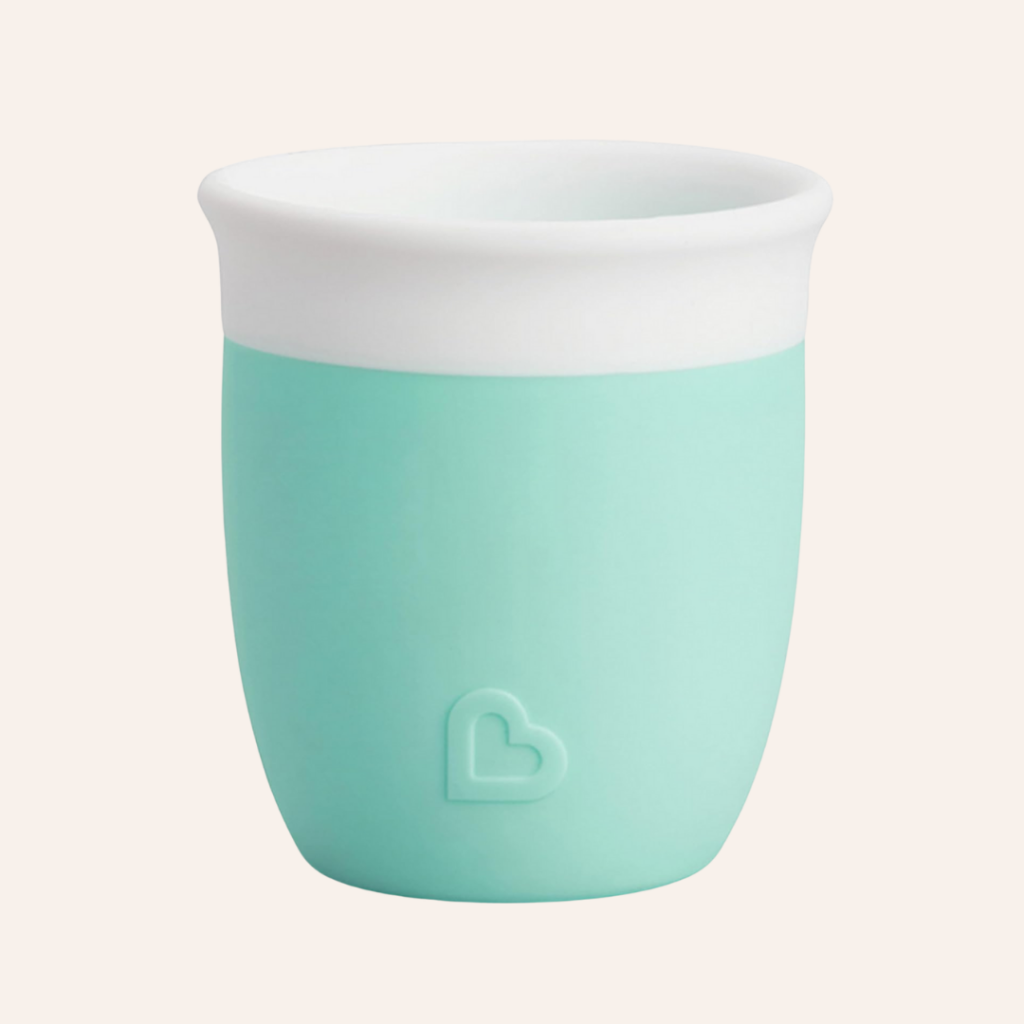
MUNCHKIN OPEN TRAINING CUP
The Munchkin silicone training cup is another great option as it’s made of super soft 100% silicone (premium 100% FDA food-grade & LFGB European food-grade silicone). It’s free from BPA, BPS, and PVC. Plus, it’s top-rack dishwasher safe!
The lightly weighted base provides stability from tipping and the 2 oz. size is perfect for practicing too. As a dentist-recommended (and now dietitian-recommended) option, you can feel good that it’s easy on delicate gums, is easy to grip, and easy to sip.

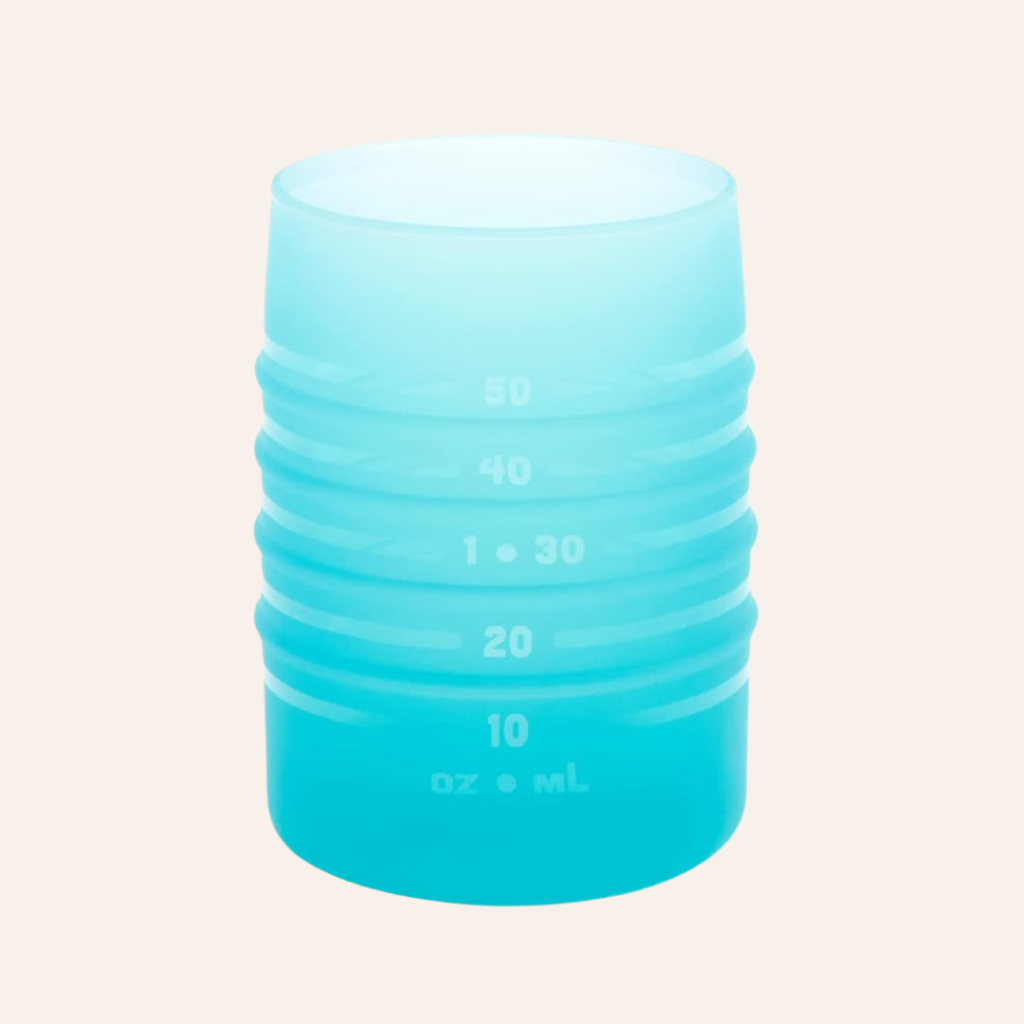
BUMKINS SILICONE STARTER TRAINING CUP
This 2 oz. open cup is sized for little hands with textured ridges making it easier for babies to grip. In addition, the sloped interior helps control the liquid flow for safer drinking as babies learn to take sips independently.
Markings on the transparent silicone let you measure your baby’s progress (and ensure they’re not drinking too much water), and the weighted bottom reduces tipping, meaning fewer spills for you to clean up!
Made from soft 100% food-safe platinum silicone to protect emerging teeth and gums, plus it’s dishwasher-safe (top rack only).

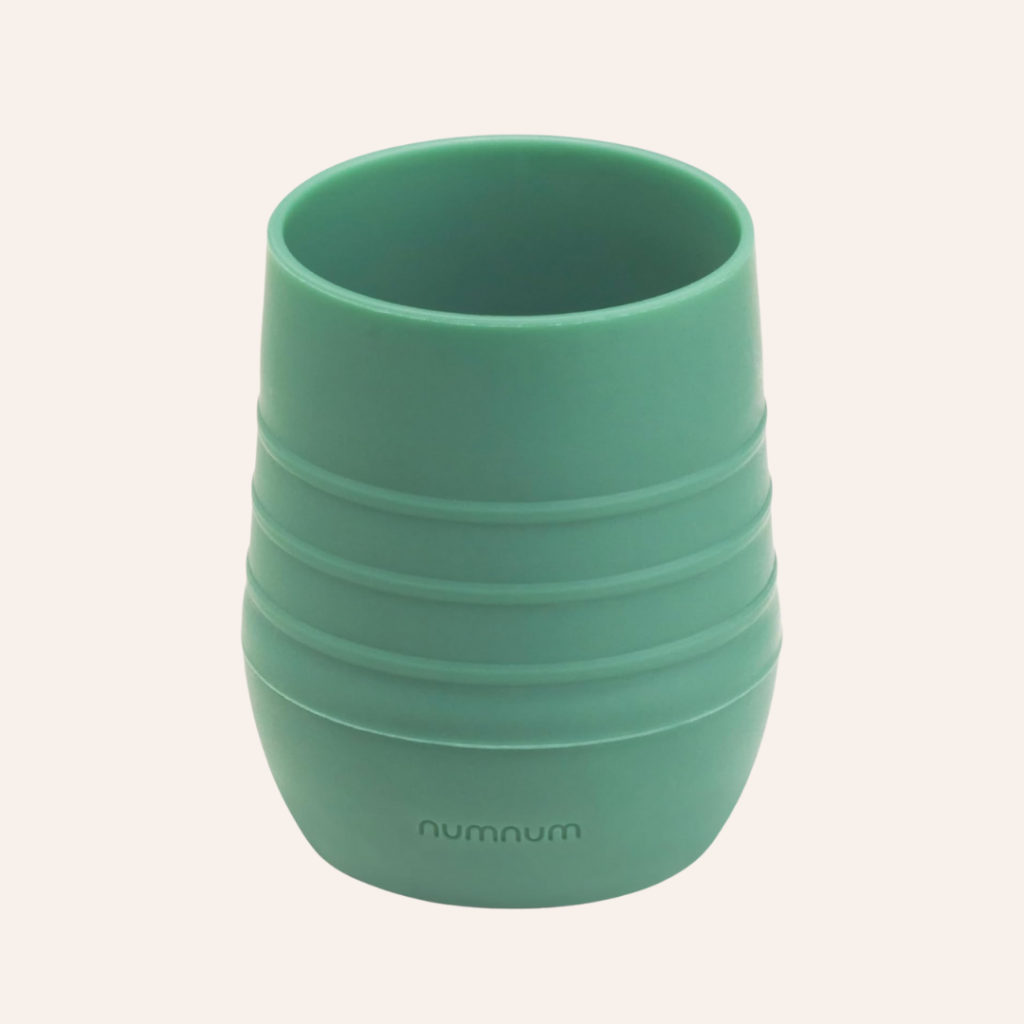
NUMNUM TINY TRAINING CUP
This cup is designed with non-slip ridges guiding babies on where to hold the cup. The combination of the cup’s tapered opening, A-line interior angle, and weighted bottom encourages small sips and reduces spills.
It’s made with 100% food-grade silicone, free from BPA, Phthalates, and PVC, and is dishwasher safe for easy cleaning.

DOIDY CUP
The Doidy Cup was scientifically designed with its unique slant to teach children to drink from a rim and NOT a spout. It’s made from food-safe HD Polyethylene and is BPA free.
This proven 40-year-old design helps your baby learn to drink safely from a cup with fewer spillages along the way. Dishwasher (top shelf) and microwave safe.

How to minimize spills when practicing open-cup drinking
Teaching your baby how to drink from an open cup definitely won’t be mess-free. They may even want to tilt the cup back too far resulting in a spill all over them – but that’s ok!
Prepare yourself for some spills and be patient as they learn this new skill. Try not to make a big deal out of the mess so your baby doesn’t get upset.
In fact, laugh it off and have them try again! It can be fun (and funny), plus it’s only water.
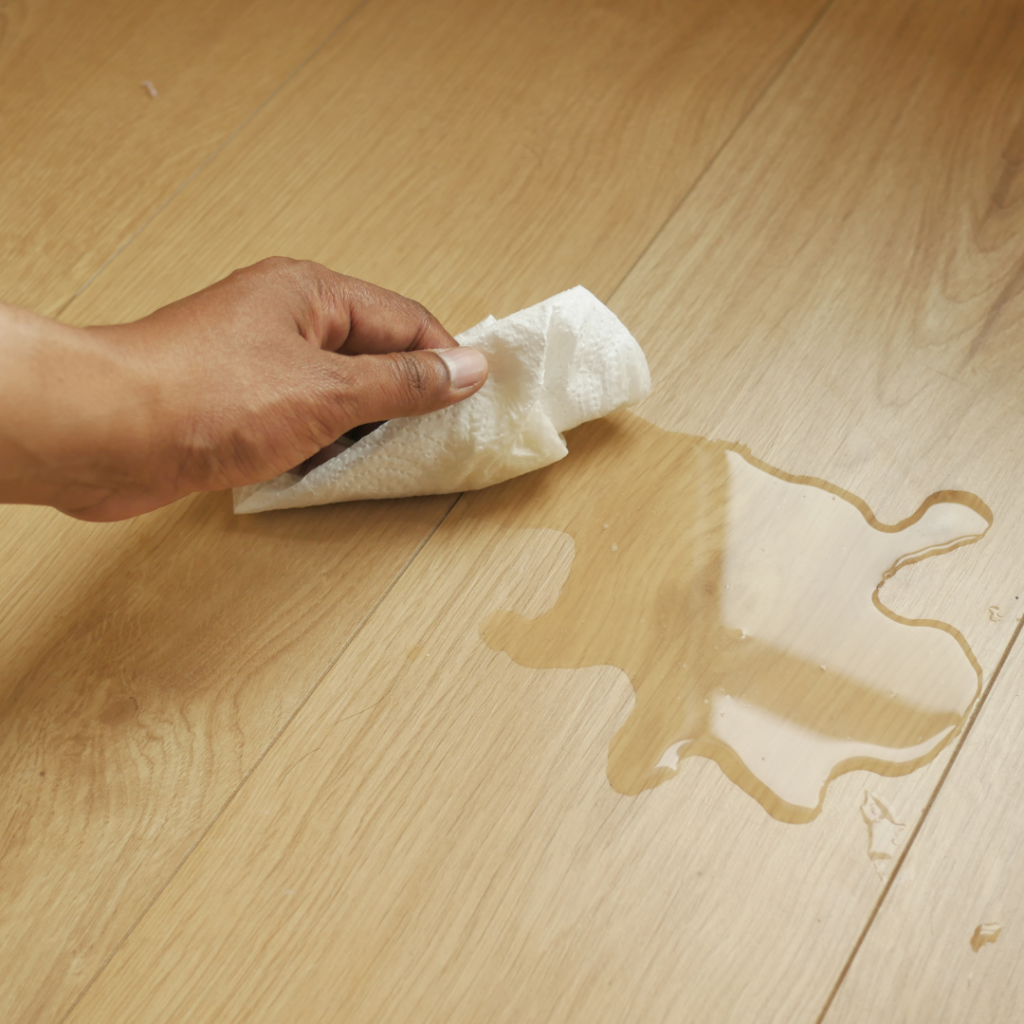
That said, there are a few things you can do to help minimize the mess when practicing, including:
- Use a small amount of liquid to start (1-2 oz of water). This reduces the mess if the cup is tipped over and helps your baby focus on the act of sipping rather than managing a heavy, full cup.
- Hold the cup with your baby by gently placing your hands over theirs and helping them bring it to their mouth. Gradually reduce the level of assistance as they become more confident.
- Waterproof bibs with a pocket (like these Neferland bibs) are perfect for catching dribbles. Place a wipeable mat or towel under your baby’s chair to protect floors from splashes, too.
- Practice open-cup drinking before bath time or even while your baby is in the bathtub! They’re naked, surrounded by water, and neither you nor your baby will be phased by spills.
Adding open cups to meals and snacks
Introduce the open cup consistently at each meal. In the first couple months of starting solids, that will only be once a day, which is enough for them.
Too much water can be harmful to babies, so 1-2 oz per day is sufficient!
Try offering the open cup at the end of the meal so your baby can focus on one thing at a time and they aren’t overwhelmed. This will also be helpful for washing down any bits of food left in their mouth after they’ve finished eating.
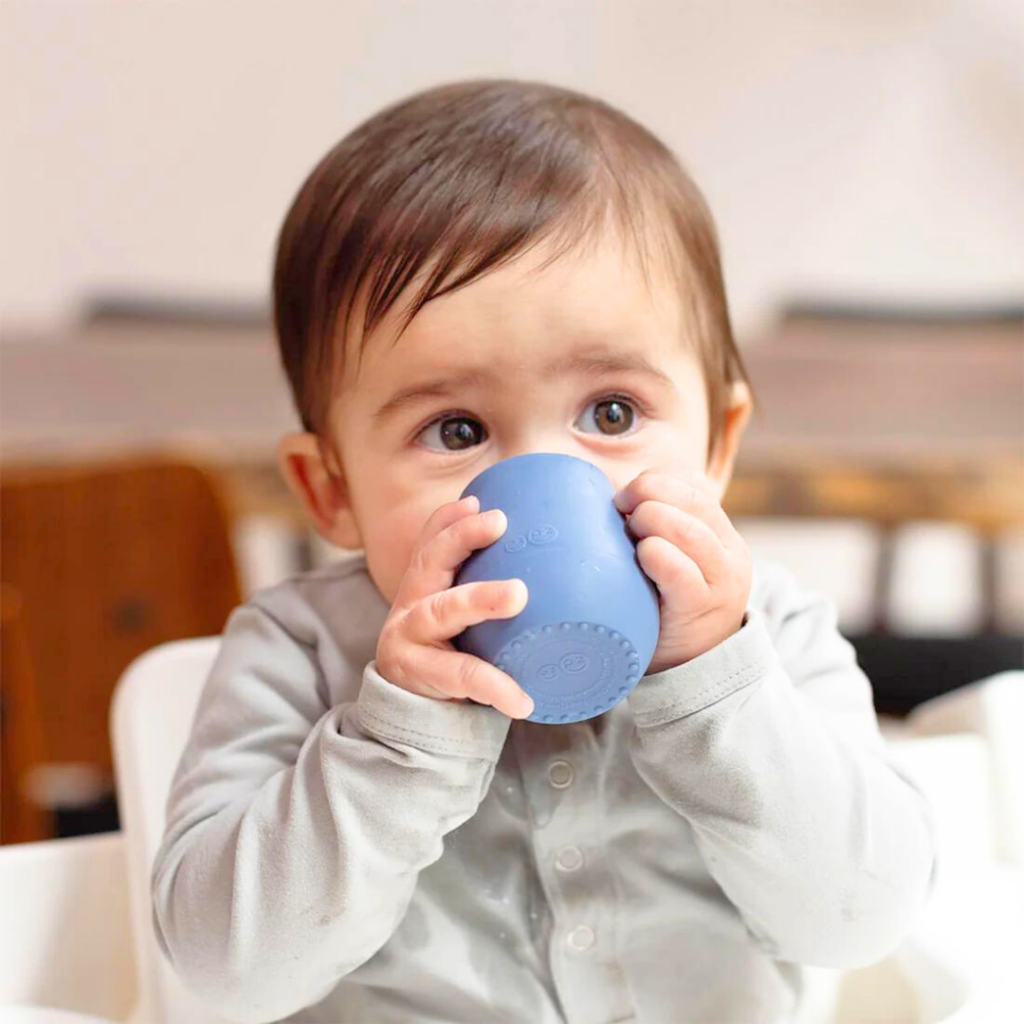
Once your baby gets the hang of things, encourage sips between bites to help them understand the rhythm of eating and drinking.
Straw cup drinking
Learning how to use straw cups is another important milestone in your baby’s development!
While open cups are excellent for teaching foundational drinking skills, introducing straw cups around 8 months of age can complement those skills and provide additional benefits for your baby’s oral motor development.
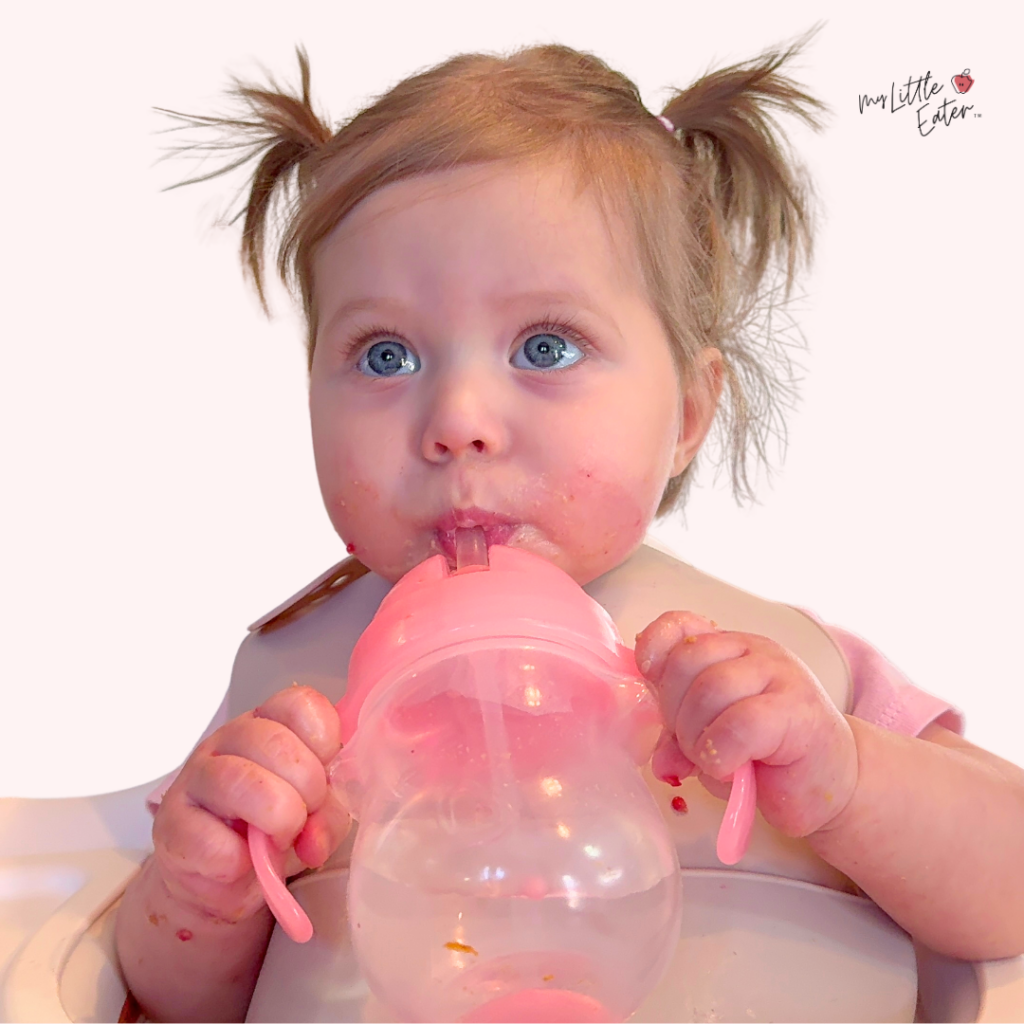
Not to mention, straw cups are much more convenient for on-the-go!
Watch the video below to learn how to teach your baby to drink from a straw cup.
Open cup FAQs
What if my baby refuses to drink out of an open cup?
It’s common for babies not to catch on or be interested in using an open cup right away. Here’s what you can do to encourage your baby to drink out of an open cup:
- Let them explore and play with the cup before you put water in it.
- Make it fun, using “ahhhh” sounds and exaggerated sips, then cheer your baby on.
- Model open-cup drinking in front of your baby (babies naturally want to imitate you).
- Be consistent with offering an open cup each day.
- Avoid pressuring them.
Can you start with a straw cup instead of an open cup?
Yes, you can start with a straw cup instead of an open cup. However, open-cup drinking is the gold standard for long-term skill development.
A combination of both cups ensures your baby builds well-rounded drinking abilities and transitions easily to regular cups as they grow up.
Choose what works best for your baby and family, and remember to keep the process fun and pressure-free!
What do you do if your baby pours the water all over themselves?
Spills are a natural part of learning to drink from an open cup, and pouring the water out on themselves or on their high chair tray is common for babies as they explore this new skill.
While it might feel messy or frustrating, it’s an important part of their development!
Show them how to do it correctly, and try not to make a big deal out of it so your baby doesn’t get upset. Just keep things light, fun, and pressure-free, then try again!
What do you do if your baby just wants to bite the cup?
This is very common – no need to worry!
Usually, when something is in our mouth, it’s meant to be bitten or chewed (like food). And if they’re teething, biting on the cup probably feels good on their gums too.
You have to teach your baby that a cup is for drinking, not for biting! Generally speaking, babies just need more time and practice with drinking to get the hang of it.
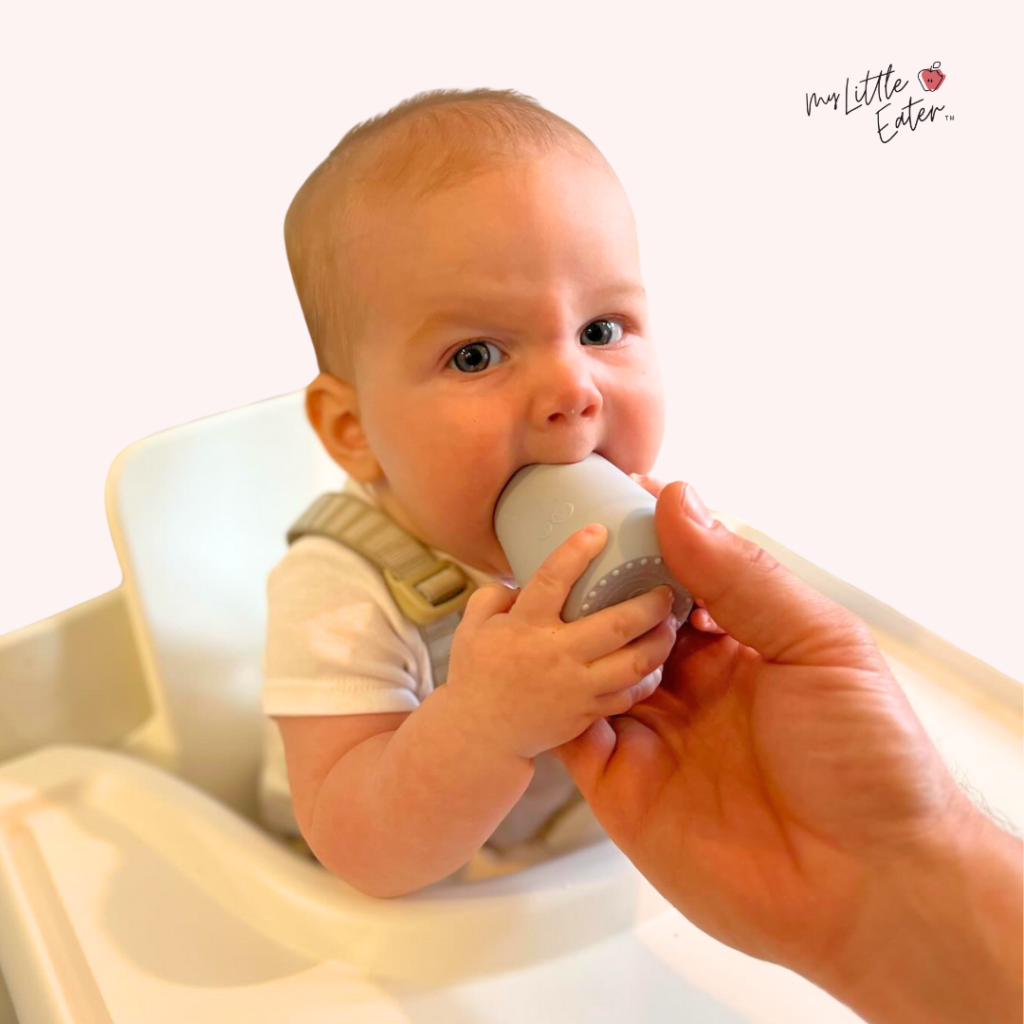
What do you do if your baby coughs a lot while drinking from an open cup?
As your baby learns to drink water from an open cup, they’re also figuring out how to move water around in their mouth. Since it’s a thinner liquid compared to what they’re used to (ie. breast milk or formula), it may cause them to cough.
If your baby is coughing frequently as they learn how to use an open cup, you can rely on thicker fluids like smoothies, as this will be easier for them to manage. Once they get the hang of things, you can start practicing with water again.
Can babies drink breast milk or formula from an open cup?
Yes, babies can drink breast milk or formula from an open cup. However, you do want to help your baby get used to the taste of water and learn how to manage these thinner liquids.
If you want to offer breast milk or formula the first few times as they learn, that’s totally fine, but you’ll want to expose them to water shortly after.
What if I didn’t introduce an open cup at 6 months?
If you didn’t start open-cup practice at 6 months, don’t worry – it’s never too late to start! Starting at 6 months is ideal to ensure they have had enough practice by when they’re ready to transition off a bottle.
That said, you can still introduce an open cup at any age and help your baby or toddler develop this important skill.
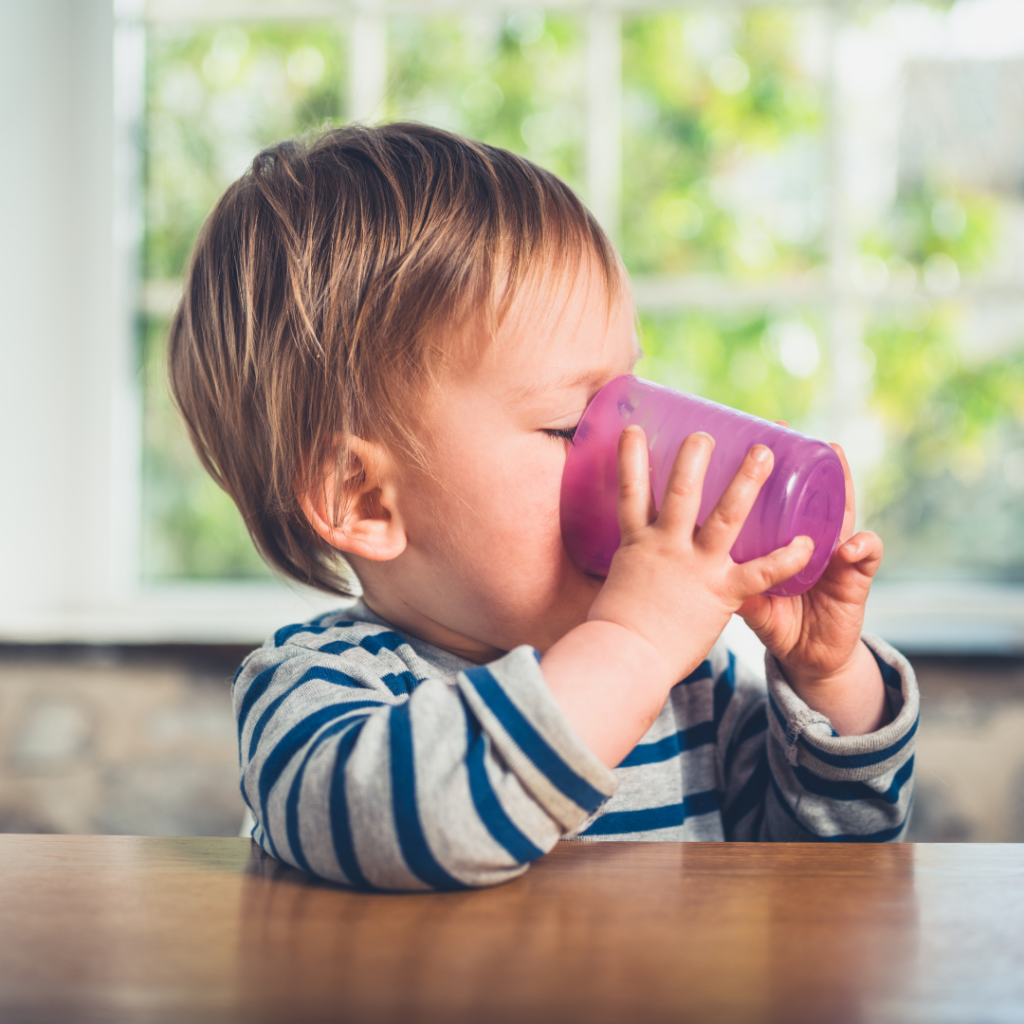
You may notice that older babies or toddlers initially resist the open cup, especially if they’re used to bottles or sippy cups. Stay consistent, keep things pressure-free, and celebrate small successes to build their confidence!
And remember, every child develops skills at their own pace!
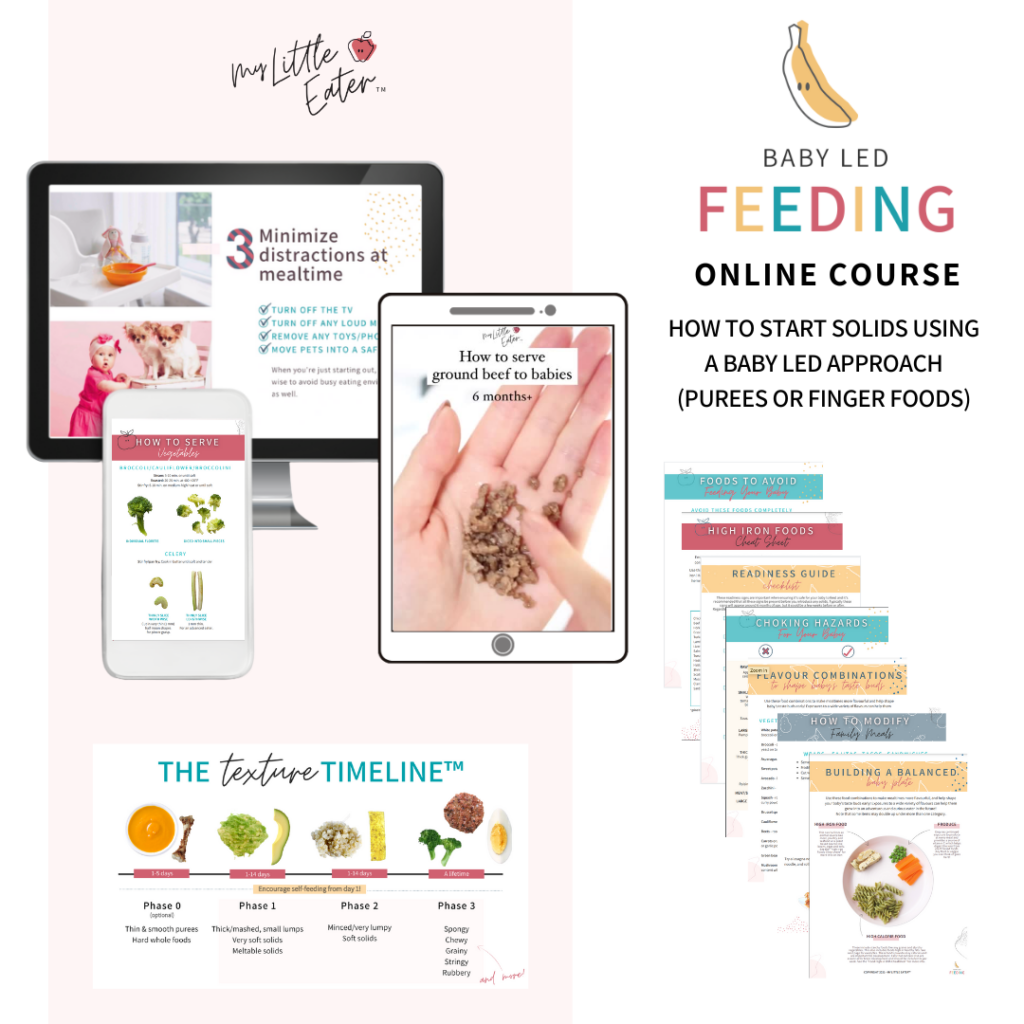
To get instant access to all of the foods in the Texture Timeline™ Food Video Library, along with our signature course for starting solids with evidence-based research and expert guidance, enroll in our Baby Led Feeding Program!
Complete with video lessons, printable resources for everything along the way, and an app to access it all at your fingertips, it’s like having a team of feeding experts in your pocket supporting you every step of the way.
References
- CSOM, Q., & Sharon, A. V. A clinician’s guide to pediatric oral motor development. JOURNAL OF CLINICAL CHIROPRACTIC PEDIATRICS, 1708.
- Potock, M. (2017). Sippy Cups: 3 Reasons to Skip Them and What to Offer Instead. Leader Live. Retrieved from: https://leader.pubs.asha.org/do/10.1044/sippy-cups-3-reasons-to-skip-them-and-what-to-offer-instead/full/?fbclid=IwAR1RnzDoz9ZlHbns1jPRqvMhZEWXelDcXDE3M_1F-KowVJAZOj11Bkc7woA
- Moral, A., Bolibar, I., Seguranyes, G., Ustrell, J. M., Sebastiá, G., Martínez-Barba, C., & Ríos, J. (2010). Mechanics of sucking: comparison between bottle feeding and breastfeeding. BMC pediatrics, 10, 1-8.
- DE MELLO, J. R., Cammer, A., Da Silva, K., Papagerakis, P., & Lieffers, J. (2021). NUTRITION AND TOOTH DECAY IN CHILDREN: A QUALITATIVE STUDY OF CAREGIVER EXPERIENCES AND PERSPECTIVES. Canadian Journal of Dietetic Practice & Research, 82(3).
- Shah, S. S., Nankar, M. Y., Bendgude, V. D., & Shetty, B. R. (2021). Orofacial myofunctional therapy in tongue thrust habit: a narrative review. International journal of clinical pediatric dentistry, 14(2), 298.
WAS THIS HELPFUL? PIN IT TO SAVE FOR LATER!


Chelsey Landry, RD
Community Dietitian at My Little Eater Inc., and bunny-mom to Hickory. Chelsey offers one-on-one counselling to parents of babies and toddlers that need more customized support. Learn more by booking a free discovery call with her today!

Chelsey Landry, RD
Community Dietitian at My Little Eater Inc., and bunny-mom to Hickory. Chelsey offers one-on-one counselling to parents of babies and toddlers that need more customized support. Learn more by booking a free discovery call with her today!
