Step-by-step guide to making healthy homemade pureed baby foods for your baby

This post contains affiliate links, please view our disclosure policy for more details.

Starting solids with your baby begins with the decision of what feeding method to go with – purees, baby led weaning (finger foods), or a mix of both? Nowadays, offering finger foods around 6 months of age or when a baby shows the readiness signs for starting solids is becoming more and more common. However, the traditional method of starting with purees for the first few months is still a valid and highly desired option for so many other parents!

If you plan to start introducing your baby to solids using the puree feeding method, there comes a new decision to make – do you buy ready-made purees, or make your own homemade purees?

While both can be healthy and convenient, preparing purees yourself gives you full control over what foods your baby is eating, the flavors they experience, and how they transition from one texture to the next. It can also be a major money saver! That being said, it’s not always intuitive knowing how to puree baby food and find the right combinations of flavors and recipes.

So let’s get into the details for why you might want to make your own healthy, homemade baby food purees and how to do it with confidence (plus leave you with a great, high-iron baby food recipe to get you going)!

Are you at the point where you want to transition your baby off purees but are feeling stuck or scared to do it? Learn how to gradually transition into more advanced textures and finger foods and get over your fear of gagging/choking/big bites, in our FREE workshop called “Baby led weaning…but make it purees!”.

starting solids workshop

Benefits of making your own pureed baby food

You can create custom flavors

When making your own purees, you’re able to explore various flavor combinations that your baby otherwise might not get to experience with commercial baby food. Pureeing baby food at home means you can take the variety you experience in your meals and extend that to your baby. No need for the same 5-6 store-bought meals on repeat – and – no need for flavors that are always sweetened with fruits (or sweet potato) like are always found in store-bought purees! 

Branching your baby out to more flavors and advanced food combinations helps give them the variety needed to reduce the risk of pickiness down the road. Learn more about the importance of offering variety, here.

Optimize the nutrition of your baby's food

baby food puree combinations

Store-bought purees may contain preservatives or fillers in them, but more commonly than that, they’re sterilized at very high temperatures to keep them safe and shelf-stable for a long time. When this happens, a lot of the nutrients are “shocked” out of the food, which isn’t ideal. 

When making your own purees, you have full control over what ingredients are going into the mixture. Nutrients will remain more intact as compared to store-bought options, so you can feel confident your baby is getting a healthy and nutrient-rich meal.

Easier to manipulate the textures to suit your baby's skills

How to puree baby food

Making your own purees allows you to control the thickness and consistency of the food you feed to your baby. At My Little Eater, we’re always talking about the importance of moving your baby through a variety of textures in a timely manner using the Texture Timeline™, and commercial baby foods almost always come in only 3-4 texture options. 

Making your baby food purees at home means you can transition to more advanced textures easily and introduce them to textures that aren’t just chunky – but stringy, grainy, creamy, and more!

It’s cheaper!

According to calculations from many parents and blogs, homemade purees are just cheaper than buying store-bought baby food. In fact, it can be up to 45% cheaper (1), even when buying organic produce to make your baby’s food at home. Ultimately, it depends on the price of organic produce or meat in your local area and if it’s on sale, but no matter what, you can always make it cheaper by going with non-organic options as well. Read more on the health factor of organic options for your baby and if you have to buy organically, here.

Also, considering how many more portions you get out of homemade food recipes in general (especially if you’re just pureeing a meal the family was going to eat anyway) – making purees at home is ultimately the most economical option.

What supplies do you need to make homemade purees?

How to make puree baby food

How to make the perfect puree baby food

Step 1: Cook the ingredients

Most ingredients need to first be cooked to a point that they’re soft and easily blended.

For produce:

Start by washing and peeling fruits and vegetables as needed. While you can keep the peel of a cooked apple on, for example, you may want to remove it based on the texture you’re hoping to achieve. 

You can cook the produce by steaming, roasting, or simmering. There is no wrong way to cook them, as long as they reach the desired softness! For more detailed information, you can find out how long and at what temperature to bake or steam various fruits and veggies to reach a desired level of softness, inside the Baby Led Feeding Course.

Note: Certain fruits and vegetables may be able to be blended without cooking first – eg. banana, berries, avocado.

Puree baby food

For meat or seafood:

Remove any skin and excess fat and cook well, until you reach an internal temperature of 165F.

For beans, lentils, and chickpeas:

You can use no-sodium-added, canned versions without cooking them first. If using whole, fresh versions, soak beans or chickpeas first overnight, then boil them until tender and soft. 

Note: Lentils don’t have to be soaked overnight first as they will soften up enough through boiling alone. Also, red lentils will cook in under 10 min when boiled, while other lentil varieties, beans, and chickpeas can take 20 min+.

For grains:

You’ll want to rinse grains, like rice, underwater first a few times until the water is clear. This will help remove excess arsenic which is found in higher concentrations in rice and rice products (2). 

You can skip the rinsing step for other grains like pasta, oats, barley, etc. Then cook according to package instructions.

For Tofu:

Tofu doesn’t have to be cooked first at all! It can be blended as is, though soft or silken tofu is best for purees.

Step 2: Choose your seasonings

pureeing baby food

You can add spices and seasonings to purees that complement the flavors of the fruits and vegetables, as you would in an adult meal. Introducing a variety of flavors and spices early on, not only adds flavor to make baby’s meal more enjoyable, but it also helps to expand baby’s taste buds leading to a lesser chance of picky eating down the road!

I recommend adding seasonings to baby’s meals right away. Some common flavors include cinnamon, paprika, curry, garlic, onion, thyme, sage, etc. There are lots of flavor combination suggestions for babies to try in our flavor combinations resource found inside the Baby Led Feeding course.

To see some of our top recommendations for how to flavor your baby’s food, follow along with our realistic example for the first week of starting solids.

Step 3: Blend to desired consistency

Once the food is cooked, place it into a blender, or food processor, and puree until smooth. You can blend each food separately so your baby has a chance to try each flavor individually OR put everything in at once. Either is fine, we suggest you switch it up so your baby can experience more variety in flavors!

If the puree is too thick, add small increments of liquid (water, low-sodium broth, breastmilk, milk, or formula) and continue to blend until desired consistency is reached.

Give it time! It typically takes 1-2 minutes to reach the smoothest puree texture. Make sure to wipe down the sides of the blender or food processor with a spatula every 30 seconds or so to ensure all ingredients are thoroughly blended.

Note: A high-speed blender will produce the smoothest consistency, with the food processor producing a slightly thicker puree. A blender, however, may need more liquid to get going! Remember to be patient, and give it time to puree the foods completely, or until the desired texture is reached.

How to puree baby food without a blender

How to puree baby food without a blender

This is not going to be possible for many types of pureed baby food, except for some softer foods, such as bananas, berries, avocados, potatoes, or eggs. These foods should be able to be mashed down with a fork to achieve the desired consistency and then still be served as a puree on a spoon.

Pureeing baby food isn’t a one-size fits all scenario like commercial baby food would have you believe. Offering foods of different textures has many benefits, as mentioned above, so creating purees by simply mashing soft textures with a fork so they aren’t perfectly smooth is very beneficial for your baby. Learn more about why this is true and how to advance your baby from easy to more difficult textures using our signature tool, the Texture Timeline™, here.

How to store baby food purees

How to make baby food purees and store them

Most purees can be refrigerated in an air-tight container for up to 3 days.

Purees can also be stored in the freezer for up to 3 months, or 2 months if they contain meat, beans, or grains.

To freeze:

  • Prepare puree as normal, and let cool.
  • Transfer to freezer-safe jars, or pour into a freezer tray and cover with a lid or plastic wrap.
  • Label and date the container, and freeze for at least 5 hours or until completely solid.
  • Transfer the frozen purees into baggies for a quick and easy meal!
  • Microwave cubes in a glass container in 20-second increments, until warm. Stir frequently. You can also thaw by leaving the puree in the fridge, and warm before serving.

All in all, don’t let anyone tell you that you shouldn’t start solids with purees! It’s a valid method of introducing solids and one that I completely support. I’ve seen the benefits and know that what’s most important is getting started in a way that you feel comfortable with so that you can avoid becoming stuck. I hope that this guide will provide you with what you need to tackle pureeing baby food with confidence!

And if you’re ready to begin, or you’ve started but are unsure what to do after offering some smooth or runny purees, it’s time to learn more about my signature Texture Timeline™ tool! This is the tool used by thousands of parents to progress from easy to more advanced textures with their baby, starting where they feel comfortable and progressing from there. It allows you to get all the benefits of a baby led weaning approach, without having to jump off the deep end and serve finger foods right away – if you don’t want to. Learn all about the Texture Timeline™ and how to progress in textures in my FREE workshop “Baby Led Weaning but make it purees!”. Register now to save your seat, spots are limited and fill up quickly!

starting solids workshop

Favorite pureed food recipe for baby

Here is a high-iron puree that contains lots of antioxidants for a completely healthy protein option for your baby! Packed with pungent flavor, it will also help broaden your baby’s palate and isn’t your typical sweet potato or sweet-flavored baby food recipe.

baby food puree recipes

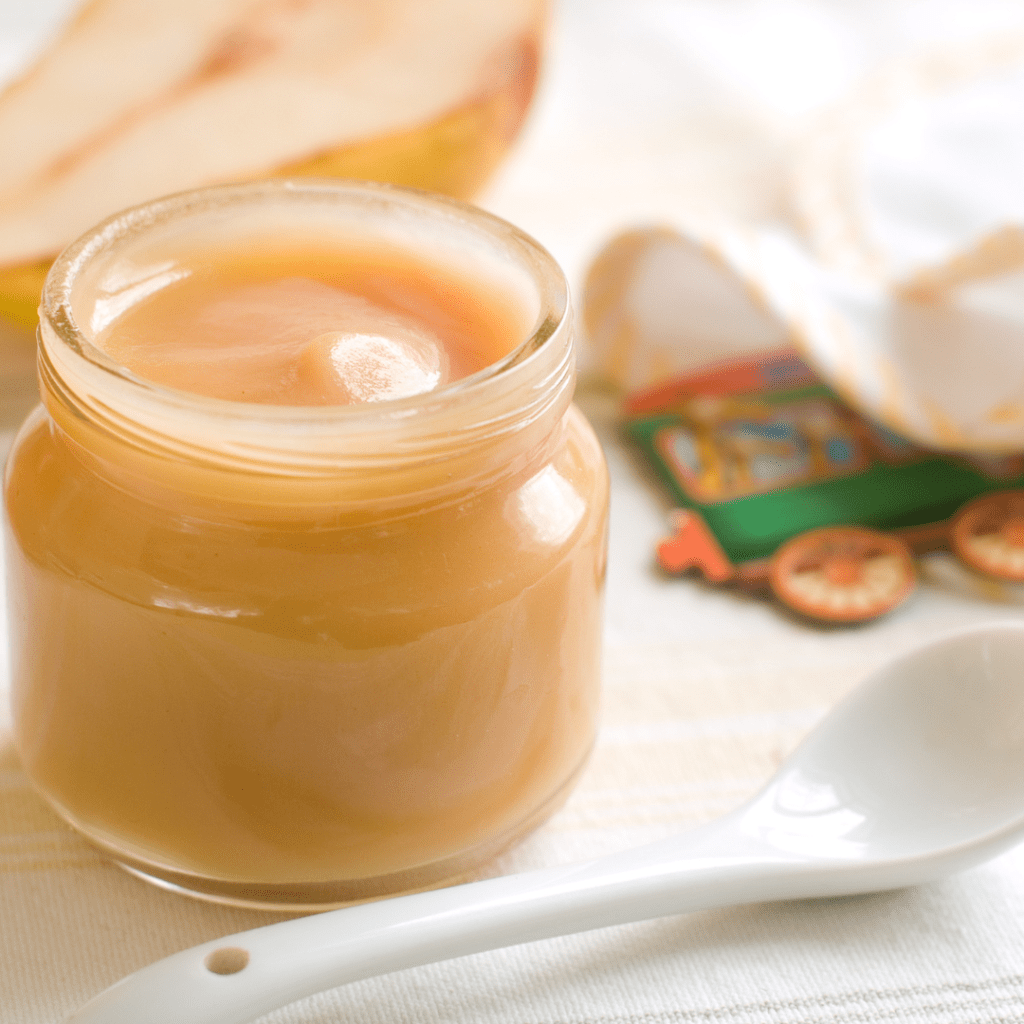
High-Iron Lentil Cumin Puree

Try this homemade baby food puree to offer your baby a tasty blend of spices and flavor. This puree is high in iron, antioxidant-rich, and protein-packed making it an excellent option for your growing baby.
5 from 1 vote
Prep Time 5 minutes
Cook Time 20 minutes
Course Lunch, Main Course, Snack

Equipment

Ingredients
  

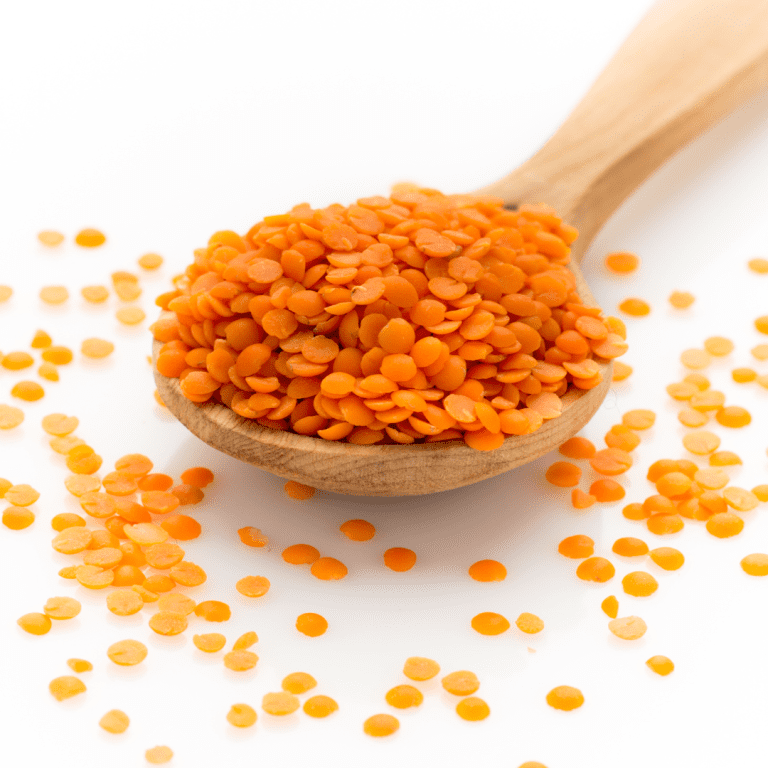
  • ¾ cups lentils (red, yellow, or brown) (canned, no-salt-added)
  • 2 cloves garlic (chopped)
  • 1 medium-sized onion (diced)
  • 1 tbsp cumin powder
  • 2-6 cups water (depending on your desired thickness)

Instructions
 

  • Cook canned lentils, diced onion, and chopped garlic in a saucepan with a bit of water until the onion is translucent and the garlic is lightly browned (about 10-15 minutes over medium-low heat). Add the cumin and stir.
  • Let cool, place the lentil mixture in a blender, and blend, adding water ¼ cup at a time, until desired consistency is achieved.

Notes

Want to add veggies? Try adding in 1-2 soft-cooked, whole carrots!
Keyword antioxidants, high iron, high protein, pureed baby food
Tried this recipe?Let us know how it was!

Did you find this helpful? Pin it to save for later!

pureeing baby food

References:

  1. https://mint.intuit.com/blog/planning/baby-food-breakdown-store-bought-vs-homemade-092012/
  2. https://www.fda.gov/food/environmental-contaminants-food/what-you-can-do-limit-exposure-arsenic
Picture of about the author

about the author

EDWENA KENNEDY, RD
Founder and lead Registered Pediatric Dietitian at My Little Eater Inc., creator of The Texture Timeline™, and mom of two picky-turned-adventurous eaters.

MORE BLOGS LIKE THIS...

SHARE THIS POST

meet edwena

Registered pediatric dietitian, mom of two picky-turned-adventurous eater, and the creator of the Texture Timeline™ – an exclusive tool to help move your baby through easy to more advanced purees and finger foods to prevent picky eating.

You may also like...

115 first foods list for baby

Baby's
115 First Foods
Checklist

60 Day Baby Led Feeding Meal Plan

MLE app preview

My Little Eater App (for apple/android)

scared to transition to finger foods?

Join the FREE workshop

Baby led weaning...but make it purees!

Get our proven, step-by-step plan for transitioning your baby from Purees to Finger Foods, texture by texture, so you can ease your fears about choking and gagging, all while helping your little eater develop their eating skills and an adventurous appetite.

Plus get The Texture Timeline™ Starter Guide for free when you stay until the end of the workshop. This tool breaks down the 4 phases, what kinds of foods to safely feed your baby during each phase, and when to progress to the next phase.

Scroll to Top