You may have heard about baby led weaning as being the “new” way to start solids. Some of your friends have probably tried it, Instagram keeps showing you posts about it, and you’re probably left wondering if this method of starting solids is right for you and your baby. Maybe you’ve even decided that it IS for you, but you want to make sure you’re doing it right.

If this is how you’re currently feeling, you’re in the right place!
This blog is going to cover all of the topics that we, as feeding experts, believe are important to know to make baby led weaning successful.
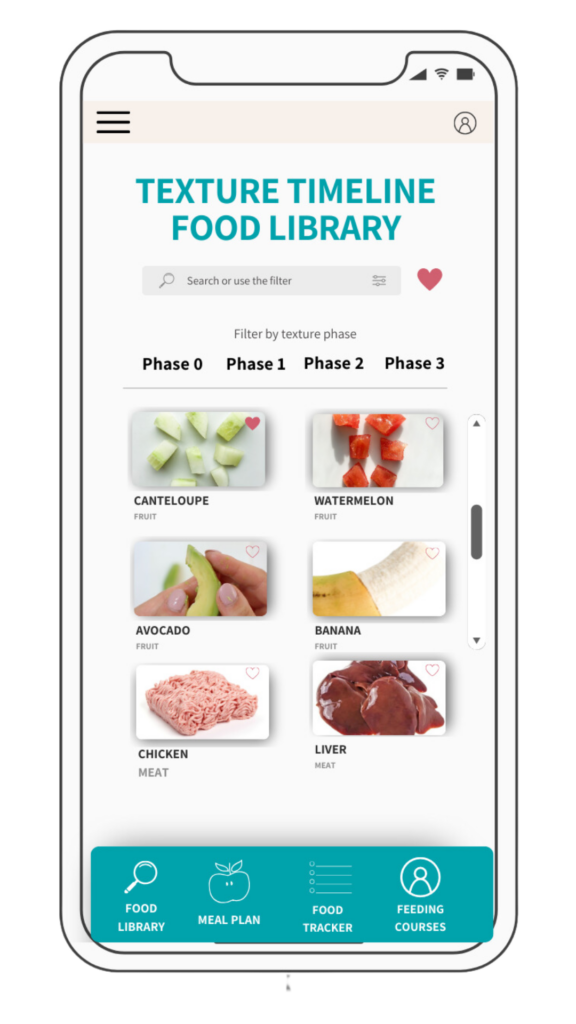
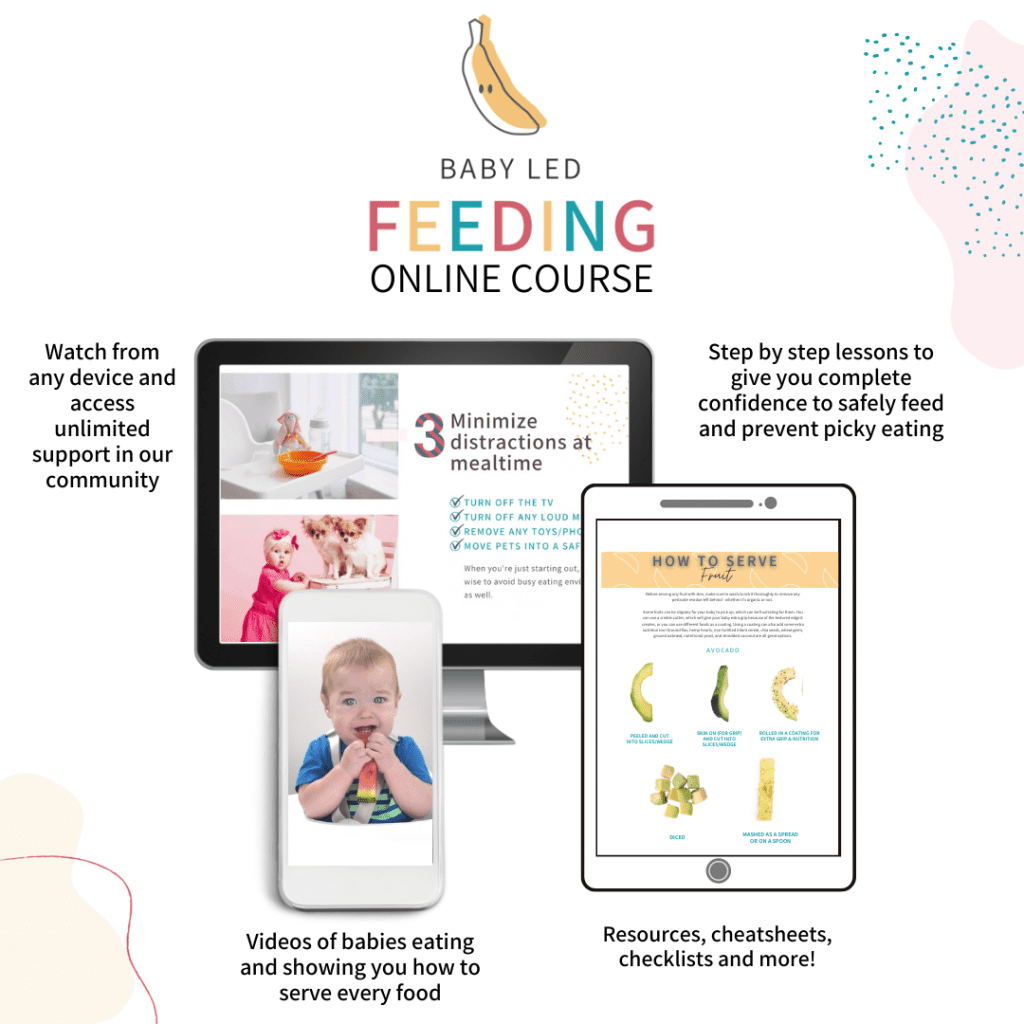
To find all the in-depth, research-backed info for starting solids in one place, and to get access to my signature Texture Timeline™ tool, that’s been tried and tested by thousands of parents, sign up for my Baby Led Feeding online course! Learn all about starting solids with the feeding method that’s best for you and your baby, progressing through a variety of textures in a timely way, and confidently raising a healthy and happy eater!
The definition of baby led weaning
Baby led weaning has been growing in popularity for the last 15 years. The term baby led weaning was first talked about by Gill Rapley in 2005, who is a midwife in the UK. She describes baby led weaning as a way for infants to self-feed on appropriately sized whole pieces of food from around 6 months of age (1). She theorized this approach when she saw babies refusing food when they were spoon-fed by the parent, and observed babies being more willing to eat when they could reach out and grab food to feed themselves instead. (2).
Baby led weaning, then, becomes all about babies being the ones who put food in their own mouths – not parents. It’s about offering them graspable foods that are large enough for babies to pick up and hold and trusting them to know whether to eat, what to eat, how much to eat, and how quickly to eat it (2).
When you wait to start solids until around 6 months of age, babies will be able to do this, as they’ll have the necessary developmental skills. They’ll not only be able to hold food, bring it to their mouth, and self-feed – but – will also have the ability to chew down and learn to manage textures of all sorts.
What are the benefits of Baby Led Weaning?
The benefits of BLW are numerous!
Because babies are ideally eating foods that are part of your own family meals, BLW babies are often exposed to more variety in flavors and textures sooner than traditionally purée fed babies, who are fed the same texture and often similar flavors for months on end. This ensures they develop an affinity for more foods early on, and that they develop the skills required to safely chew and swallow (also known as oral motor skills) during the period of 6-9 months of age when they’re most primed to do this.
When BLW is done properly, it also means babies are guaranteed to be in control of the amount of food they eat, reducing the risk of under or overeating, and mealtimes are generally pleasant for them since they can control the experience.
That being said, we believe you can achieve the same benefits of BLW even when starting with purées, by just avoiding some of the common pitfalls that have traditionally been done with purée feeding. Read more below!
Is baby led weaning for me?
Baby led weaning is for you if:
- You’re ready to jump right into offering whole finger foods, skipping purées altogether!
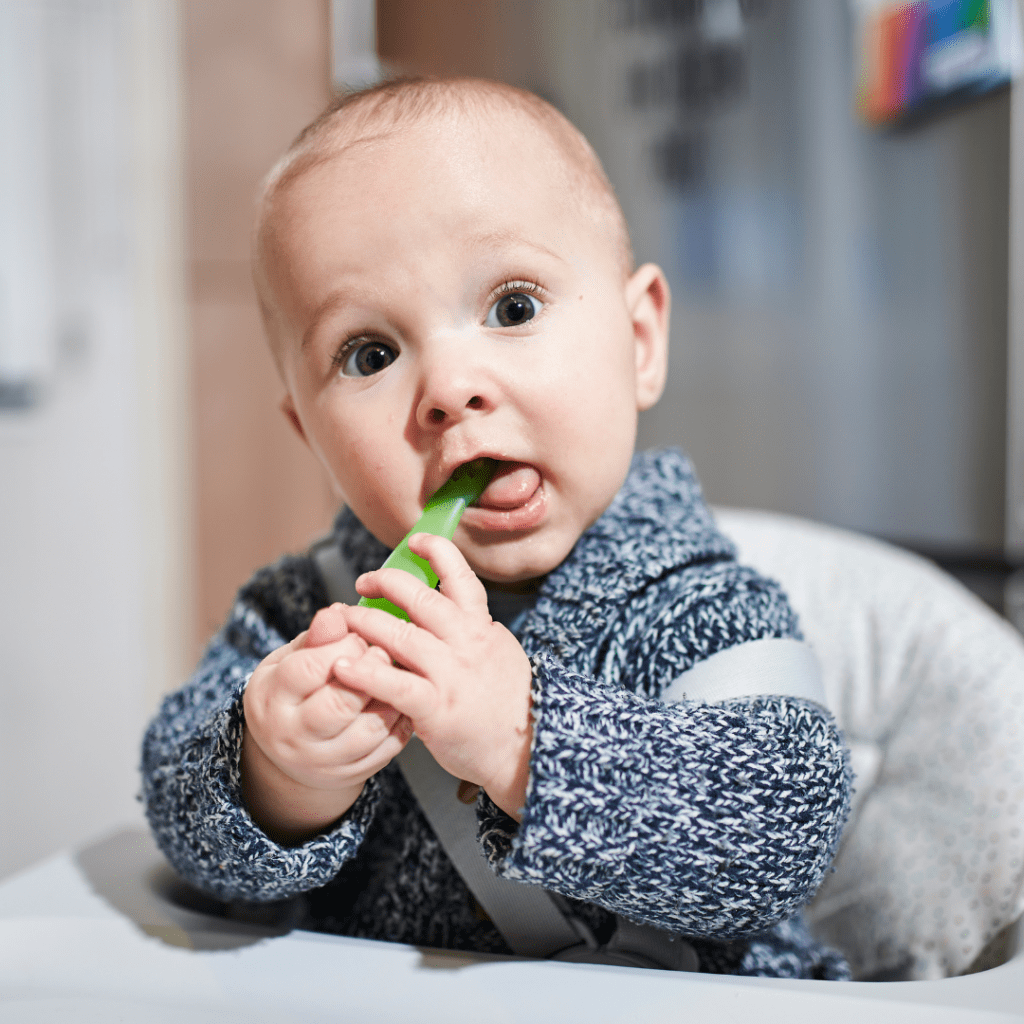
- Baby is showing signs that they’re ready to self-feed independently.
- You’re comfortable with baby gagging on larger pieces of food as they learn to explore the boundaries of their mouth.
- Your baby is a neurotypical developing baby and has no functional barriers to chewing or swallowing (ie. unaddressed tongue tie, cleft palate, etc).
The alternative is starting out with purées, instead of whole finger foods (or maybe even some of both). Our baby led feeding approach allows for this, and is right for you if:
- Baby is showing signs that they’re ready to start solids
- You’re anxious about offering large pieces of whole foods to baby out of fear they may gag and choke.
- You want to introduce solids using a gradual approach, starting with smooth purées or soft finger foods, and progressing as baby masters each texture
No matter which method you choose, even if it’s a combination of both, the goal is for feeding to be baby-led. Starting solids with all types of finger foods from day 1 doesn’t resonate with everyone. And that’s why I believe that you don’t have to.
That’s the beauty of choosing our baby led feeding approach, as opposed to strict baby led weaning. We understand that it’s not easy to jump from feeding your baby a diet exclusively made up of milk, to starting to add solids that are textured, advanced and big in size. We believe you should start solids where you’re ready and advance from there using our Texture Timeline™!
This tool has been used by tens of thousands of parents since it was first created in 2017, inside our Baby Led Feeding online course. It’s a way for parents who are offering purées or finger foods to continually advance to more variety in textures – without rushing too fast or feeling fear – and still gaining all the benefits baby led weaning brings. It’s ok if you feel like baby led weaning isn’t right for you and your baby. Choosing a baby led feeding approach instead could be what works best for your family and your baby. You can learn more about the baby led feeding method, here.
Now that you have a clear understanding of the baby led weaning method, we’re going to jump in to all of the top tips you should know for how to do it successfully (if you’re choosing to go that route)!
Tip #1: Set up a successful feeding environment

Setting up a positive mealtime environment from the beginning will allow baby to create a positive association with food, eating, and mealtime in general. They’ll actually look forward to coming to the table, which will be especially important down the road as they enter toddlerhood.
Sit and eat with your baby at mealtime
It’s important to sit with your baby during mealtimes, as babies learn to eat by watching you eat. And if you can, eat what they’re eating (or at least eat something in front of them) so they can mimic what you do. Where parents tend to go wrong is they will offer food and walk away, or they offer baby their own food and the family eats separately or totally different food from what baby is eating.
The baby led weaning method encompasses family meal times, where baby eats the same food as you (or slightly modified versions of it). The benefits of baby eating family meals are more opportunities for exposure to essential nutrients, textures, and flavors. It also helps with learning how to eat and modeling healthy eating behaviors in general.
Ensure safe seating for baby
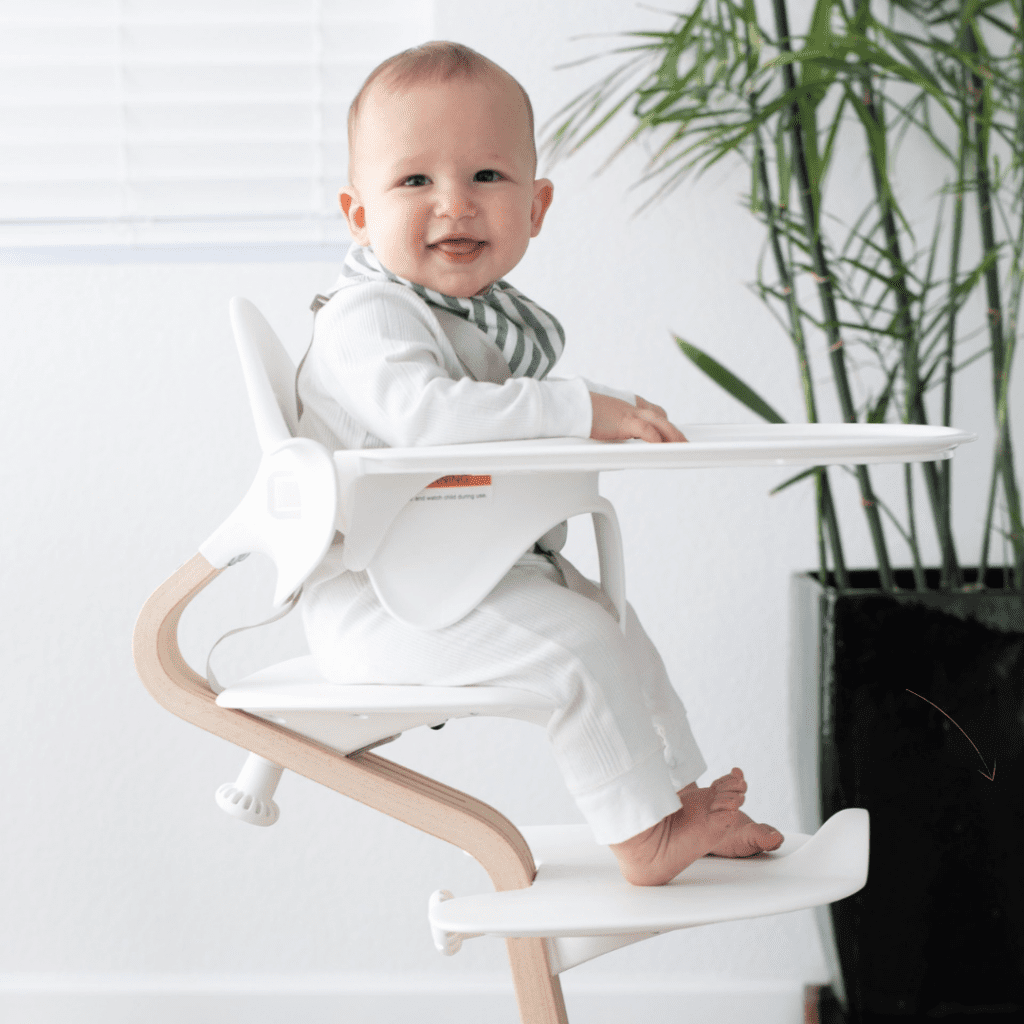
Safety is a top priority when it comes to feeding your baby, and safety starts with proper seating. Always make sure baby is seated in front of you and is completely upright when eating. Many high chairs have babies in a reclined position, which isn’t safe for feeding. We need babies to be sitting completely upright, so they’re safely positioned with an open airway. Their torso and legs should be at 90 degrees to each other. We also want babies to ideally have a footrest that allows their feet to lay flat at 90 degrees to the ankles.
Check out my blog on proper seating for safe and effective feeding, here.
Choosing the right high chair for baby
A proper high chair is the most important feeding gear you’ll need! There are 5 things you should look for in any highchair that you buy:
- Safety harness or straps to keep your baby secure
- Allows baby to sit at a 90 degree angle
- Has a footrest (adjustable is best)
- Removable tray at the level of your baby’s elbows
- Easy to clean
Check out my ultimate highchair buying guide for more details and to see my personal faves!
Tip #2: Let baby lead the way
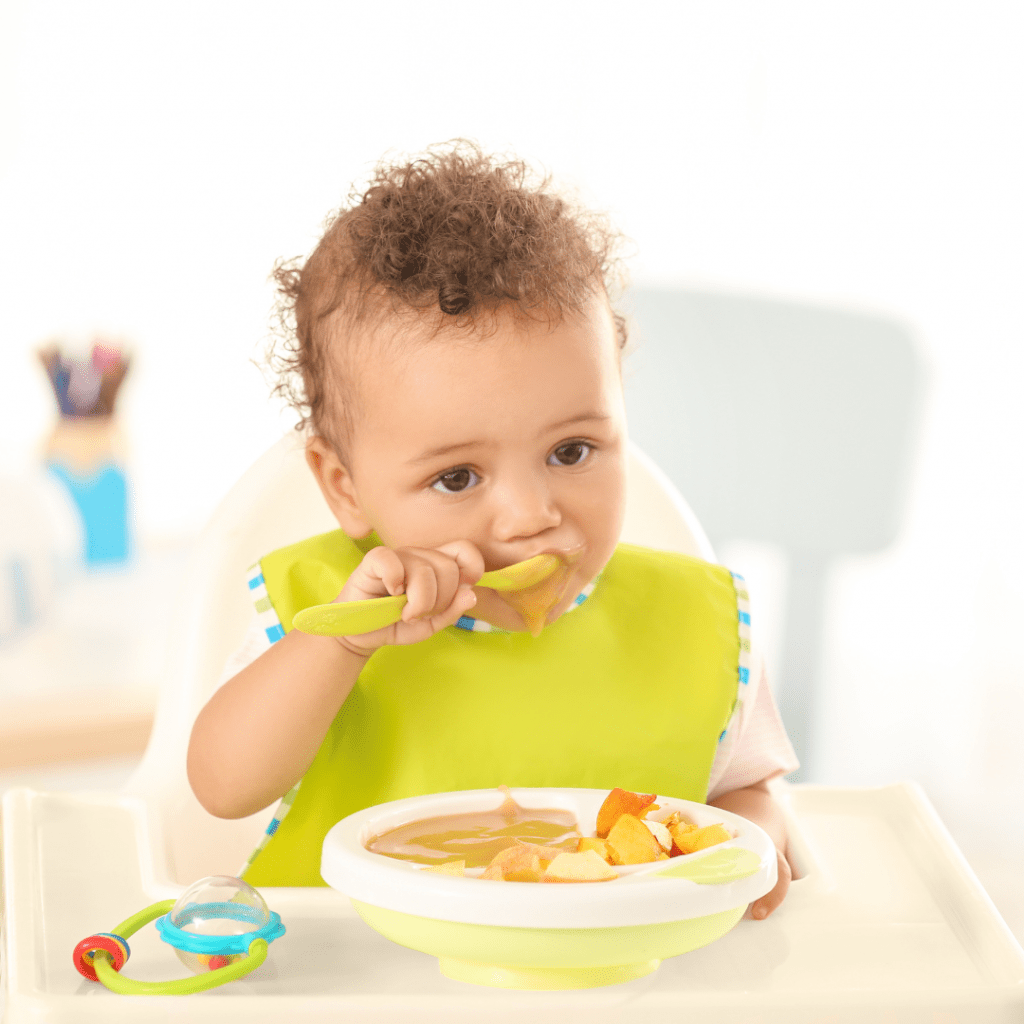
For successful baby led weaning, we want to make sure the process is completely baby-led. This means we are being very responsive to our baby’s cues, respecting hunger signals and fullness cues, keeping mealtime pleasant, as well as encouraging self-feeding as soon as they show signs of independence.
To achieve a fully baby-led experience during mealtime, follow these steps:
- Sit in front of your baby at eye level and place or hold food directly in front of your baby’s line of vision (finger food or preloaded spoon of a naturally puréed food).
- Wait for baby to reach out and grab the food.
- Let them taste, squish, chew, mush, and explore the food at their own pace.
Don’t pressure them to eat

In the beginning, when baby first starts solids, the portion sizes and amount of food they’re ingesting doesn’t matter. It’s all about learning how to eat and exploring new foods.
There should be no pressure for baby to finish the amount of food you’ve served them, or any encouragement for them to take another bite. Remember, baby is choosing what and how much food is eaten from what is provided. This keeps feeding baby-led.
Keep in mind, there’s a fine line between paying attention to see if your baby needs help, is safe and is getting some playful interaction with you…and hovering over them, over-encouraging them to eat, micromanaging the meal, and watching their every move.
Watching baby intensely and constantly hovering as they learn to eat is actually pressure-inducing, which we want to avoid. If you want to learn more about the many forms of pressure at mealtimes, check out my blog here.
Make it easy for baby to hold the food
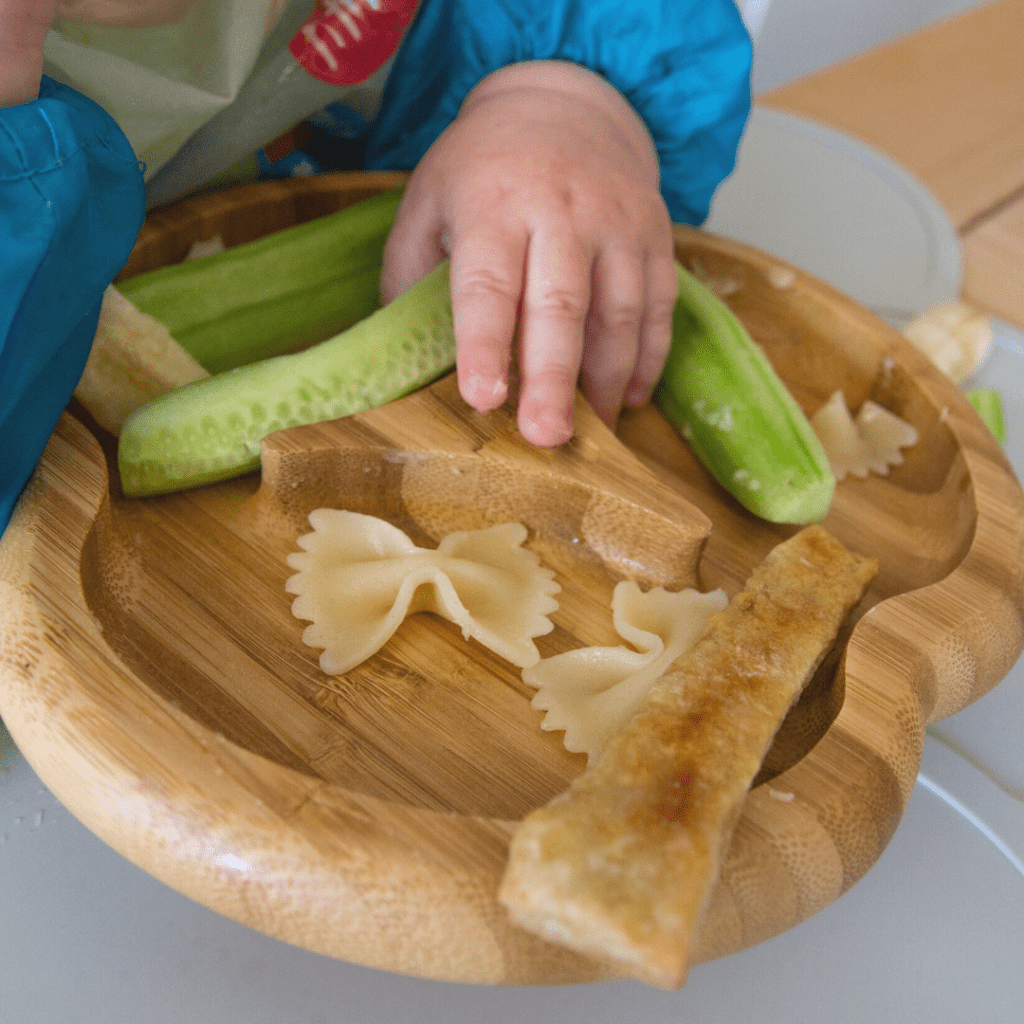
You can help baby reach out and grab food by holding appropriate sized (about finger length and 1-2 inches in width) finger foods in baby’s line of vision. Alternatively, you can place finger foods on their highchair tray and let baby see the food, grab it, and pick it up themselves. Be patient and give them as much time as they need, it may take them a little while to get the hang of it.
If you’re offering naturally puréed food that’s hard for them to pick up with hands (yogurt for example), you can give baby a spoon that’s been preloaded with this soft and runny texture to make it easier for them to hold and bring to their mouth. Or, you can simply let them get messy and use their hands!

Be ok with the mess
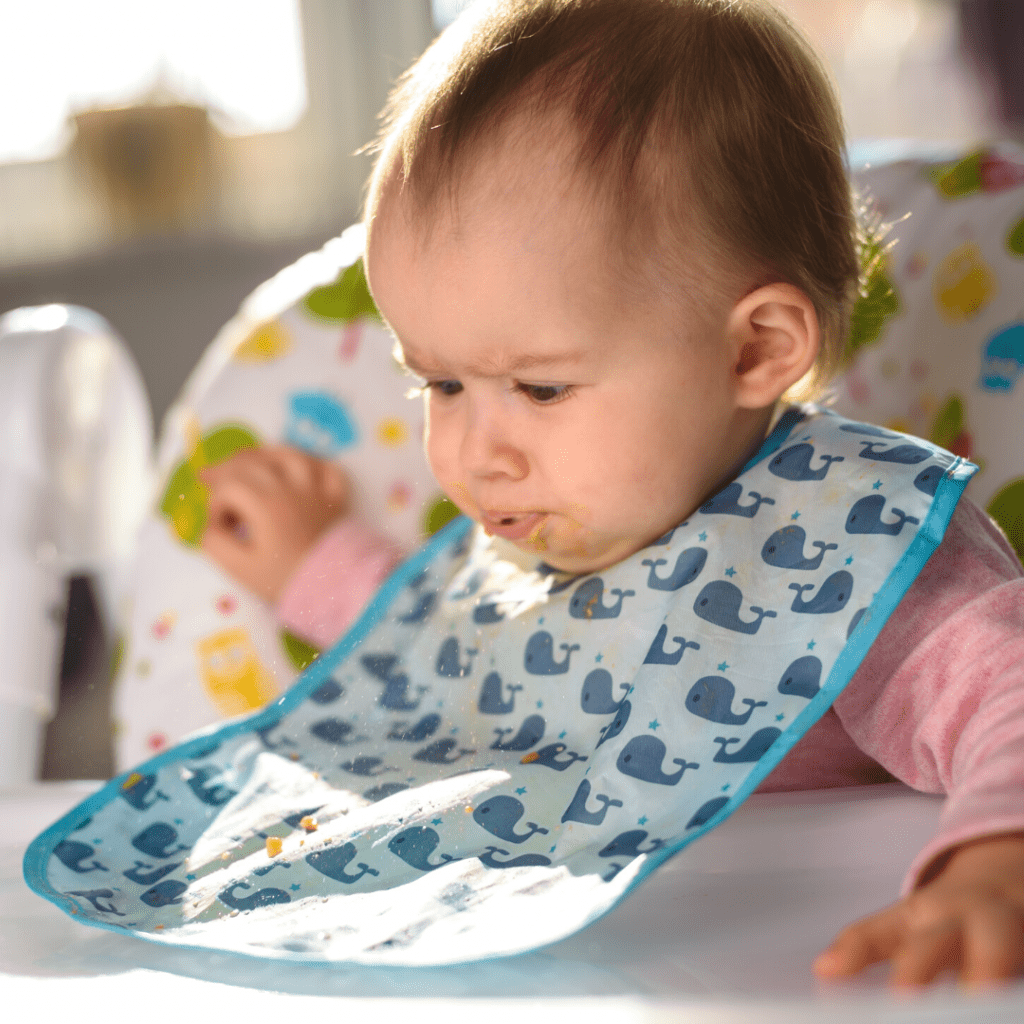
Baby led weaning is…MESSY! There’s no sugarcoating it. Your baby will be covered in food from head to toe occasionally.
Although we as parents hate the mess that comes along with baby led weaning, most babies love the mess and love playing with their food! We want to allow babies to take the lead and get messy, using all of their senses, as it’s a crucial part of learning how to eat and preventing sensory aversions.
To give baby the full experience of exploring their food and getting messy, it’s best to avoid cleaning and wiping up the mess during mealtime so we aren’t interfering during the learning process.
We want to encourage baby to lead the mealtime experience by touching, smelling, licking, smooshing, playing, tasting, seeing, and hearing what food sounds like to squish between their tiny fingers. These sensory experiences are extremely beneficial for helping your baby learn to love all types of food. These are also some of the best strategies for preventing picky eating down the road, and getting any picky eater closer to actually eating a food.

I encourage you to fully embrace the mess that comes along with baby led weaning, but I do have some tips for dealing with the mess to make it a little bit easier:
- Get a long sleeve bib to keep clothes covered (we love the bibado coverall bib use code MYLITTLEEATER for 10% off)
- Strip down to just a diaper and pop them in the bath when the meal is done
- Bring a bowl of warm water to the table and a washcloth – gently wash face and hands right in their high chair
- Get a splat mat, especially if you have carpet in your home!
Tip #3: Offer appropriate foods
Use the squish test
When offering finger foods with different textures, besides length and size, generally speaking, we want food to be firm enough to hold its shape, but soft enough to pass what we call the squish test. This test evaluates whether you can squish a food down between your thumb and forefinger. This is especially important in those beginning stages of feeding.
To perform the squish test, all you need to do is place a food between your thumb and index finger. If you can easily squish the food between your two fingers, it’s generally going to be soft enough and safe for your baby to eat.
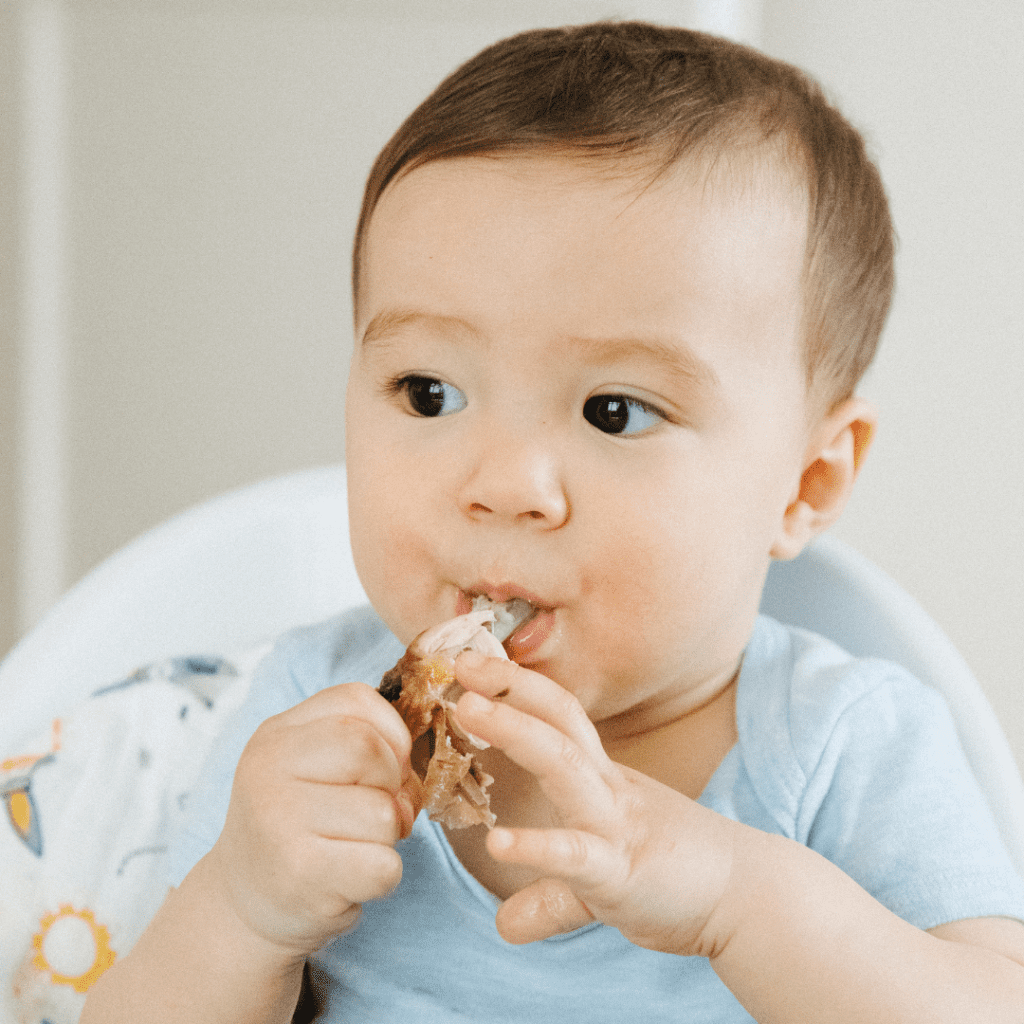
In the video below, you’ll see me demonstrating a squish test on a chicken thigh. And as you can see, it passes the squish test as it’s very soft and squishable between two fingers.
Bigger is often better
When it comes to how to serve finger foods, it’s easy to say that it needs to be served in large finger shapes, but honestly, there are exceptions to that. It’s the combination of the food texture, shape, and size that all need to be considered to determine exactly what the safest way is to serve it to babies. Truly, every food is different.
We also need to consider baby’s skill level with picking up and holding food. Bigger, longer shapes are often better for babies who have mastered their palmar grasp (usually between 6 to 9 months of age). As they develop and master their pincer grasp (usually between 9 to 12 months of age), smaller bite-sized pieces will be appropriate.
Once baby has mastered their pincer grasp it doesn’t mean you have to stop offering finger-shaped foods. It’s best to alternate how foods show up to ensure baby is being exposed to familiar food in different shapes and sizes.
That’s why we created our Texture Timeline™ video library inside the Baby Led Feeding online course that allows you to search for any food and see exactly how to serve it based on different phases (difficulty levels) of the Texture Timeline™. It’s still under construction but new foods are added weekly and you’ll see how babies should be served the food based on your baby’s stage of development, and get tons of nutrition information on each food, plus allergy info, fun facts, recipes, and more!
Advance them in textures
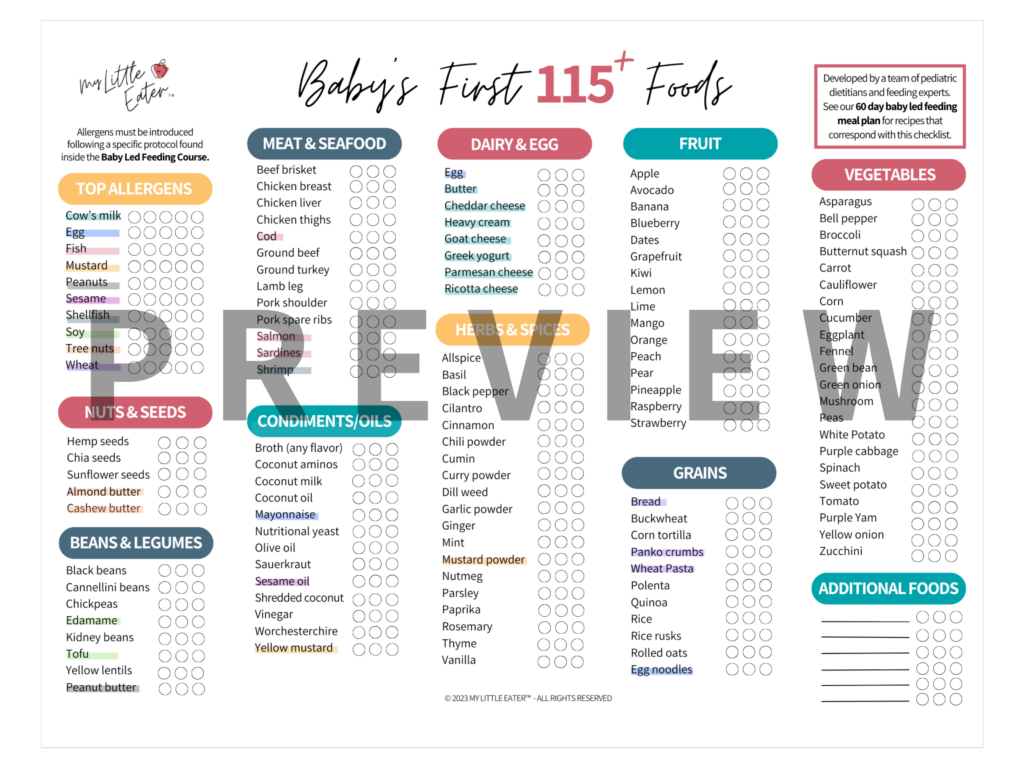
Easier foods like bananas and avocado are commonly offered to babies as they begin their baby led weaning journey, but be mindful not to get stuck on these simple, easier-to-eat foods. We need to introduce as many different foods (flavors and textures) as possible during the critical period between 6-9 months of age while baby is developing taste and texture preferences (3). The more exposure a baby has to different foods during this period of time, the more likely they’ll accept these foods long term and more easily learn the skills to eat them.
Babies need lots of daily practice on food with lumps, irregular shapes and more complex, varied textures to be able to learn how to eat them. Textures such as spongy (eg. toast), stringy (eg. pulled chicken), rubbery (eg. mushrooms), and so much more.
In fact, that is what we cover in phase 3 of The Texture Timeline™ which is an expansion of the mechanical textures your baby has previously explored in the beginning phases of the Texture Timeline™. Phase 3 is the lifelong stage, and makes sure your baby tries all the various textures, flavors, colors, shapes, etc. out there! It includes more mixed textures as well. Try to offer a variety from each texture category (in no specific order).
Offer small amounts of food at a time

Offering large amounts of food could be super overwhelming for a baby who is just starting to learn how to eat. They’ll be wondering what they’re supposed to do with all of that food in front of them at once.
It can also make it tempting to “eat some and throw some” if they have a tray full of food, making baby led weaning even more of a mess. It’s going to get real messy, I won’t lie, but simple things like this can limit the extent of it.
Therefore, limiting the amount of food you give your baby to one or two pieces at a time is a good idea – it will be less food to throw if they resort to that behavior. If your little one eats all of the food you give them, you can always add to their tray until they’re full.
Tip #4: Learn the difference between gagging and choking
First, I want to be clear that the risk of choking on finger foods is no different than the risk of choking on purées when the parents are properly educated on how to serve finger foods safely (4). Researchers came to this conclusion after studying the effects of a baby led introduction to solids, in a popular research study known as “BLISS” (baby-led introduction to solids).
However, it’s still important to recognize the signs of choking so that you can quickly distinguish them from gagging and react appropriately. And since gagging will happen (more on that in a bit) you’ll need to be confident in which symptoms require action by you, and which do not.
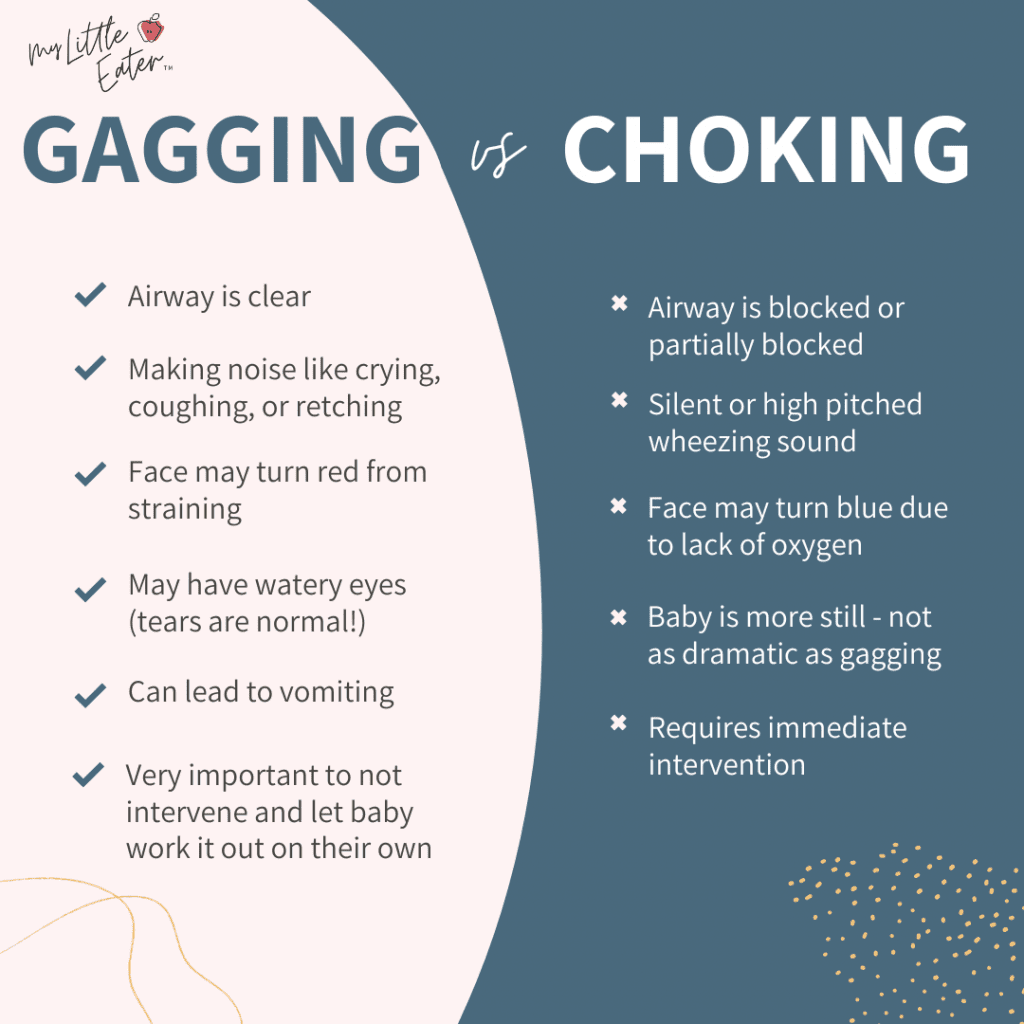
If your baby has a red face and is making some sort of noise, this means they’re breathing and they’re not choking. However, if your baby’s face begins to turn blue and baby isn’t making any noises at all, this is an indication that baby is choking and it’s time to intervene.
For more information on the difference between gagging and choking, check out my blog, here.
Get more comfortable with gagging
As your baby learns how to eat, there will be a lot of gagging involved. It will decrease over time with practice, but it will happen a lot earlier on with baby led weaning.
Just know that gagging is a very normal and expected part of starting solids! It’s best to get as comfortable as possible with gagging before you actually have to go through it with your own baby. A great place to start is by watching videos of other babies gagging, which you can find in my Baby Led Feeding online course!
Never interfere with a gagging baby

Sticking your fingers in baby’s mouth to get food out, or picking your baby up out of their high chair as they gag, will actually increase the risk that food gets pushed (or falls) further back into their mouth (closer to the airway), which can cause actual choking!
Let baby stay in control and work through the gag on their own. This may take a few seconds or even a couple of minutes, and yes it can be nerve-wracking the first few times, I understand. But remind yourself that gagging is the body’s natural way of protecting itself, so let’s not interfere and potentially make things worse.
And if you want to know everything about keeping your baby safe and how to respond should the worst happen, I highly recommend you take an infant CPR course. Safe Beginnings infant CPR course is the most trusted online CPR class and one I highly recommend! Every parent starting solids should be trained in infant CPR to manage emergencies for infants and children.
If you’re ready to learn how to safely feed your baby – our baby beginnings bundle is for you! You’ll get the infant CPR course and our Baby Led Feeding online course.
The Baby Led Feeding course will walk you through starting solids with your baby, step-by-step, using whichever method you feel comfortable with to start, and teach you how to gradually progress from there. Don’t spend this important milestone stressed out and worried – actually enjoy meals with your baby instead!
Those are our top four tips for successful baby led weaning – with a few extras thrown in there too! Now, there are of course other aspects to keep in mind, whether starting with purées or finger foods. These include being mindful of salt and sugar intake (keeping salt intake low and avoiding added sugar), avoiding choking hazards (these are the same for both methods), introducing allergens, meal and milk schedules as they grow, and more!
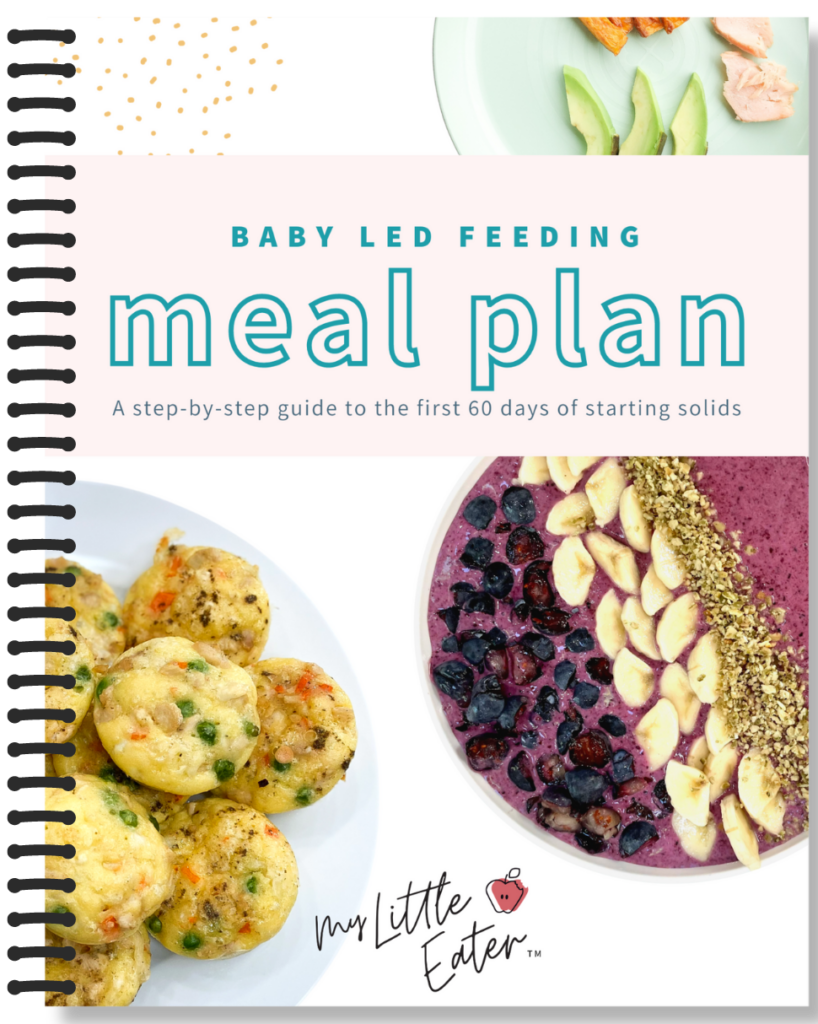
See all our recommendations in action by following along with our realistic example of the first week of starting solids.
Find this helpful? Pin it to save for later!
References:
- D’Auria, E., Bergamini, M., Staiano, A., Banderali, G., Pendezza, E., Penagini, F., … & Peroni, D. G. Baby-led weaning: what a systematic review of the literature adds on. Italian journal of pediatrics, 44(1), 1-11, 2018.
- Rapley Weaning. http://www.rapleyweaning.com/assets/Defining_BLW_v2.pdf
- Harris, G., Mason, S. Are There Sensitive Periods for Food Acceptance in Infancy?. Curr Nutr Rep 6, 190–196, 2017. https://doi.org/10.1007/s13668-017-0203-0
- Daniels, L., Heath, A. L. M., Williams, S. M., Cameron, S. L., Fleming, E. A., Taylor, B. J., … & Taylor, R. W. Baby-Led Introduction to SolidS (BLISS) study: a randomised controlled trial of a baby-led approach to complementary feeding. BMC pediatrics, 15(1), 1-15, 2015.

about the author
CHELSEY LANDRY, RD
Community Dietitian at My Little Eater Inc., and bunny-mom to Hickory. Chelsey offers one-on-one counselling to parents of babies and toddlers that need more customized support. Learn more by booking a free discovery call with her today!

