- 4 Comments
- Edwena Kennedy, RD
- Originally Published: July 31, 2019
This post may contain affiliate links, please view our disclosure policy for more details.
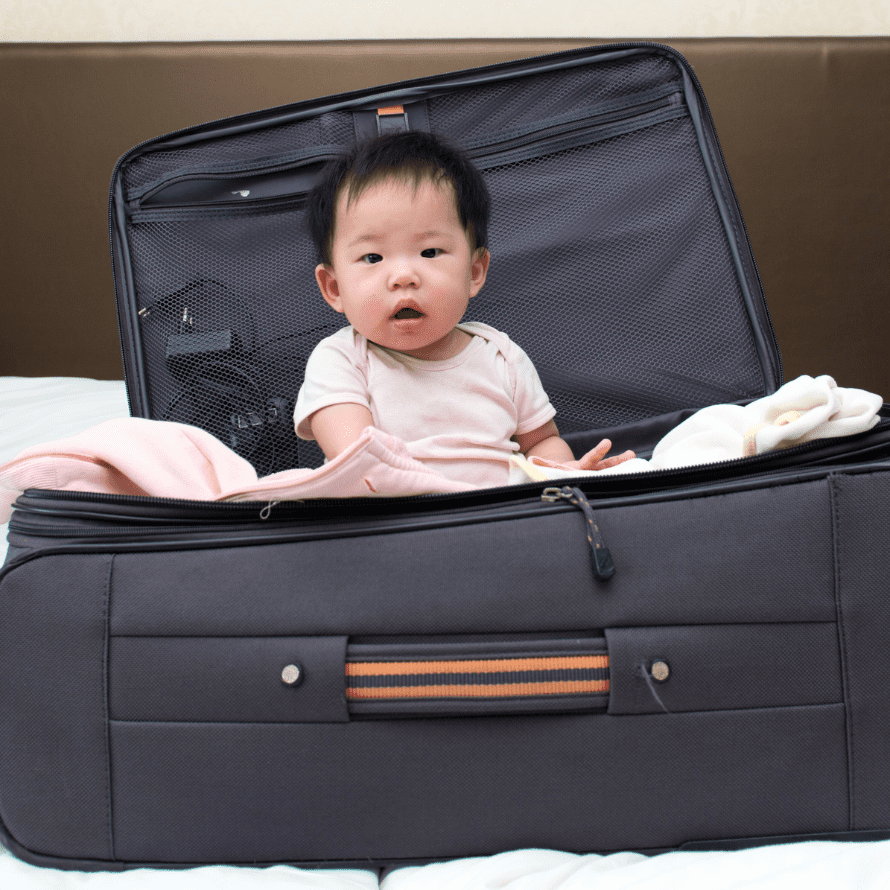
When you have a BLW baby, sometimes the hassle of figuring out what to feed them while traveling or on the go seems like more work than it’s worth. But it doesn’t have to be stressful!
We’ve got a list of 15 easy, MINIMAL MESS, and portable finger foods you can pack as a snack, or combine to make meals. We’ve also included important safety tips to consider when feeding your baby outside their normal mealtime environment.
Table of Contents
These solid foods work whether you’re on a plane, at the park, or in a restaurant. The occasional purée pouch or store-bought baby food jar or even some homemade baby food in a reusable container is fine, and will always have its benefits (hellooo convenience and mess-free eating!).
That said…we’d argue that packing whole foods can be even easier! It means that you don’t have to deal with wrappers and messy containers or utensils. Plus, you’ll be continuing to expose your baby led weaning baby to a variety of real food, real flavors, and advanced textures.
We’re big on minimizing processed foods for babies (and adults!) as much as possible. We also really want to encourage you to keep those more advanced texture exposures coming.
We FULLY understand that this is hard – time doesn’t allow for it sometimes – and that’s when those pureed options can be a lifesaver. A bit here and there won’t hurt!
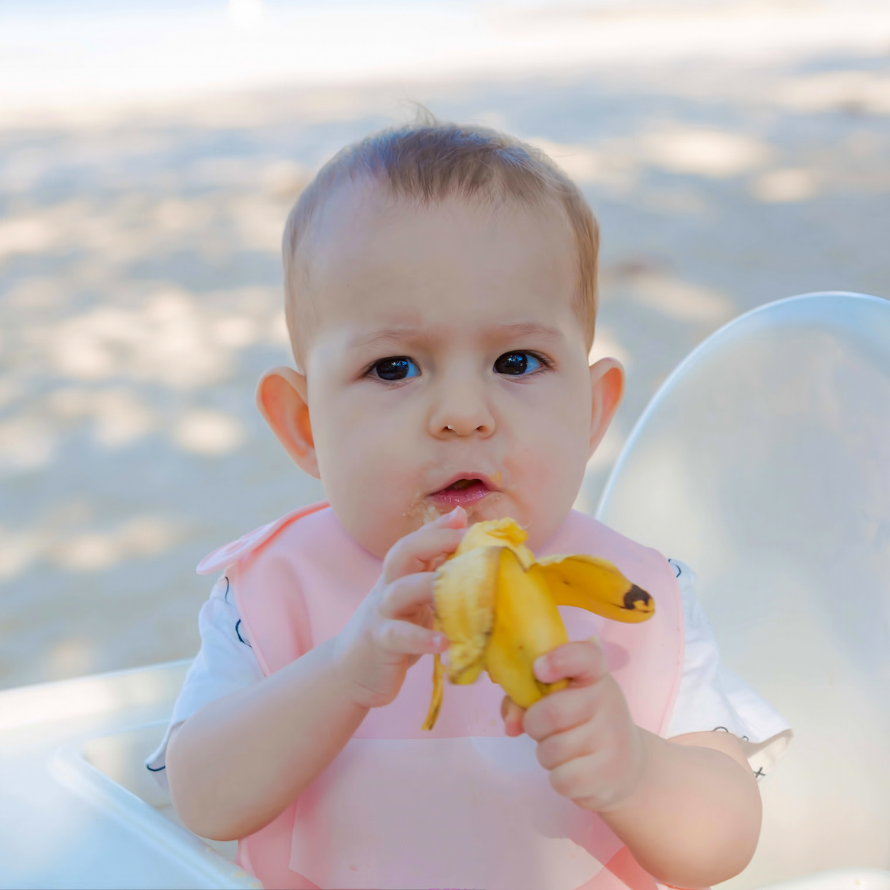
Helping you keep these things in mind as you navigate this world of feeding your baby is our job. We’re hoping this list will remove any guesswork, so packing finger foods for an adventure out with your little one will be the easiest part of getting ready to go!
Best travel food for babies
One thing we want to make sure you keep in mind with these travel food ideas is the age and development of your baby. Some of these options are going to require pincer grasp…so if your baby is just starting on solid foods, they won’t be ready for those options yet.
For younger babies, you’re going to want to choose the options that are in finger shapes so they aren’t struggling to eat them because that will just end in frustration for both of you. If your baby is a bit older and already has their pincer grasp developed, or is practicing it, any of these options will be a good fit!
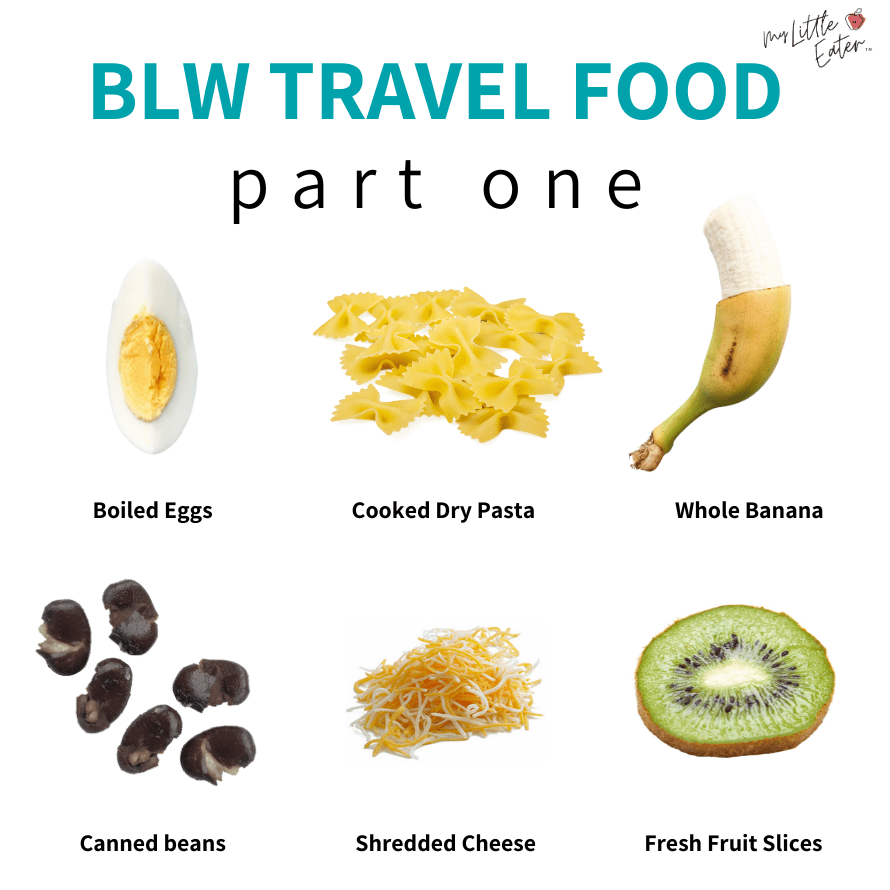
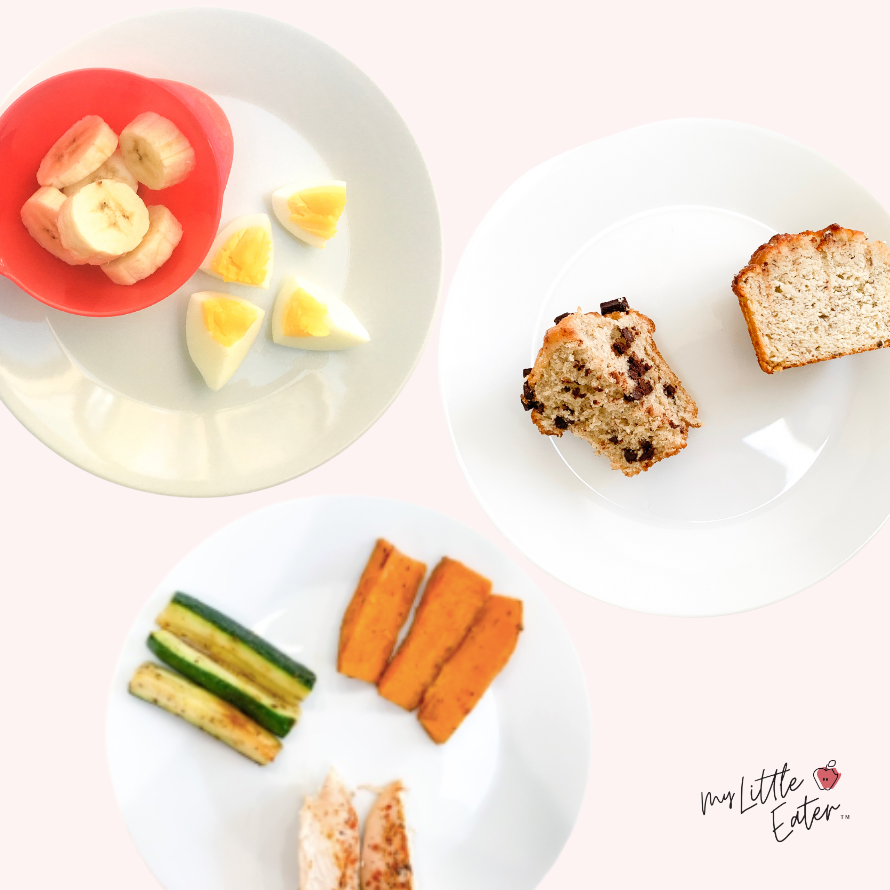
Hard-boiled eggs
Super simple to prep, plus they provide an easy source of protein and healthy fats for your baby. Keep them in a container with an ice pack, cut into wedges, and feed to your baby anywhere!
Cooked pasta
Banana
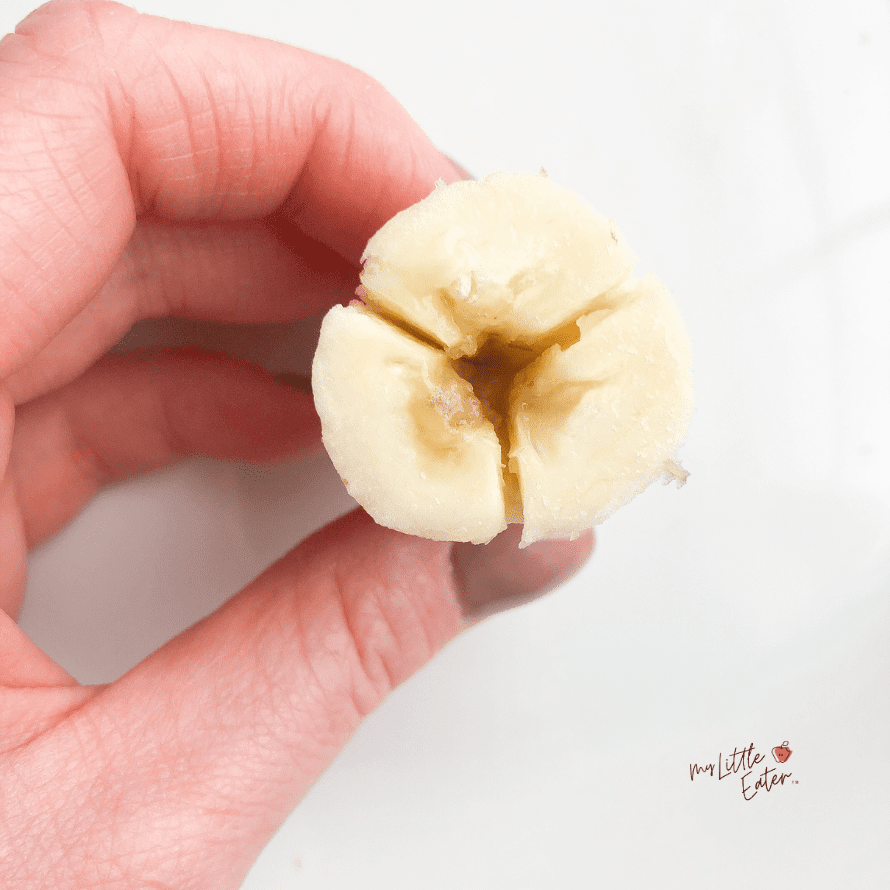
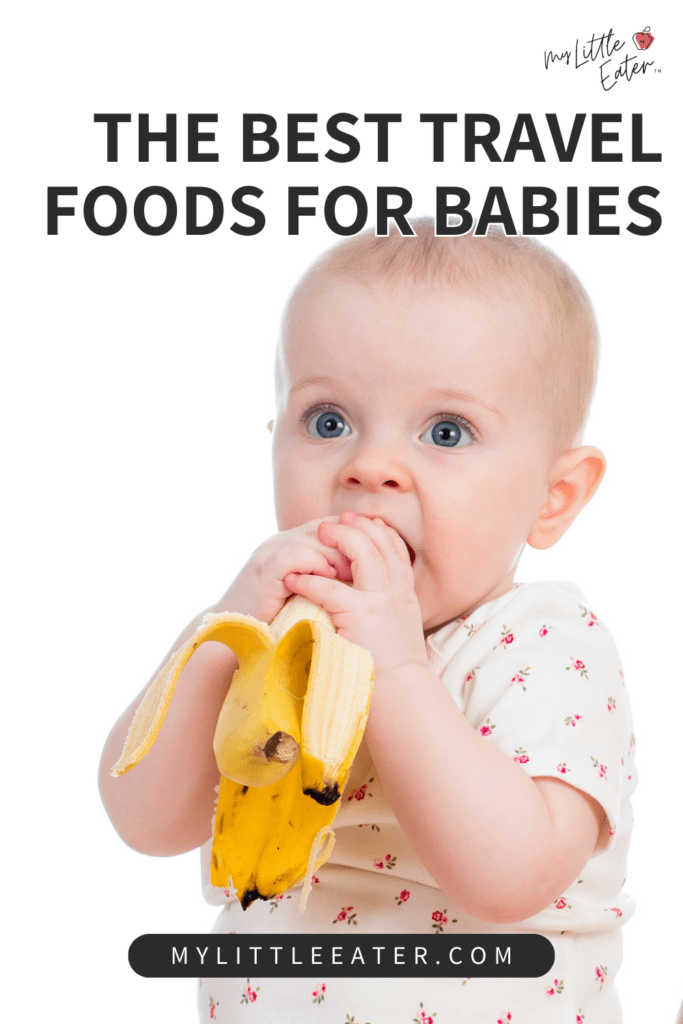
Nothing beats a food that comes in its own packaging! To serve it to your baby, simply peel the banana and press your finger into the center at the top. The banana will come apart in 3 equal wedges making the perfect finger foods to offer your baby with essentially no prep at all.
Canned beans or chickpeas
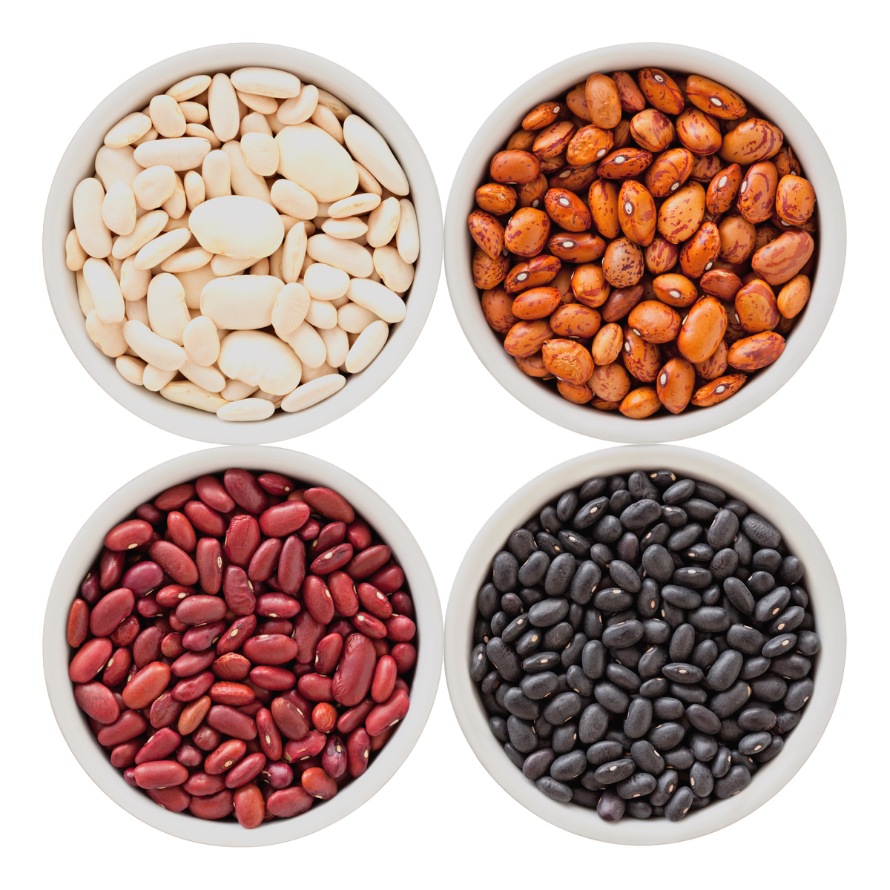
Another simple option, and you don’t even need to cook them ahead of time! Just rinse, dump into a container, and go! Bonus points for squeezing some lemon juice on top too for added vitamin C to improve the iron absorption from the beans.
We recommend buying ones that are canned with a BPA free lining, and that have no added salt, especially when offering to babies. While we need to be a bit more cautious when it comes to salt for babies, we don’t want you to panic either. Give the beans an extra rinse and monitor salt intake over the rest of the day or the next day to balance things out.
Slightly smush the beans before serving to remove the rounded shape, as it can be a choking hazard. To learn how to safely serve foods according to our signature Texture Timeline™, with videos showing exactly how to prepare them, check out our Baby Led Feeding online course to get access to our exclusive Food Library.
Shredded cheese
Cheese is a great source of protein for babies, as well as a good source of fat – both of which babies need for proper growth and development. And as an added bonus, it’s usually a favorite among most babies!
Please note that we’re recommending shredded cheese, not cubes. Cubes are a choking hazard for babies, as they’re the right size to block or conform to the airway. We prefer shredded, unless you can get a very, very thin slice.
For babies without their pincer grasp, you can still offer this to them, you’ll just need a baby plate or bowl to pile the cheese up in – making a stack. This will allow them to use their palmar grasp to rake the cheese into their hand and bring it to their mouth.
Watch the video below for more info on how to safely prepare cheese for babies.
Fresh fruit
Fruit is a great option, but you’re gonna want to stick with mess-free varieties!
Stewed pears or apples would be our top choice – no staining! You can also do kiwi wedges, plums, or oranges. These may be ever so slightly messy because there could be some fruit juice running down your baby’s chin and hands, but it’s nothing a baby wipe can’t handle.
We think fresh berries are just too messy – mashed bits of berry plus juice that stains…no thanks! But if you’re feeling risky – go for it!
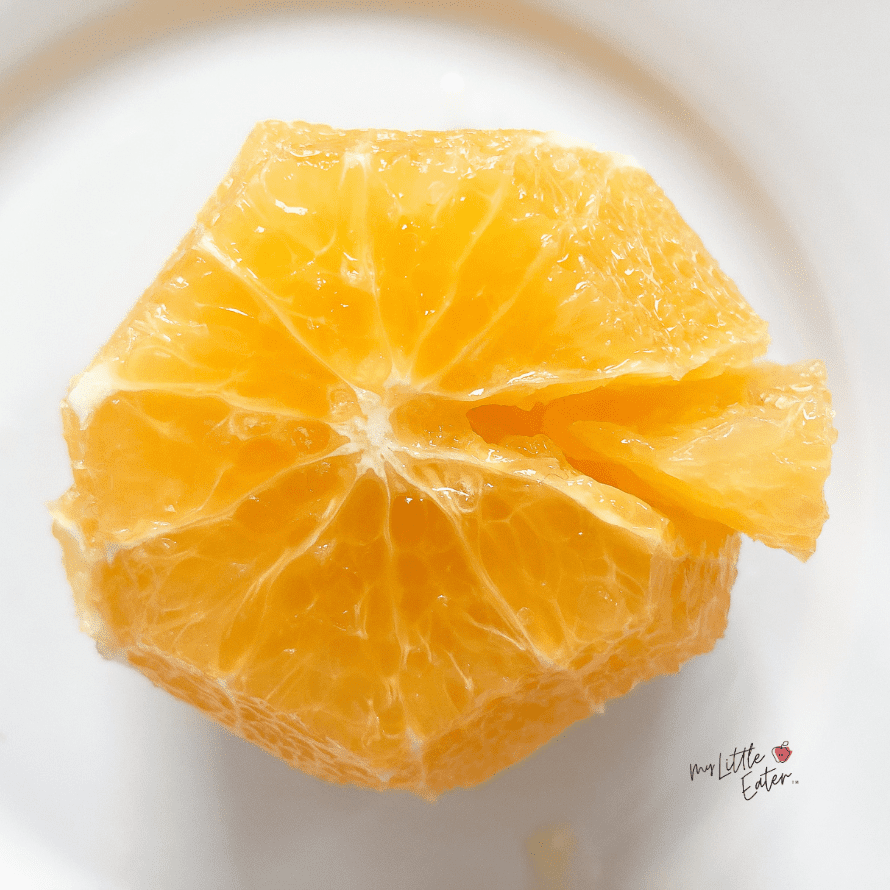
Another benefit is that many fruits are an excellent source of vitamin C – like oranges – and therefore pair nicely with beans to boost iron absorption – something babies need a lot of! And if you pair that with the pasta and shredded cheese, you have all the pieces of our FFP+P rule for a complete, balanced meal that’s perfect for baby led weaning!
FFP+P Rule
FFP+P Rule
Fat, Fiber, and Protein make up our FFP rule for building a balanced plate – but – adding Produce really rounds out the meal and helps get babies and toddlers the nutrients they need for optimal growth and development.
We also want to make a note about freeze-dried fruit because it’s something we get asked about a lot. Some freeze-dried fruits will be safe to serve to your baby, typically strawberries are ok, but we still recommend waiting until around 9-10 months before offering them. We also suggest testing them yourself first to see if they melt in your mouth.
We’ve tried many varieties; some are very chewy – typically apples and mango are – and some melt perfectly. It also depends on how fresh they are when you purchase them. So to play it safe, always test one before giving it to your baby and wait until they’re a bit older with more experience chewing advanced textures.
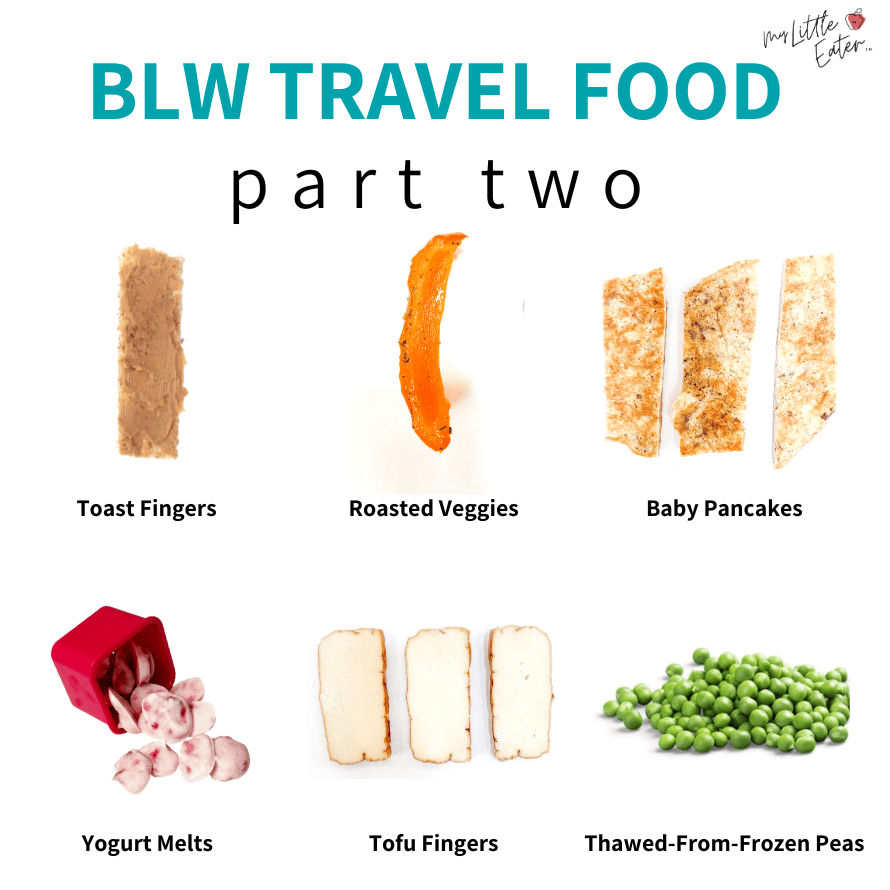
Toast strips
Super easy for on-the-go! Just toast bread and cut into thin strips – coat with a bit of butter to soften them up slightly. But, for the sake of mess-free travel foods, avoid things like nut butter or hummus, unless you’re able to wash up somewhere!
Remember, fresh, untoasted bread is a choking hazard. If you’re looking for more info on toasting bread for your baby, serving it in a safe manner, or need ideas for what else to try on top, check out our post on toast toppings for babies and toddlers.
Roasted veggies
Sounds complicated we know, but we suggest keeping a bunch of these prepped ahead of time for easy meal ideas throughout the week. Make a big batch a couple of times per week and pull from it whenever you need to. It’s perfect for easy snacks and throwing together meals on busy days!
If you can meal prep these, then there’s nothing easier than just putting these in a container and offering them to your baby, any time of day.
Some good veggies to try are bell peppers and zucchini. We would avoid things like roasted sweet potatoes because they get so mushy that your baby will end up with orange mash all over them!
If you like this simple idea, listen to our podcast for more meal-prepping tips!
Baby pancakes
Ok, this one involves some cooking, but it’s easy – promise!
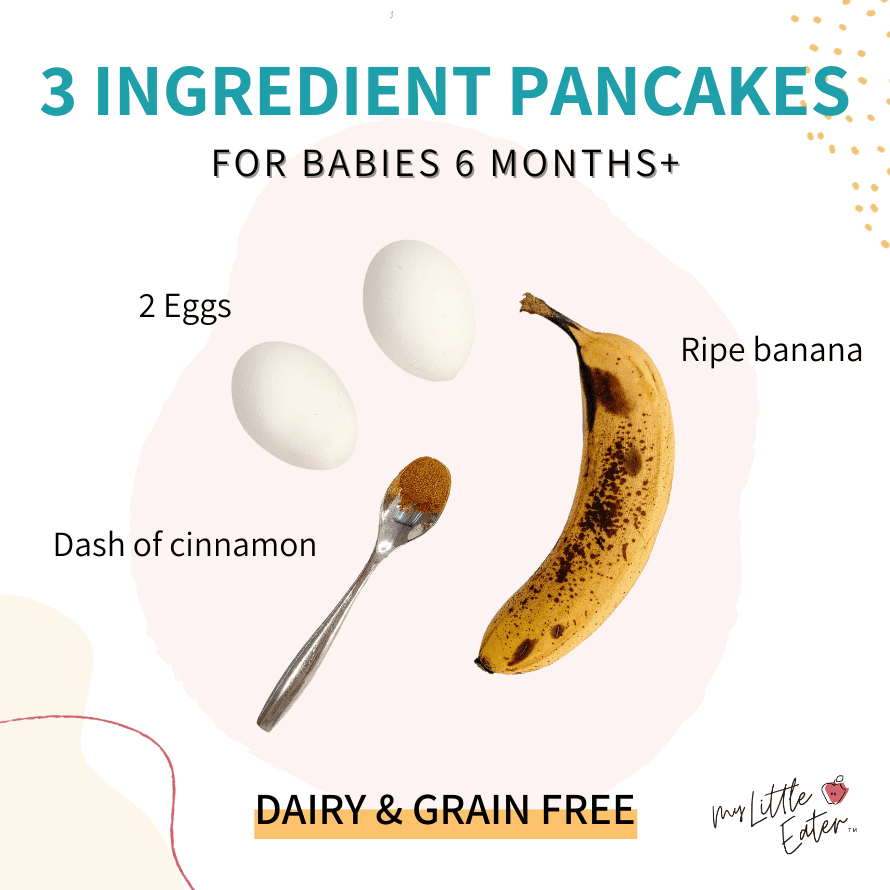
Mix together 1 ripe banana, 2 eggs, and a dash of cinnamon. Scoop batter into a skillet and cook on low-medium heat until lightly brown, flipping once when you can see bubbles along the outer edge.
Let them cool, cut into strips, and pack into a container. There you have it – simple, baby banana pancakes for on the go!
Yogurt melts
Homemade options will be tricky to pack and keep cold enough so that they don’t melt, but if you’re packing a cooler with lots of ice and know you’ll be serving them fairly soon after leaving, it could work.
A similar alternative would be to pack a store-bought option – they’re typically freeze-dried so they’re not messy like packing homemade yogurt melts would be. And they’re definitely less messy than packing regular yogurt!
Our favorites are the Amara Smoothie Melts. These are actually plant-based, so if your little one has an allergy or sensitivity to dairy these will be perfectly fine for them too.
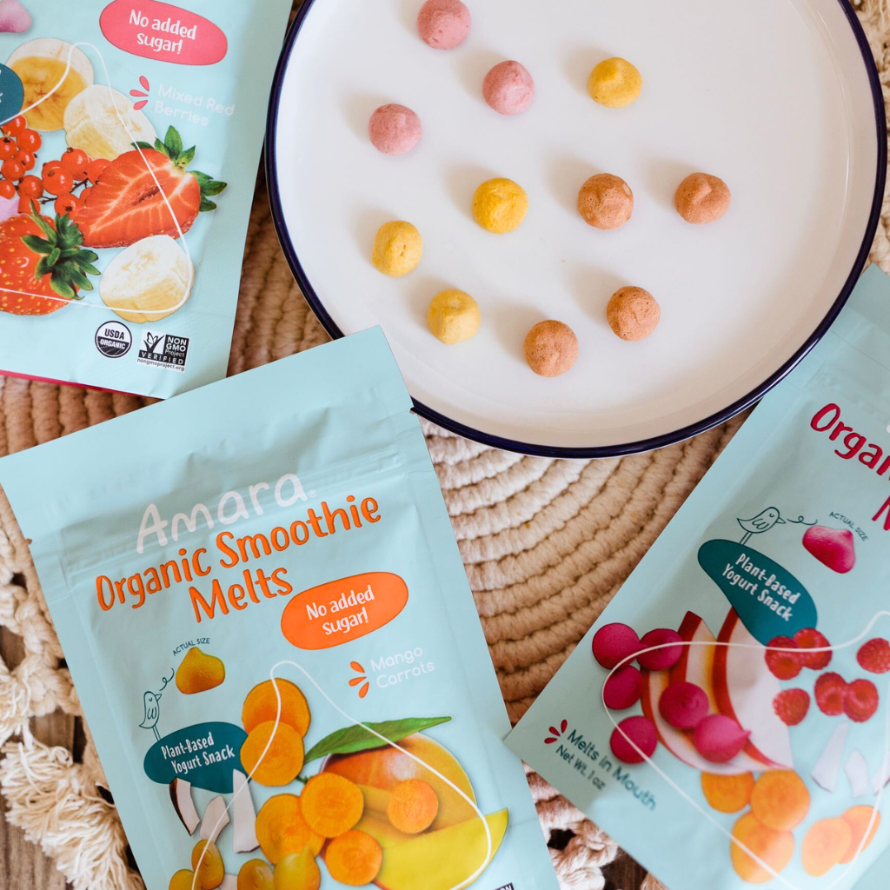
They have no added sugars, fillers, or other additives – just simple, clean ingredients that we love! They come in lots of yummy flavors with various fruits and veggies blended right in and they come in a resealable bag, making them perfect for snacking on the go.
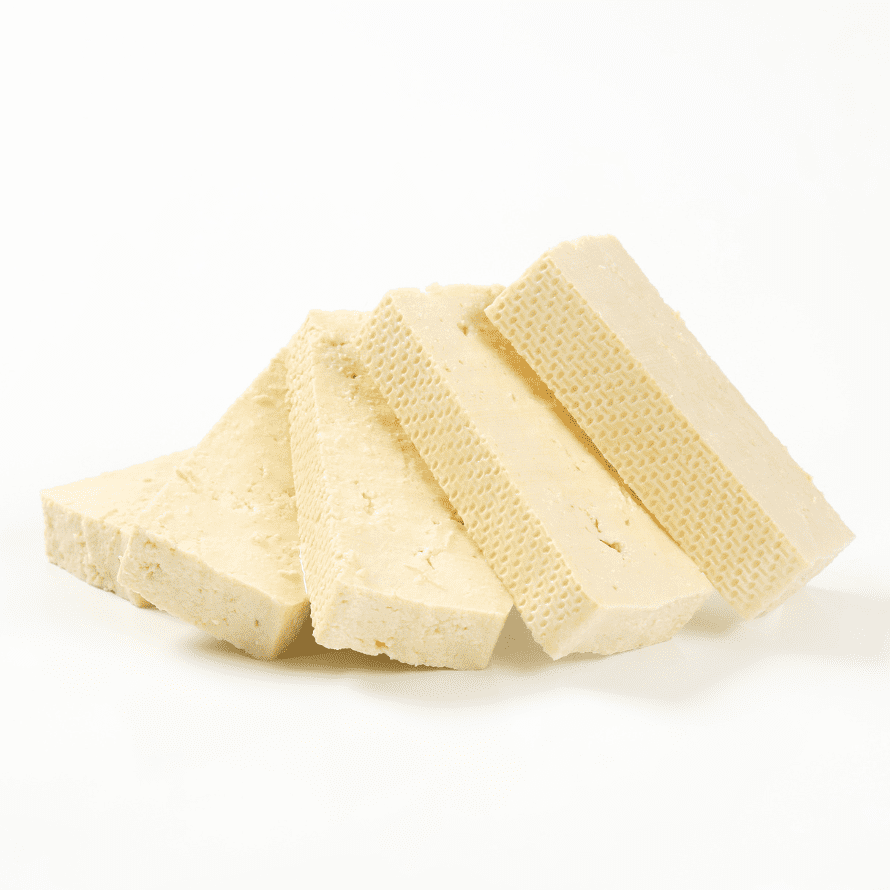
Tofu strips
This one is another super simple one to pack, in fact, it’s our favorite protein for on the go! You have two options here…
- Pan-fry tofu for 1-2 minutes on each side. Include a bit of flavor in there too for your baby, try some turmeric, dill, or paprika. Let cool, and pack in a container to go.
- Or buy Soyganic smoked tofu as another option – it’s non-gmo, organic and there’s no need to cook it. Just slice it, pack, and go. It doesn’t get any easier than that!
It’s the perfect texture for a baby, no crumbly mess, and offers lots of calcium and protein. Plus, pair it with a fruit high in vitamin C, like some orange wedges, and you’ve got a great source of iron too!
Thawed peas (from frozen)
We know that a lot of parents worry about serving these without cooking them first, but you don’t have to! Just dump some frozen peas into a container and let them thaw out over a couple of hours until you’re ready to eat. Plus, the cold peas keep everything else you pack nice and cold too. Fast food at its finest!
And we know what you’re thinking…peas need to be mashed right? No, they don’t. They’re actually not considered a choking hazard because they’re so soft and are so easily mashed in your baby’s mouth.
It’s round, hard foods that you want to look out for, like grapes. But if it makes you feel more comfortable, there’s no harm in giving them a quick squish before offering them to your baby.
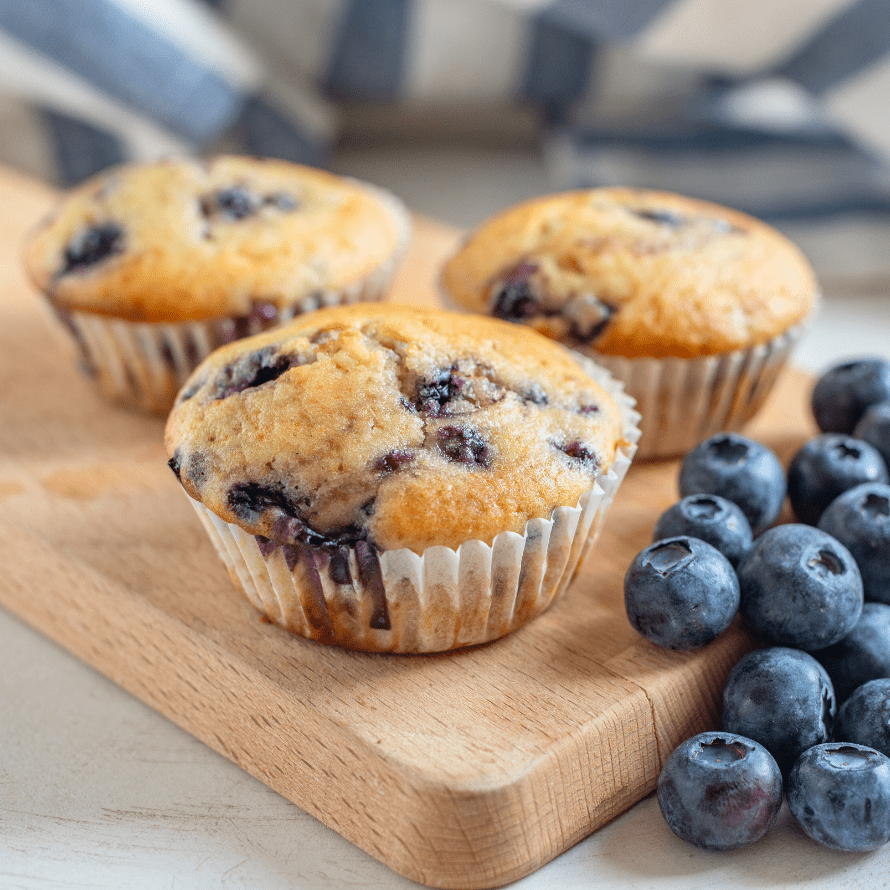
Homemade muffins
One more yummy option is a homemade muffin or mini muffins – and we’ve got three ideas for them.
Option 1: Pastry muffins
Choose baby led weaning healthy recipes with no honey and no added sugar, besides some fruit. You can even freeze muffins and pull them from the freezer anytime you need one in a jiffy.
Option 2: Egg muffins
These are also great to keep in the freezer and pull out when you need them. Mix some eggs with whatever veggies and spices you’d like and bake them in a muffin tin – so easy!
You will need to pack those in a cooler, but there’s no mess and tons of nutrition so they make one of the most perfect on the go meal ideas!
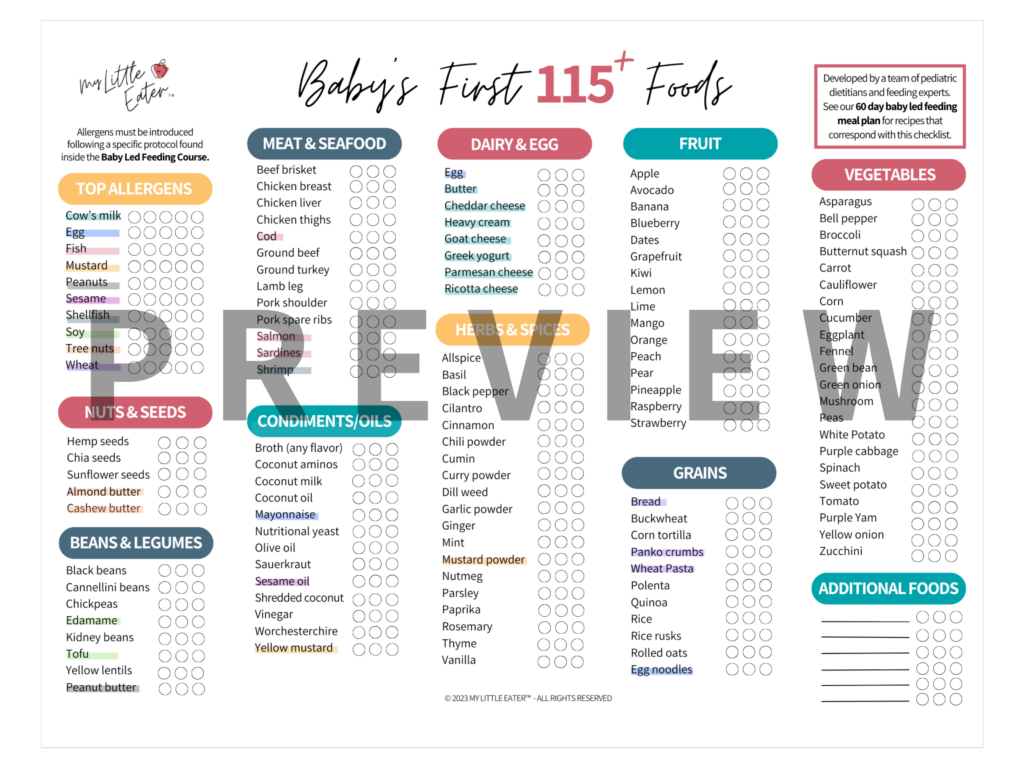
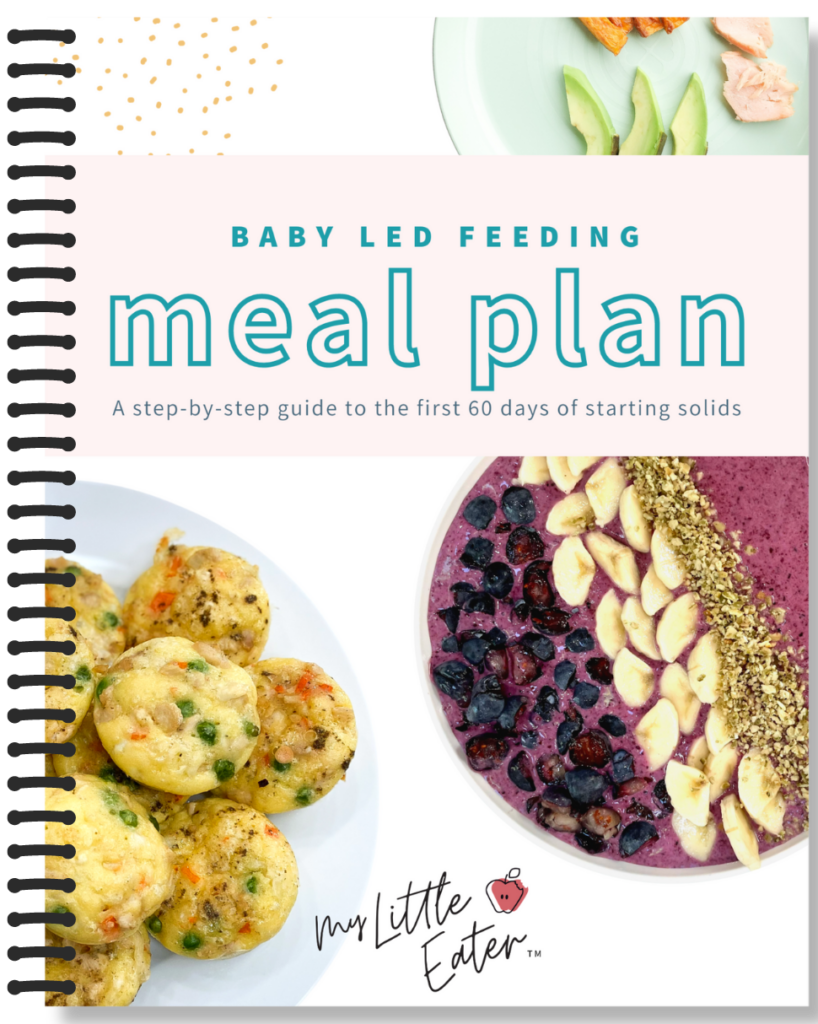
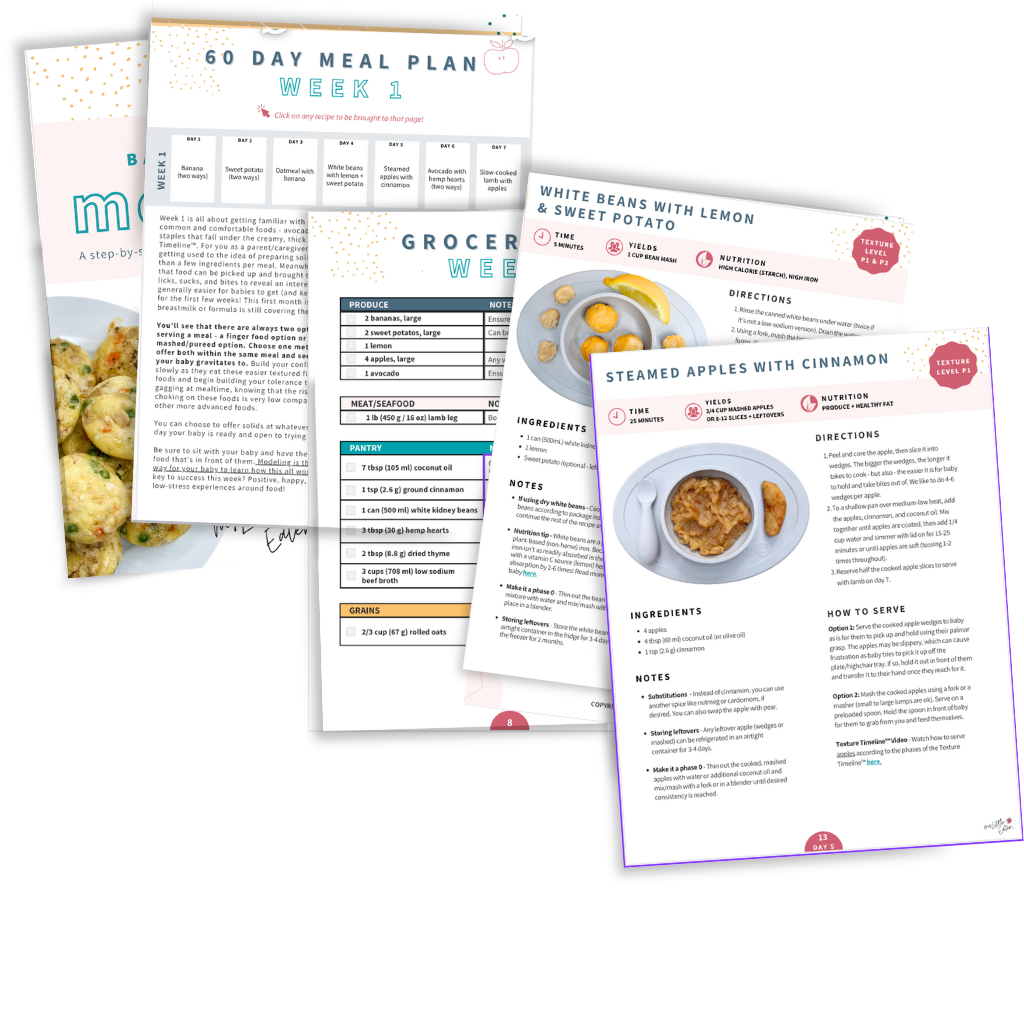
We have a recipe available in our 60 Day Baby Led Feeding Meal plan. The plan also includes the strategic introduction of top allergens, a gradual progression in textures following our Texture Timeline™, directions on how to serve foods as a puree or finger food, weekly grocery lists, and more!
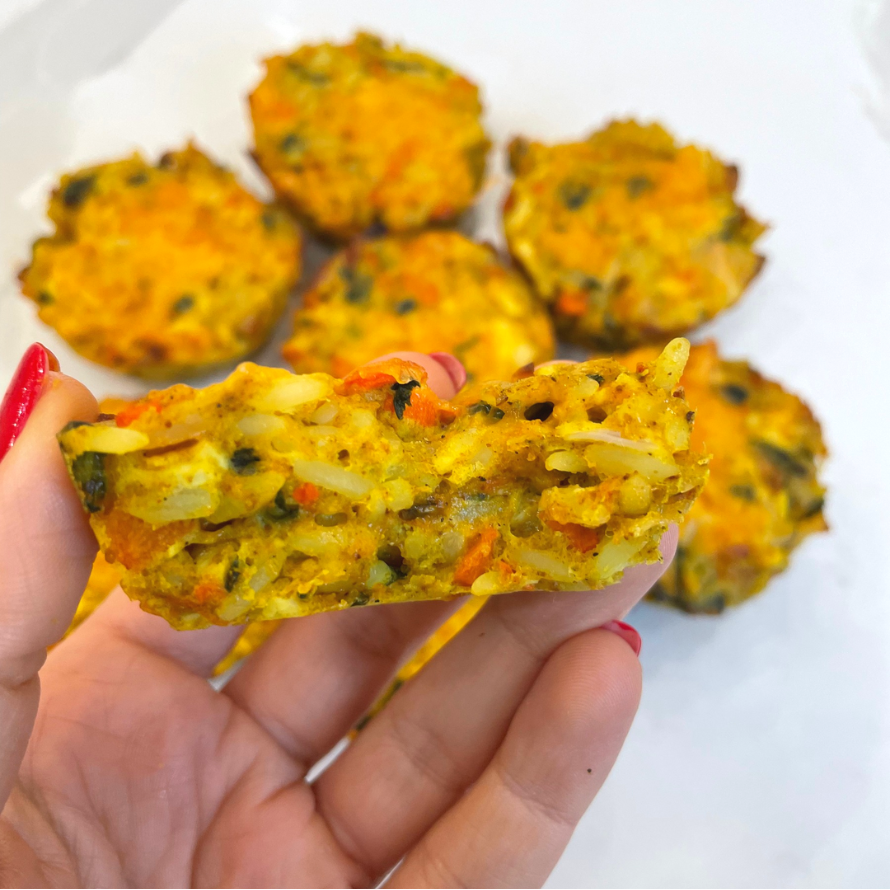
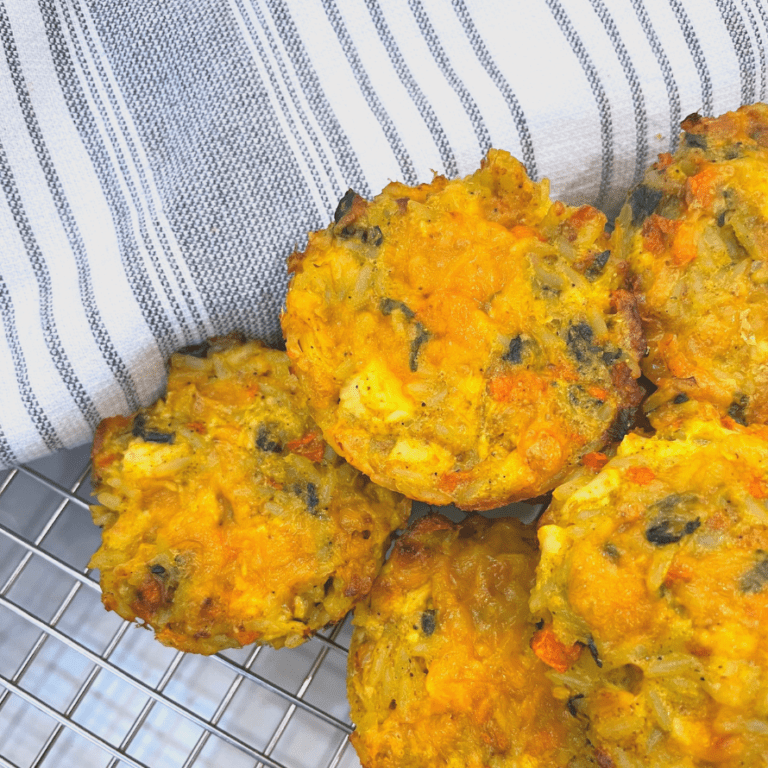
Option 3: Chicken curry rice cups
Ok, these aren’t technically a muffin – but – they’re an absolute favorite among the My Little Eater family!
We’ve included the recipe below. These are a full meal in and of themselves and are another option that can be easily prepped for the week ahead.
Top 3 tips for picking the best travel food for babies
The list above is fairly comprehensive, but we know everyone has their own tastes. If you’re considering bringing something from home that isn’t on our top travel food list, think about these three tips while packing.
Choose something mess-free
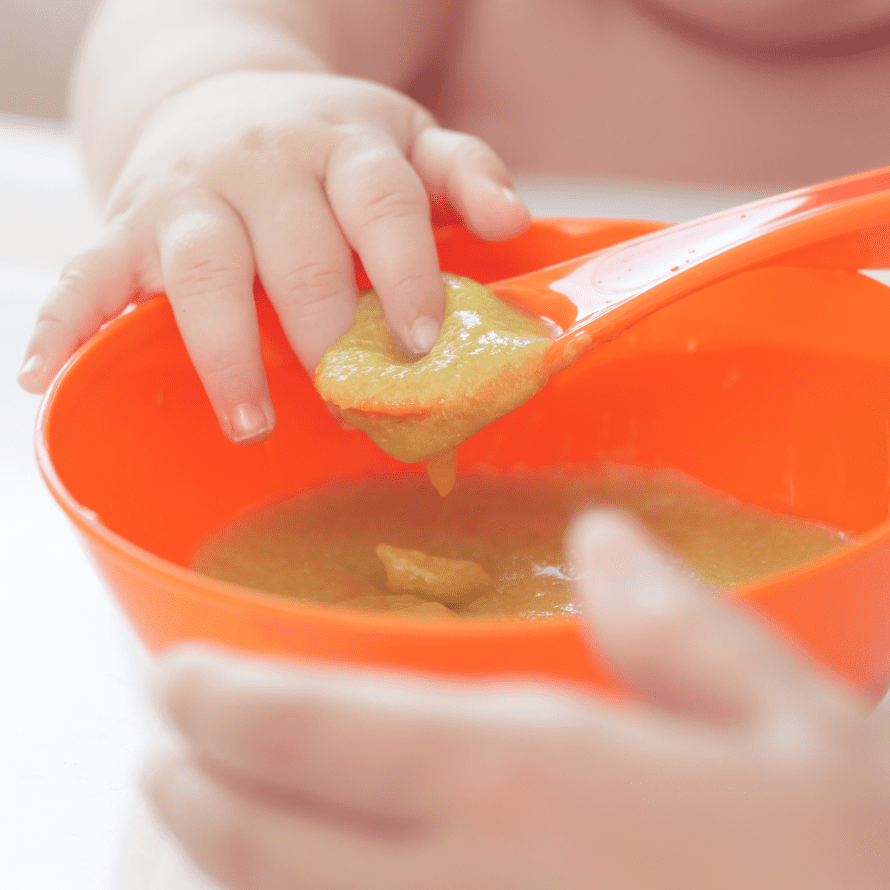
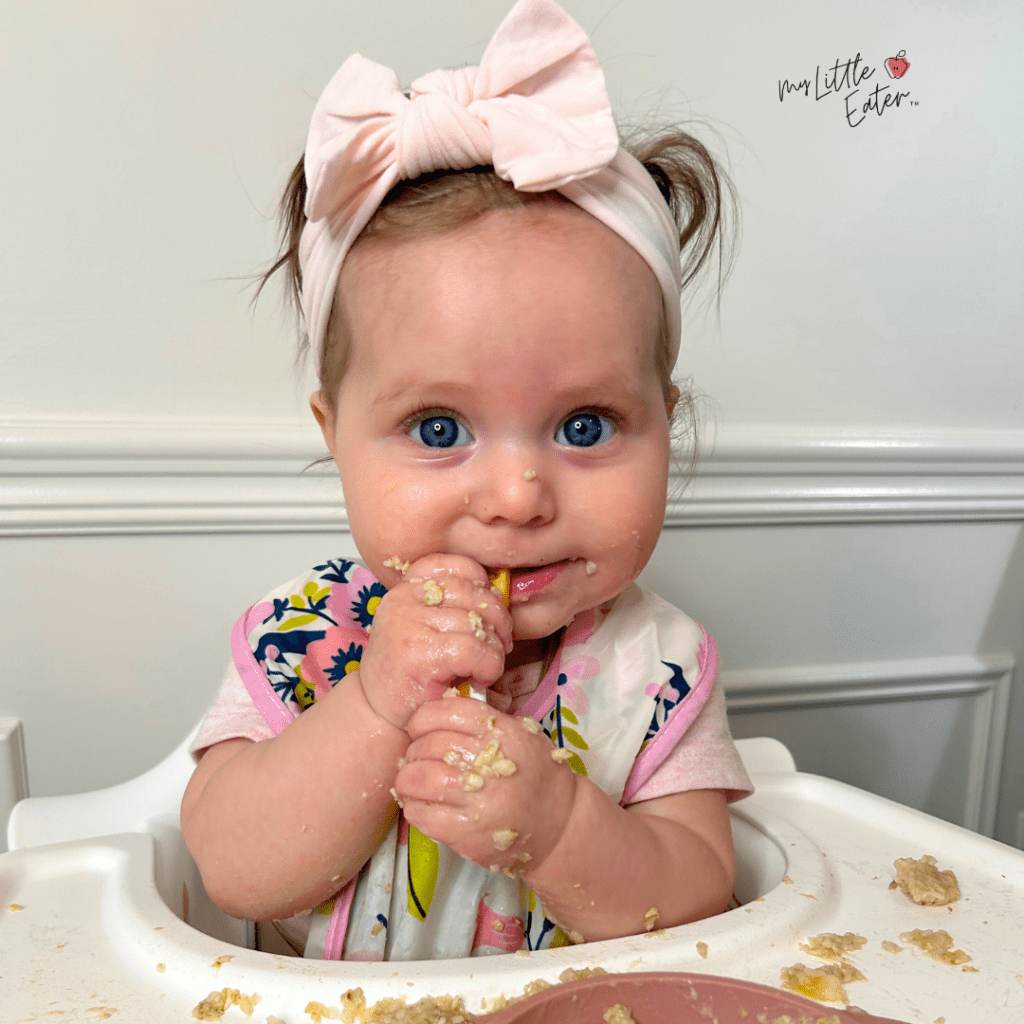
The image below is definitely not a scenario you want to get stuck in when out and about with your baby! While it’s super cute and funny when it happens at home, this is less than ideal on a plane, or in a restaurant, for example.
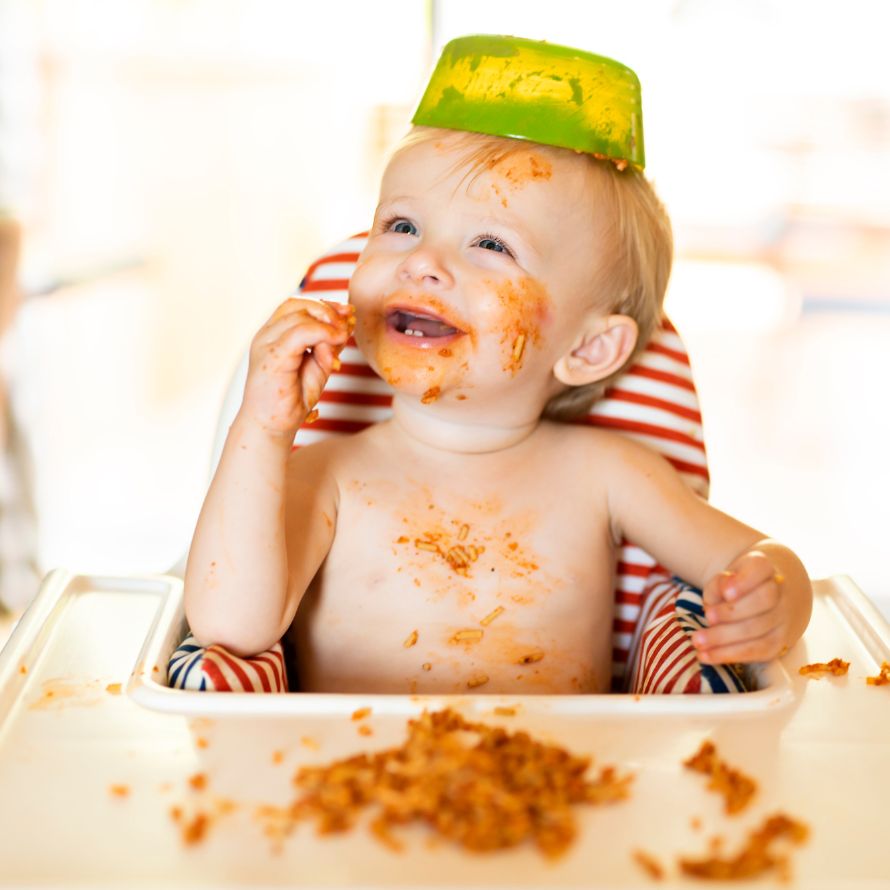
That’s why, in general, most people are looking to pack mess-free foods (or minimal mess…nothing is really mess-free with baby led weaning).
We recommend avoiding anything with sauce, any casseroles, or anything that requires a utensil – unless you’re feeding the baby yourself (and they’ll let you do that). Think yogurt, applesauce…that type of thing.
Nothing is more messy than a baby refusing to let you spoon-feed them and then dunking their hands into a container of applesauce! It quickly gets everywhere – we’ve learned the hard way.
And while we know moms love to be prepared for the worst – and often pack more for an outing than is needed. Let’s save those extra clothes for blowouts…those happen when you least expect it and you don’t want to waste your spare outfit on a messy meal!
Don't stress about serving food hot
While you absolutely need to consider whether food needs to be kept cold or not, you don’t need to worry about serving it cold or hot. Don’t stress if you can’t heat some of these foods, room temperature is fine.
Food safety rules are your top priority.
This leads us to our next point…if you’re out for more than 4 hours or traveling in the heat, throw an ice pack in your bag to preserve the food for longer. Babies are more susceptible to food-borne illnesses, so you don’t want to take any risks with their food, just pack the ice pack (or frozen peas).
Don't overpack
Something to keep in mind when traveling with a baby led weaning baby is that babies don’t need snacks between 6-10 months of age. After that, they need no more than 1, maybe 2 solid food snacks.
This means that if your baby gets hungry while you’re out, breast milk or formula will continue to do the job most times!
It may just be main meals, and as mentioned, 1-2 solid food snacks (maybe one mid-morning and one mid-afternoon) that you offer as they get closer and closer to one year of age.
So, you don’t need to pack very much, especially if you’re just starting your baby on solids. We recommend packing a few pieces of each food that you’re bringing per meal.
And remember, if they eat all of it and still seem hungry – don’t worry! Breast milk or formula can fill in this gap for now. They won’t starve, and it won’t cause any confusion or anything else you may hear – promise.
Check out our sample schedules for how many meals to offer based on their age, including milk feedings as well.
What else you should pack
As much as we prepare for no-mess meal ideas, we also need to prepare for our baby to surprise us and make a mess anyways…it’s just what they do! So make sure you also pack…
- Bibs – long sleeved ones are the best for keeping clothes clean
- Baby wipes or washcloths
- A silicone suction mat (this is helpful to keep food contained as much as possible in one place)
- Silicone plate with a lid to store all the food – these Bumkins ones are our favorites
- Travel booster seat
If you’re going a longer distance than just a day-trip out and about, check out our blog on feeding babies while on vacation for more of our tips and suggestions on what to pack.
Safety tips for feeding solid foods on the go
Feeding babies comes with a risk no matter where you are, or what type of feeding you’re doing (purées or baby led weaning).
That being said, when on the go, you should be extra careful of choking, especially if your baby is not seated in a proper highchair, or is moving around while eating. Both of which are likely when you’re out and about doing fun things – it happens!
Here are our major safety tips to keep in mind…
1. Seat baby in someone else’s lap
That’s right, let grandma or grandpa get some snuggles while the baby eats because choking is usually silent. This way, you have the best front view of your baby eating to make sure you catch anything happening right away in case, God forbid, they begin to choke.

It also helps if you’re prepared ahead of time by taking an infant CPR course. Our favorite online option is by Safe Beginnings – it’s taught by a certified instructor and child safety expert, so you’re getting the best info available to be prepared for the worst-case scenario.
Take 20% off with code MYLITTLEEATER too!
2. Pull over before feeding in the car
If required to feed in the car, try and pull over before feeding. Feeding in a car is not our favorite, but we know that sometimes it’s just unavoidable. A moving car is even more of a risk, so if you can, pull over first before offering food.
Feeding while in a moving car can increase their choking risk as bumps and turns can cause babies to lose control of the food in their mouth, making it more likely to become lodged in their throat.
If that happens, you then have to find a safe space to pull over to have enough room to perform any kind of maneuver on your baby. This takes up precious time, and that’s not a panic we want you to experience – ever.
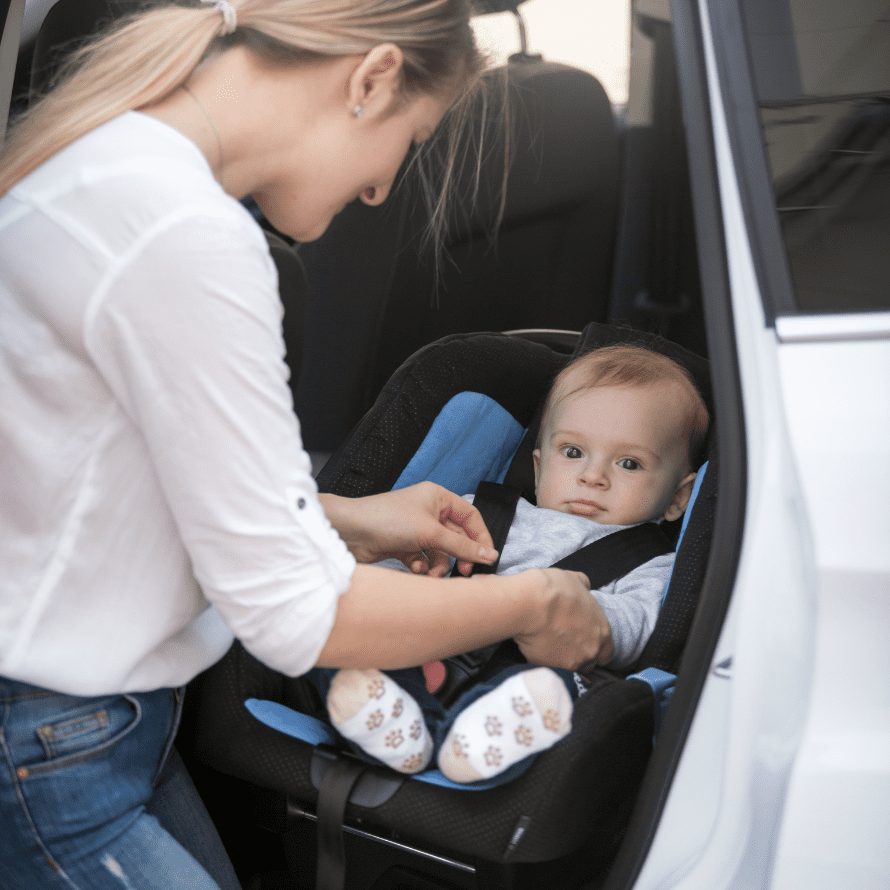
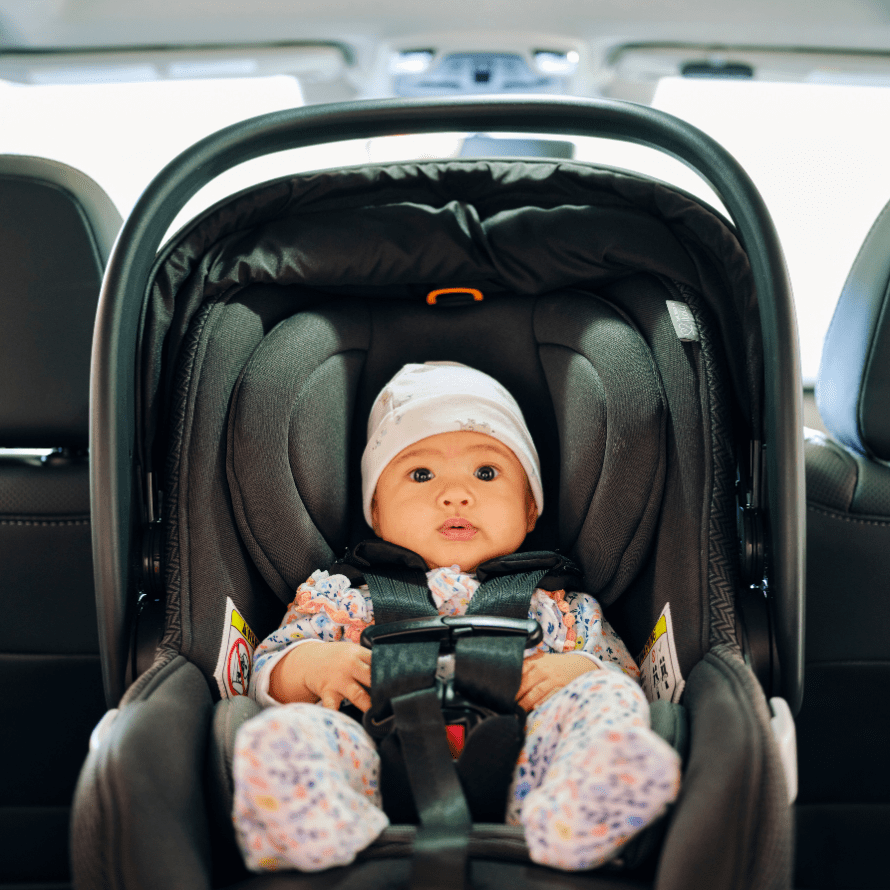
Additionally, we really don’t recommend feeding in a car seat, if at all possible. Your baby is not in the correct position for feeding because they aren’t fully upright. This means that their airway isn’t fully open, which again, can increase their choking risk.
Instead, try to find a safe place to park where you can get out of the car to stretch your legs and take your baby out to sit on someone’s lap to feed. At least this way they’re able to sit upright and have an open airway.
3. Avoid feeding in a stroller
You’re probably seeing a theme here, but again, the point is to keep them sitting upright. If a highchair isn’t available, someone else’s lap is the next best option as opposed to a stroller, car seat, etc.
Ok – there you have it! Keep things simple, remember that fast food can mean simple finger foods from home, and enjoy your time out with your little one!
Want to learn how to feed your baby led weaning baby all the foods mentioned in this post, and more? Check out our Baby Led Feeding online course for a step-by-step plan for starting solids, including videos that show how to safely serve all foods like a pro. You’ll have the confidence you need to feed your baby at home, and on the go!
Chicken Curry Rice Cups
Equipment
- 1 muffin pan (12 cups)
- 1 skillet
- 1 mixing bowl (large)
Ingredients
- 1 cup parboiled rice (cooked)
- 1 cup spinach (chopped small)
- 1 cup carrots (finely diced)
- 4 tsp curry powder
- 2 tsp garlic powder
- 1 cup cooked chicken (finely chopped)
- ¾ cup full-fat, plain, Greek yogurt
- 2 eggs (lightly beaten)
- 1 cup cheddar cheese (shredded and divided)
- 1 tbsp olive oil
Instructions
- Preheat oven to 350ºF.
- Heat a lightly oiled skillet over medium heat. Add chopped vegetables and cook until moisture has evaporated, about 5 minutes.
- Add seasonings and stir. Set aside to cool slightly.
- In a large bowl, combine chicken, eggs, yogurt, cooled cooked rice, and 3/4 cup cheese. Then add veggies and mix until well incorporated.
- Divide mixture into a greased (or silicone) 12 cup muffin pan. Sprinkle remainder of cheese on top.
- Bake for 25 minutes until lightly browned. Make sure the top isn't too crispy. Enjoy!
Video
Notes
Pin it to save for later!

Edwena Kennedy, RD
Founder and lead Registered Pediatric Dietitian at My Little Eater Inc., creator of The Texture Timeline™, and mom of two picky-turned-adventurous eaters.

Edwena Kennedy, RD
Founder and lead Registered Pediatric Dietitian at My Little Eater Inc., creator of The Texture Timeline™, and mom of two picky-turned-adventurous eaters.





4 Comments
We’ve made this a couple times now and have been disappointed. Thought we might have prepared it incorrectly the first time but the second go round confirmed: we and our toddler just don’t like it. Also, it took us a combined two hours to prep (not 20 minutes) when accounting for cooking the rice and chicken plus all the other steps.
Hi Andrew. We’re so sorry to hear that you were disappointed with the chicken curry rice cups! If you could let us know what you found disappointing about them, we could help with some modifications!
My baby and I really liked these curry cups. Realistic to make if you have leftover chicken and rice!
Hi Laura – thank you so much! We’re so glad you and your baby enjoyed them! 🙂